25 Quick Braided Hairstyles That Look Gorgeous in Minutes
There’s a particular kind of morning where you have eight minutes, your hair looks like a decision you regret, and you need to leave. Quick braided hairstyles exist for exactly that morning. The good news is that almost every braid you have ever admired comes down to about six basic moves wearing different outfits, and once those moves become muscle memory the whole category opens up.
Braiding has also gotten softer this year. Celebrity hairstylist Eduardo Méndez told WWD that braids and soft fishtail accents define this season’s hair, pointing specifically to styles that feel effortless rather than engineered. Salons report the same shift: clean parts and chunky sections doing the work instead of intricate technique, with lower tension throughout.
Twenty-five styles follow, sorted roughly by how long each one actually takes.
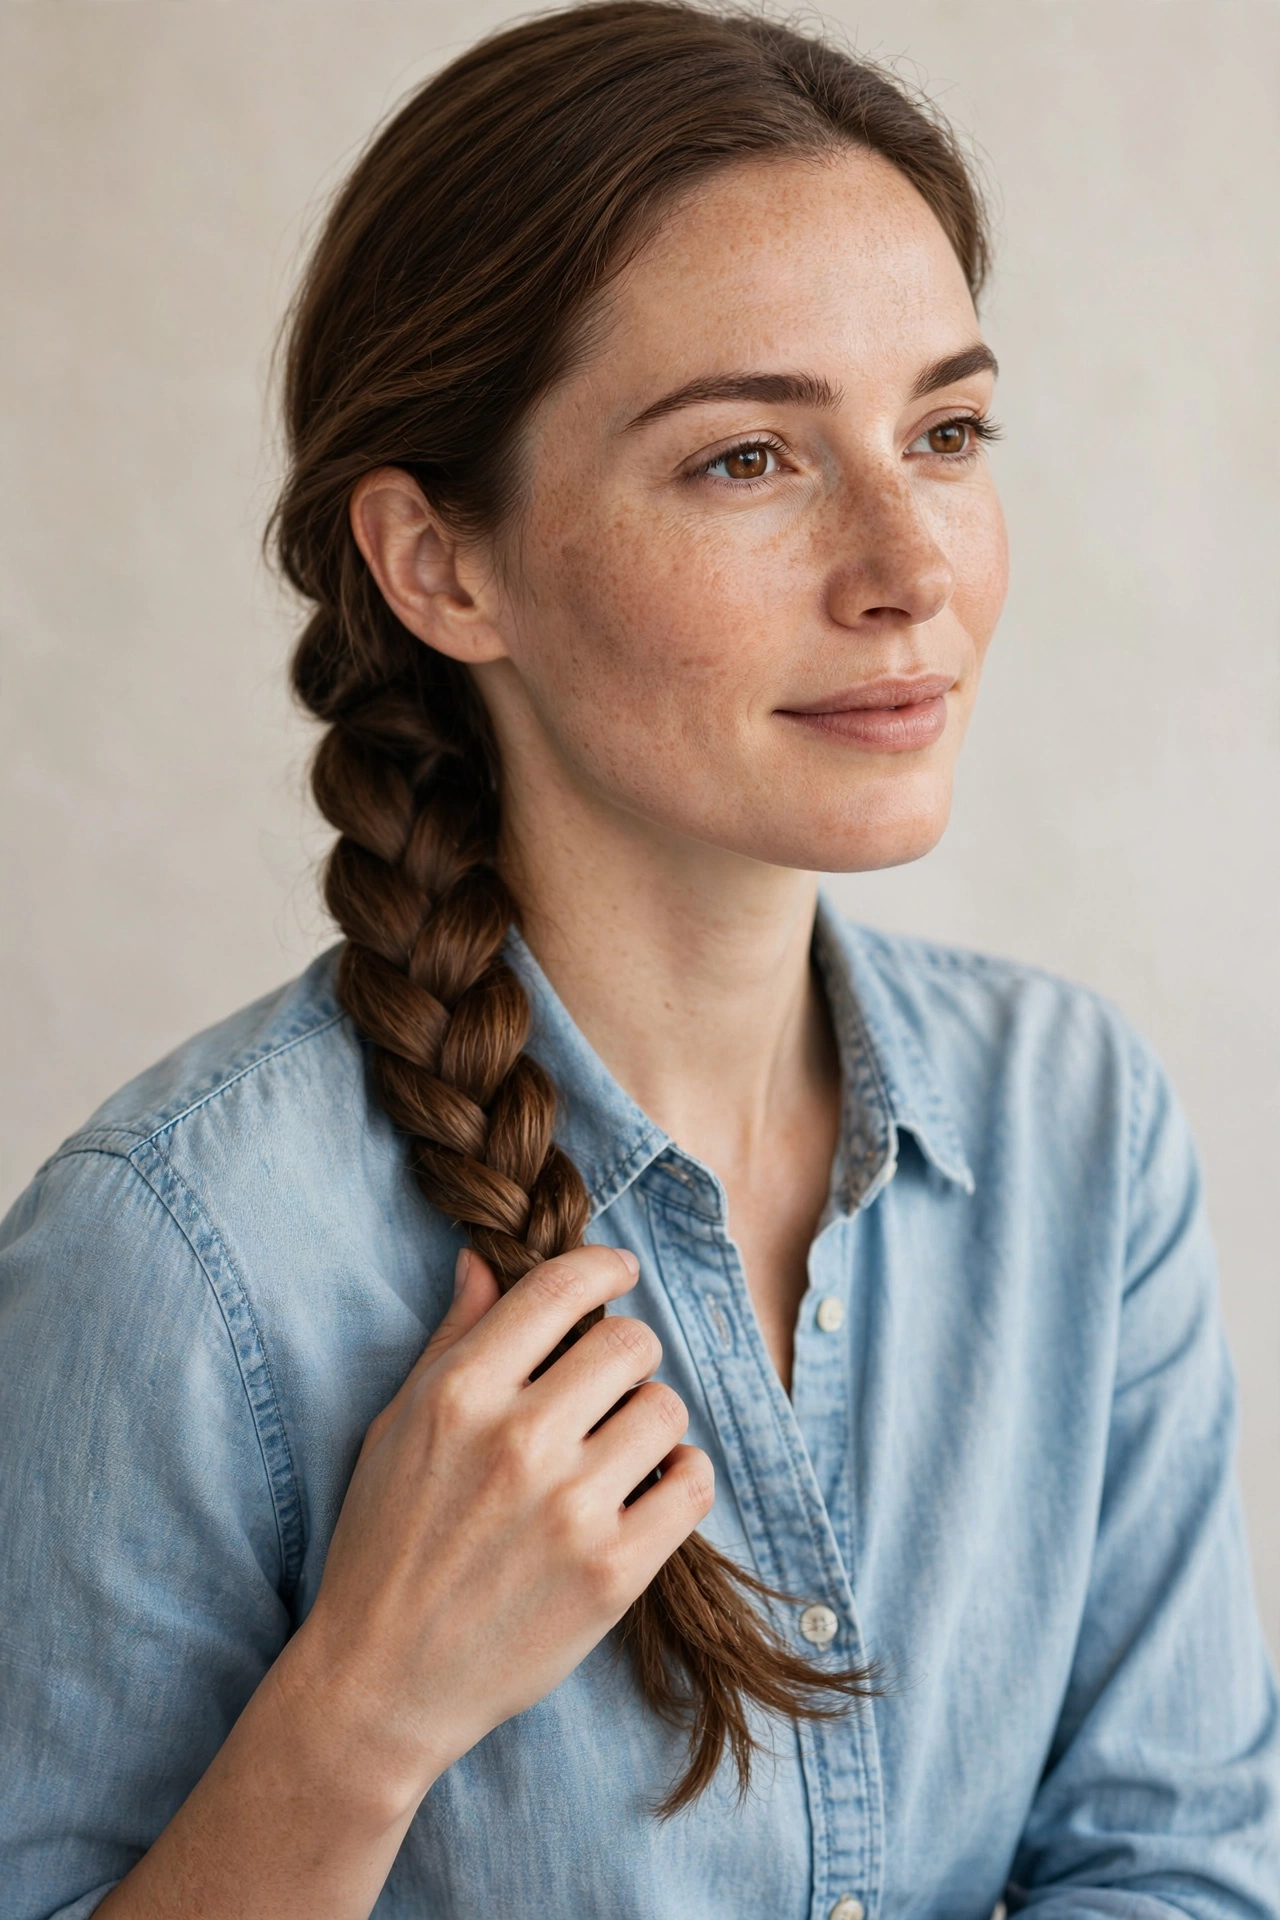
The Classic Three Strand Side Braid
Start here if braiding has defeated you before. None of these require you to see what your hands are doing. Three sections crossed rhythmically over each other, gathered to one side where you can watch what you’re doing. It’s the foundation move, and every other braid on this list is a remix of it. Tug the edges outward once you’ve secured it, which softens the whole thing and makes it look considerably thicker than it is.
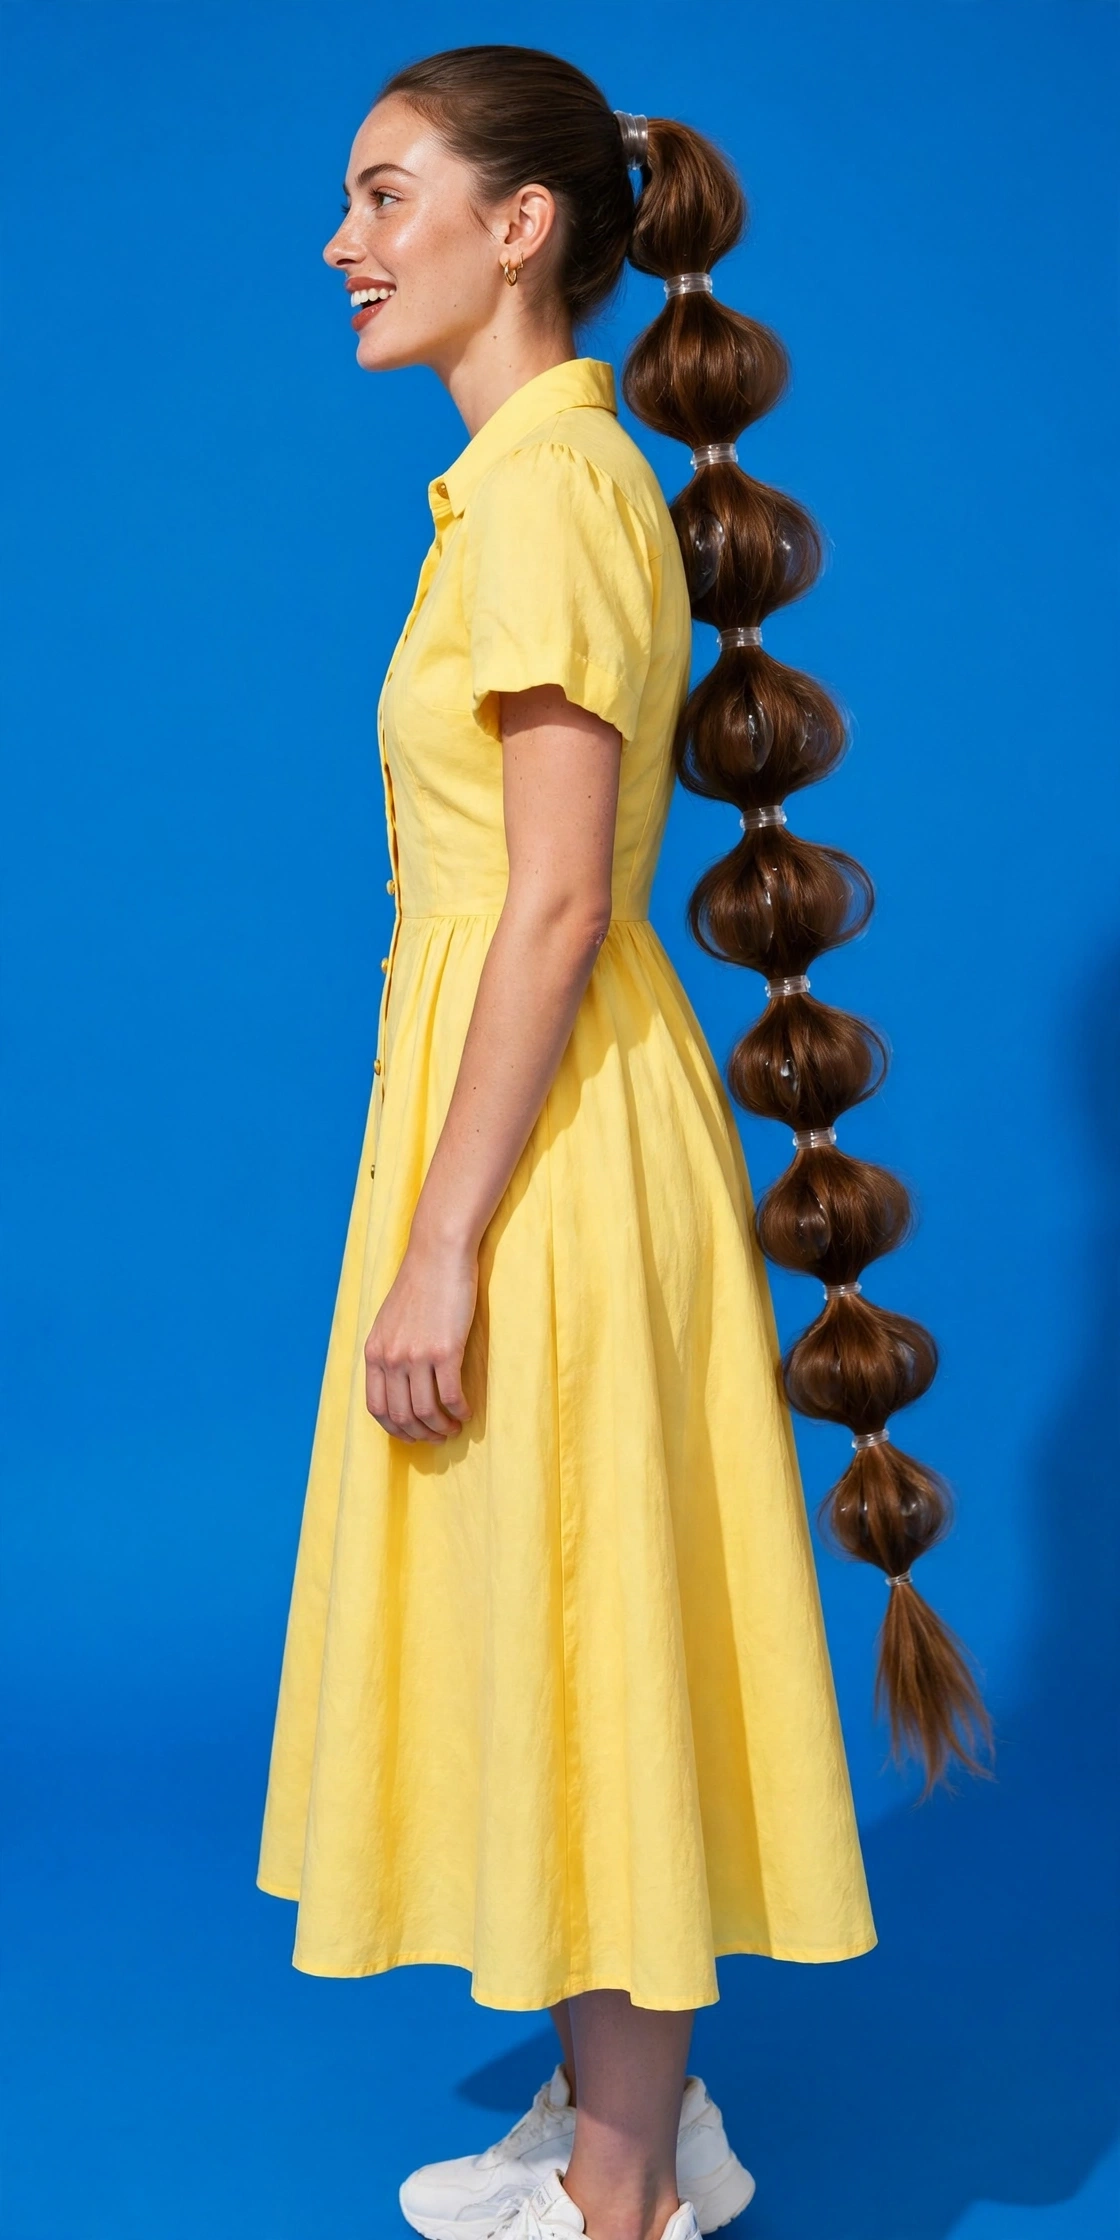
The Bubble Braid
Technically not a braid at all, and nobody needs to know that. Segmenting a ponytail with small elastics spaced evenly down the length, then gently puffing each section outward, creates the bubbles. Two minutes, zero technique. The only detail that matters is even spacing, because uneven bubbles are what make this look homemade rather than deliberate.
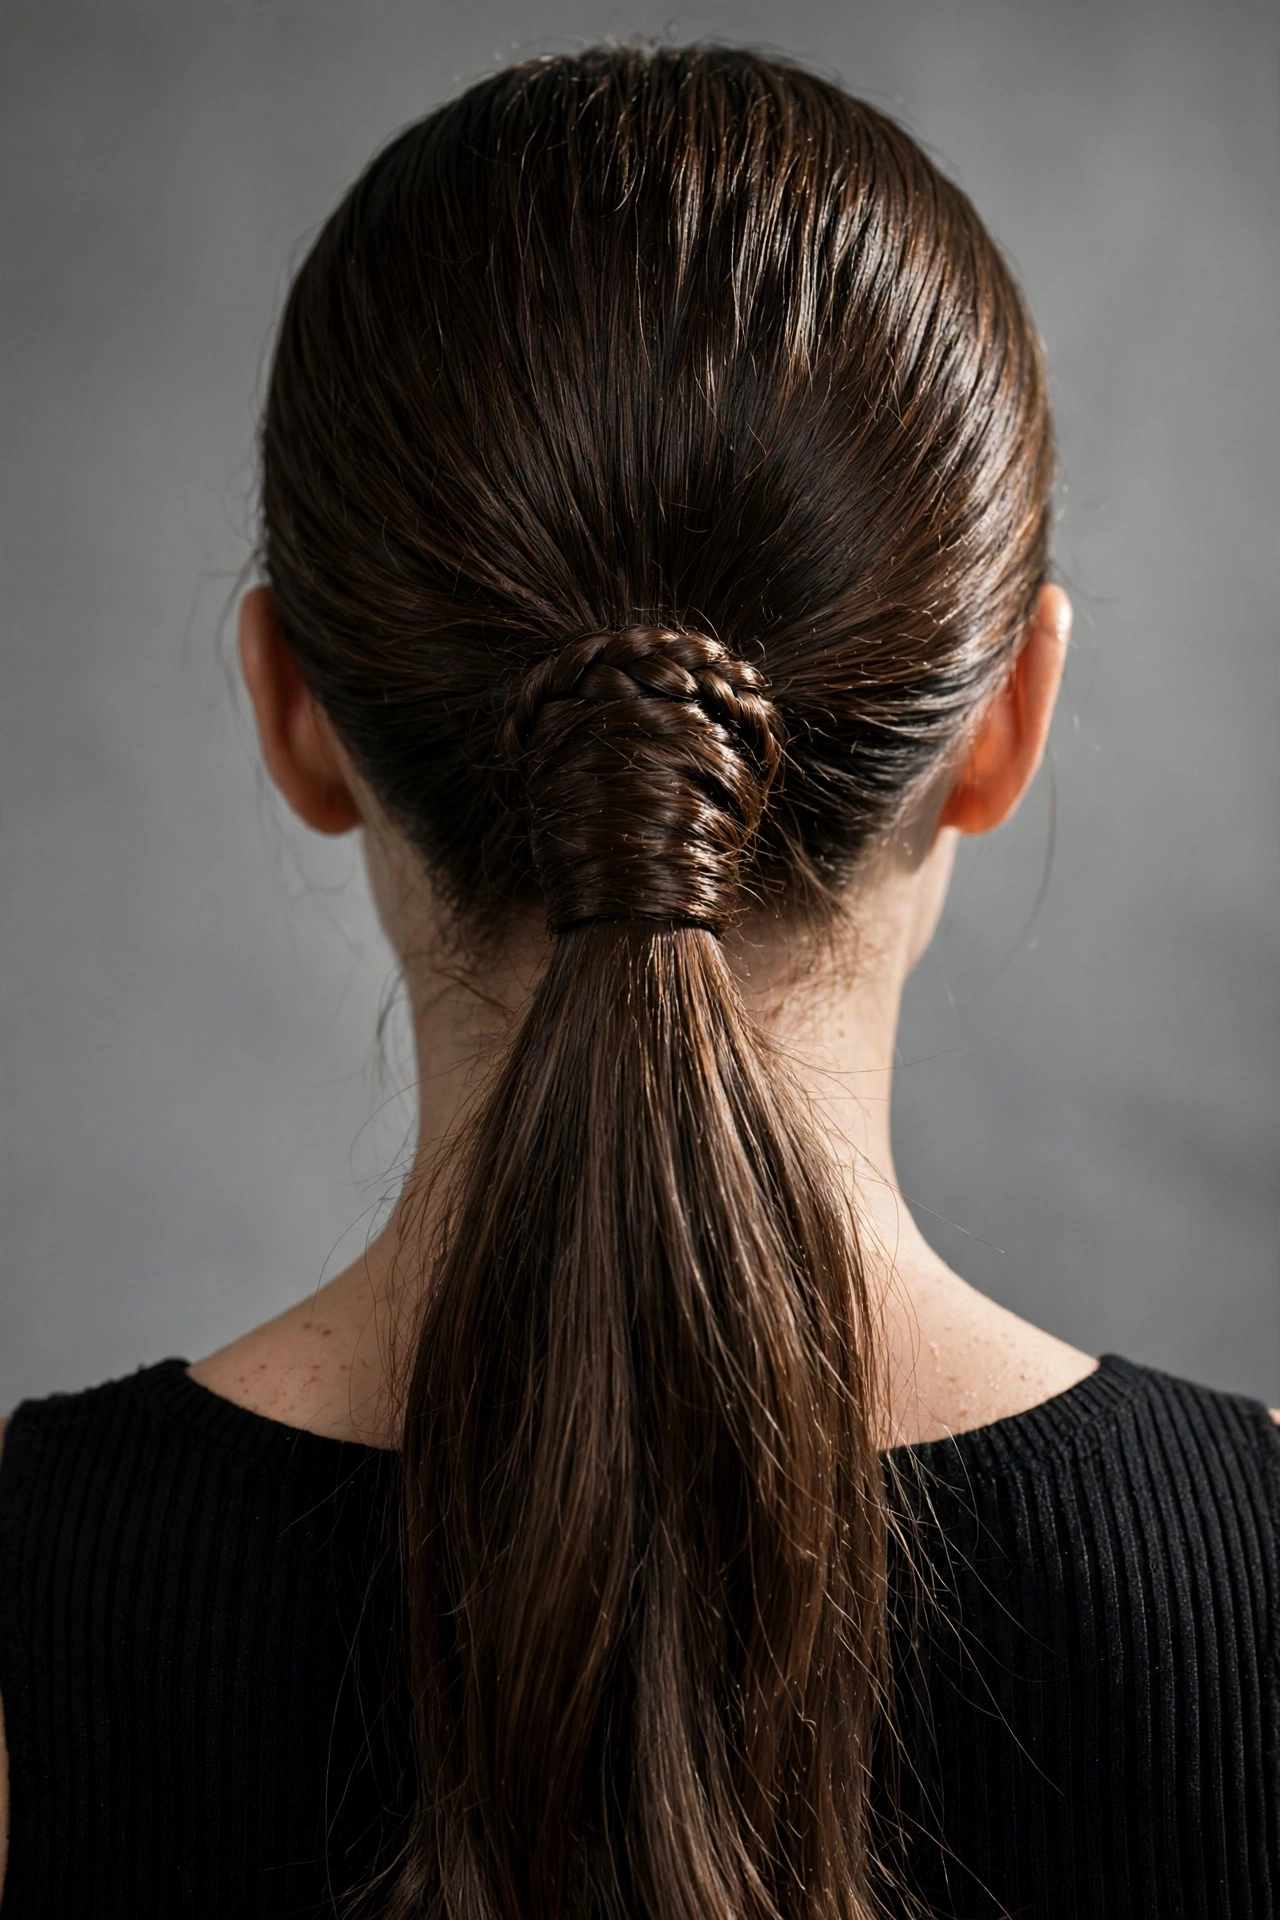
The Braided Ponytail Wrap
Want a two-second upgrade to the ponytail you were going to wear anyway? This is it. Take one small section from underneath, braid it, then wrap it around the elastic and pin the end upward into the base. It hides the hardware and turns a functional ponytail into something that looks styled.
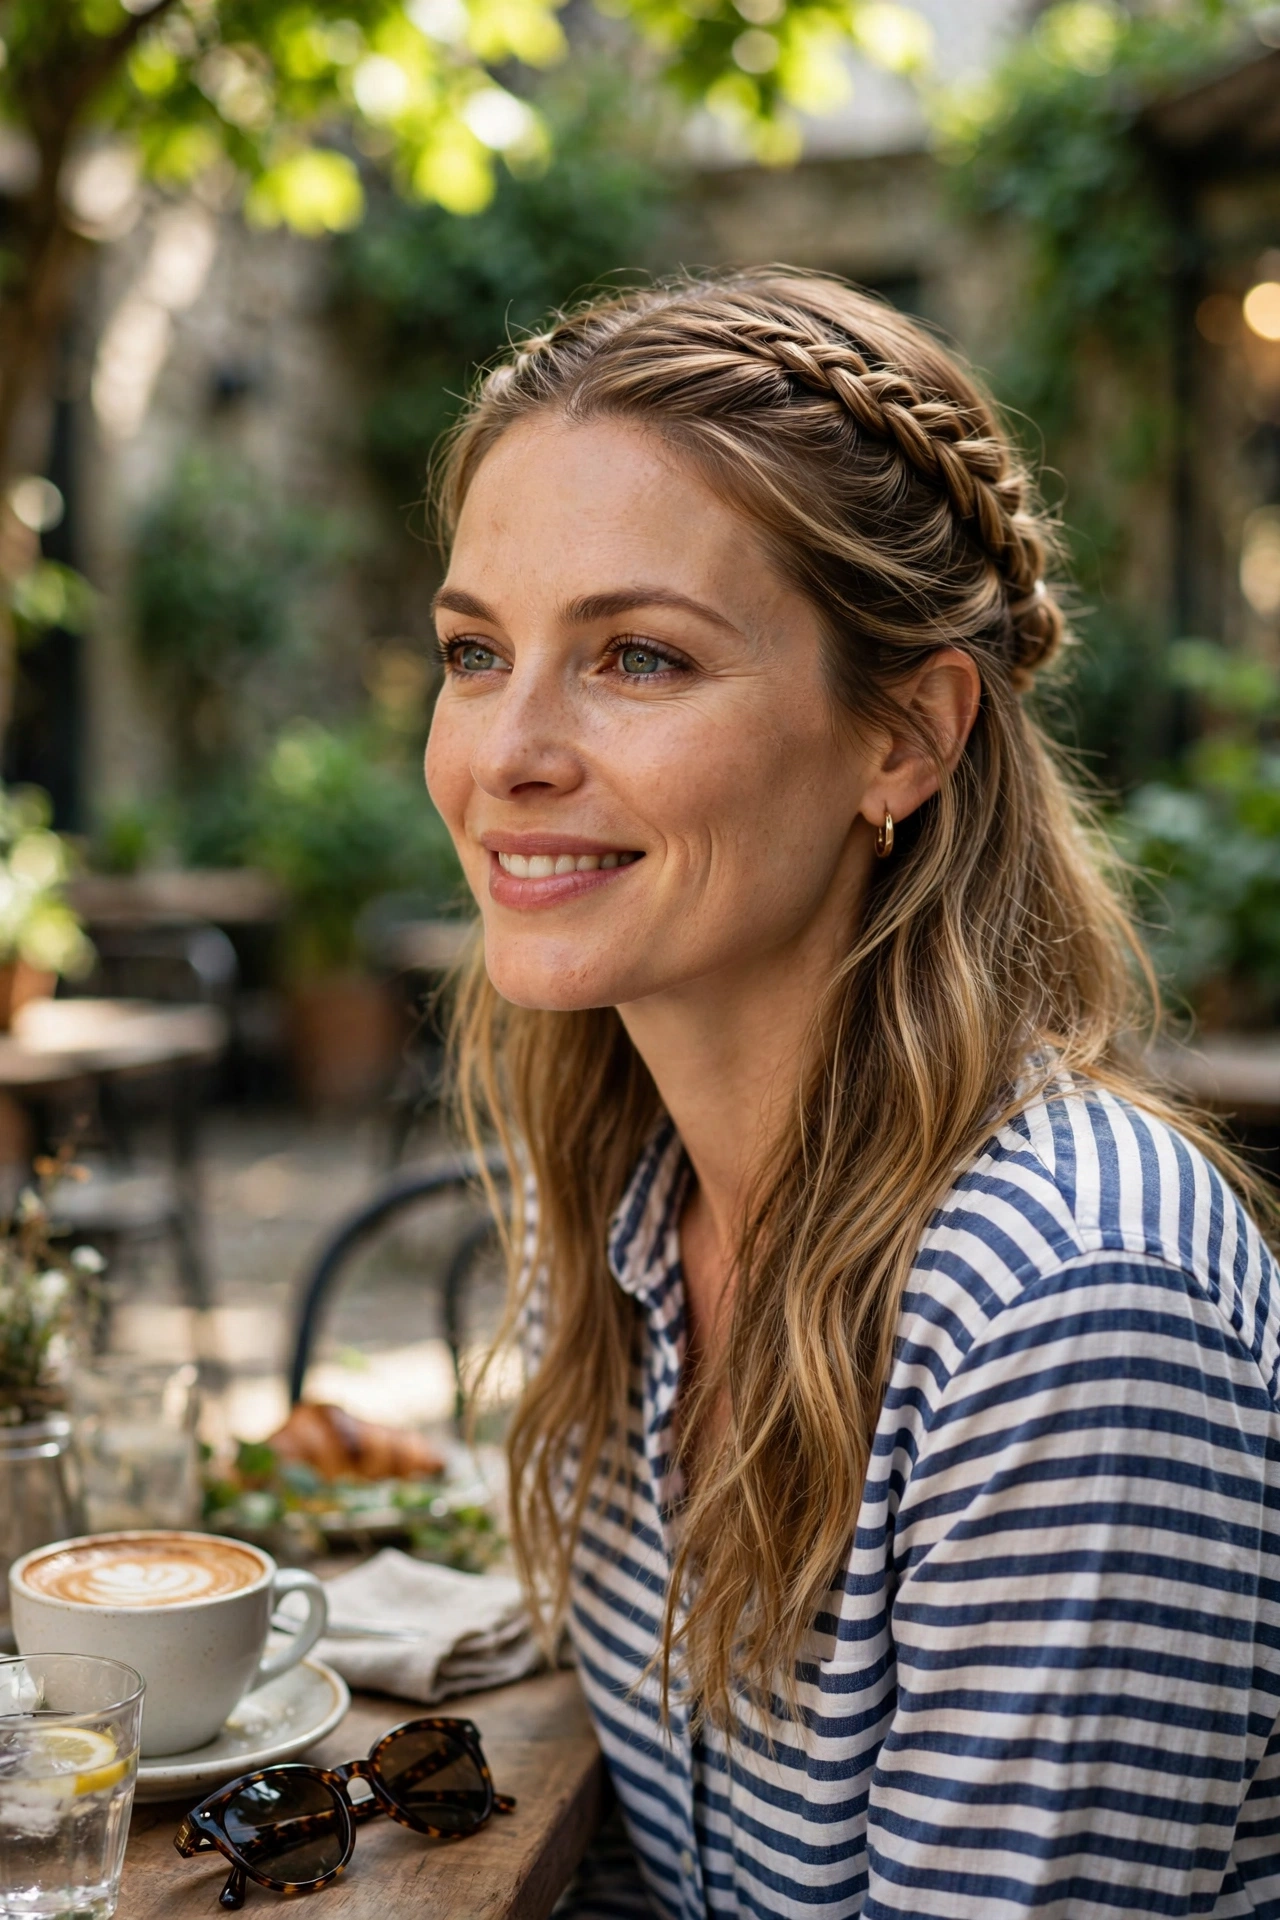
Two Face-Framing Braids
Two minutes, exactly. Sabo’s version involves separating two two-inch strands at the front, one on each side, braiding each and fastening them at the back with grips.
Everything else stays loose. This is the style for days when your length looks fine but the front section refuses to cooperate, and it works across nearly every hair type and length. Lifting the crown slightly before you pin adds volume that stops it reading flat.

The Half-Up Braid
Gathering the top section, braiding it and securing it at the back gives you structure at the crown and movement below. It keeps hair off your face without the commitment of a full updo, and it’s gentler on your scalp since only part of the hair carries any tension.
The Messy Single Braid
Perfection is the enemy here. One soft braid worn over the shoulder, deliberately imperfect, with the face-framing pieces pulled loose afterwards.
Do not overwork it. The looseness is the entire style, and tightening it as you go removes the exact quality that makes it look effortless. This is the five-minute version of romantic, and it usually takes three.

Five-Minute Braids Worth Actually Learning
These six require a little practice. Once they click, they stay with you permanently.
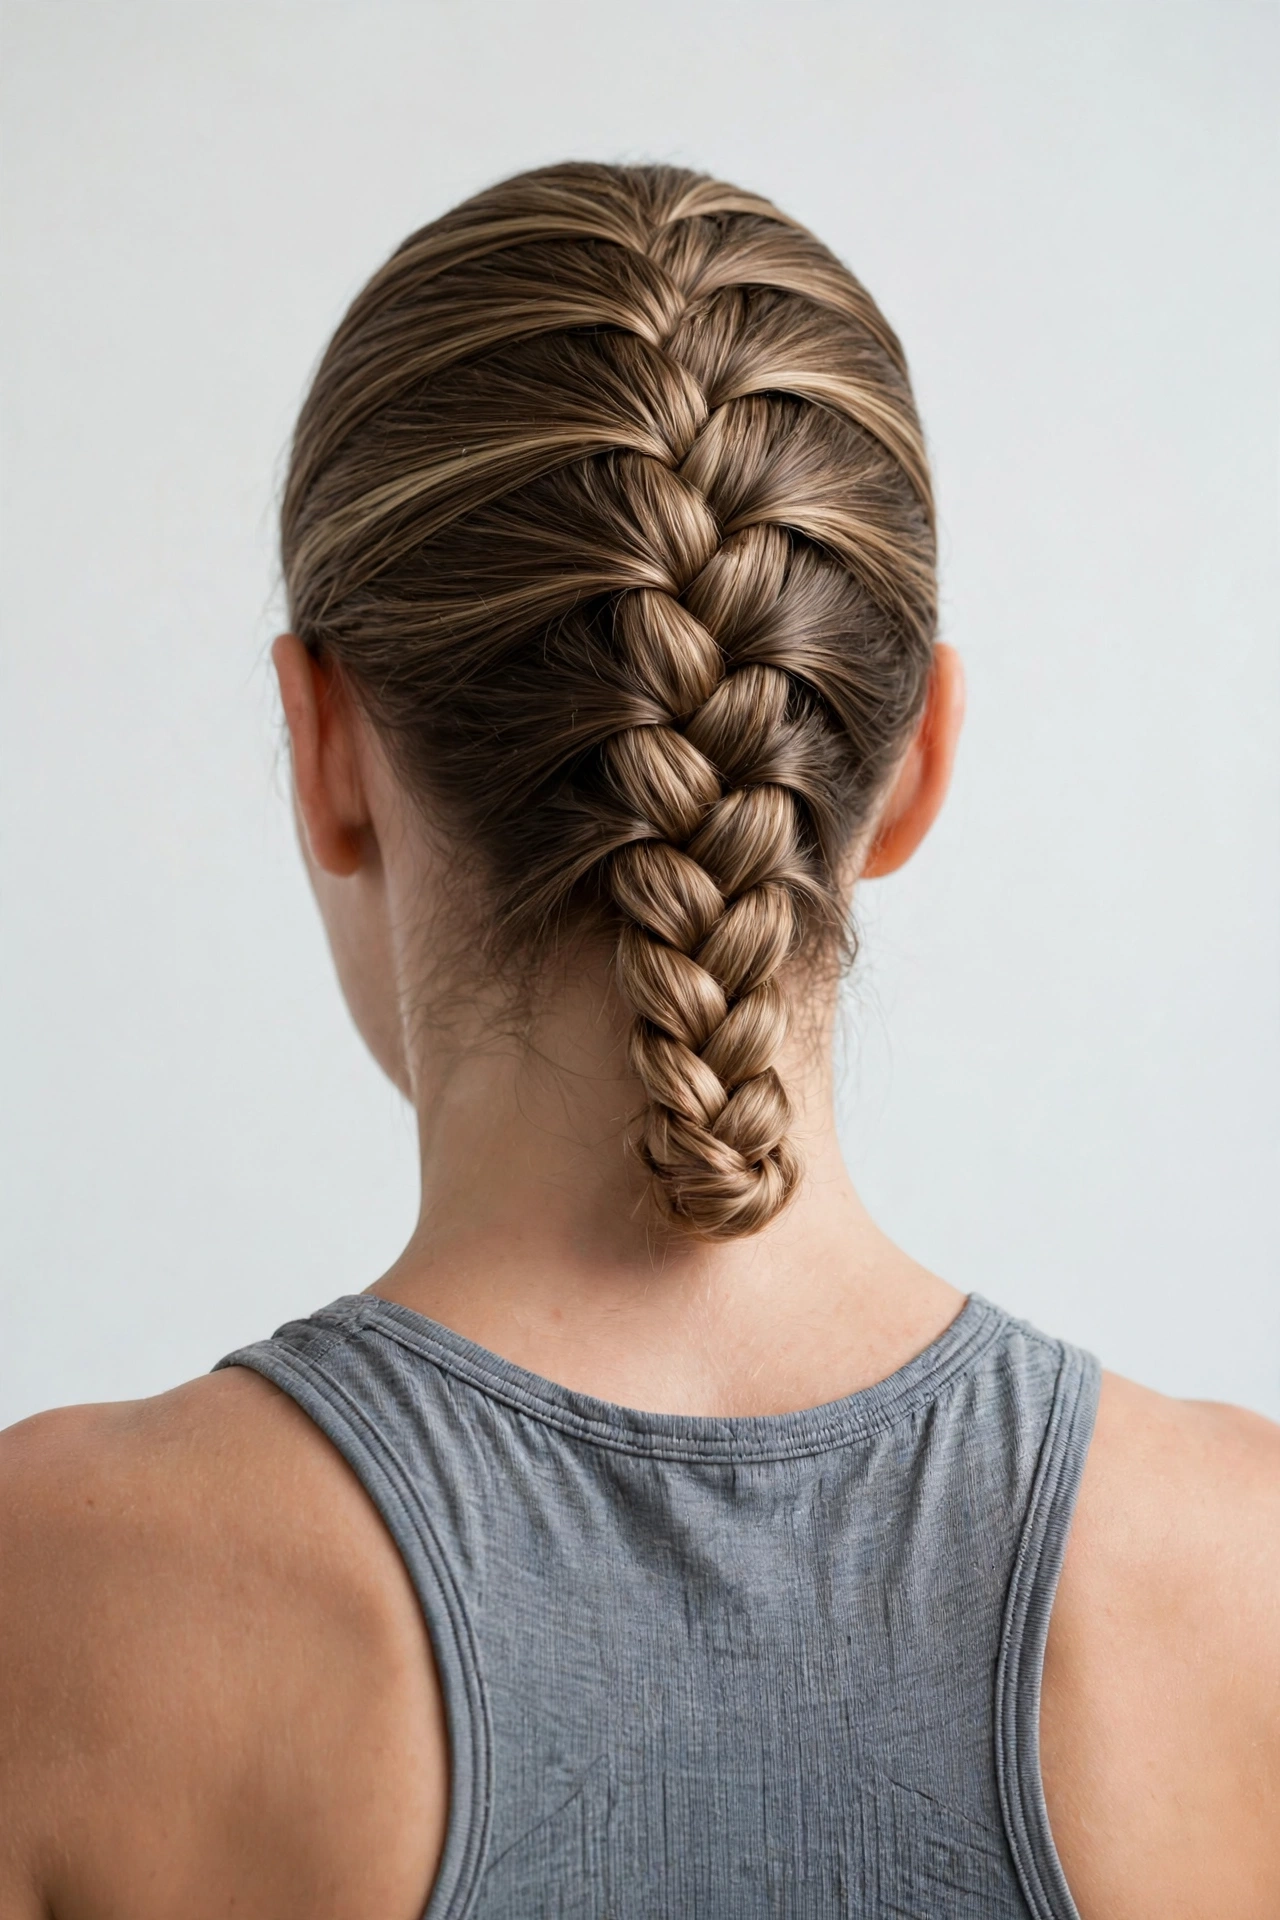
The French Braid
Woven from the crown downward, picking up small sections as you go, the French braid is the original everyday braid and the one most worth learning first.
It works on damp or dry hair, it looks pulled together instantly, and it handles school runs, offices and workouts equally well. Keep the sections small and the tension even. Rhythm comes before speed, and trying to rush the first few attempts is how most people give up.
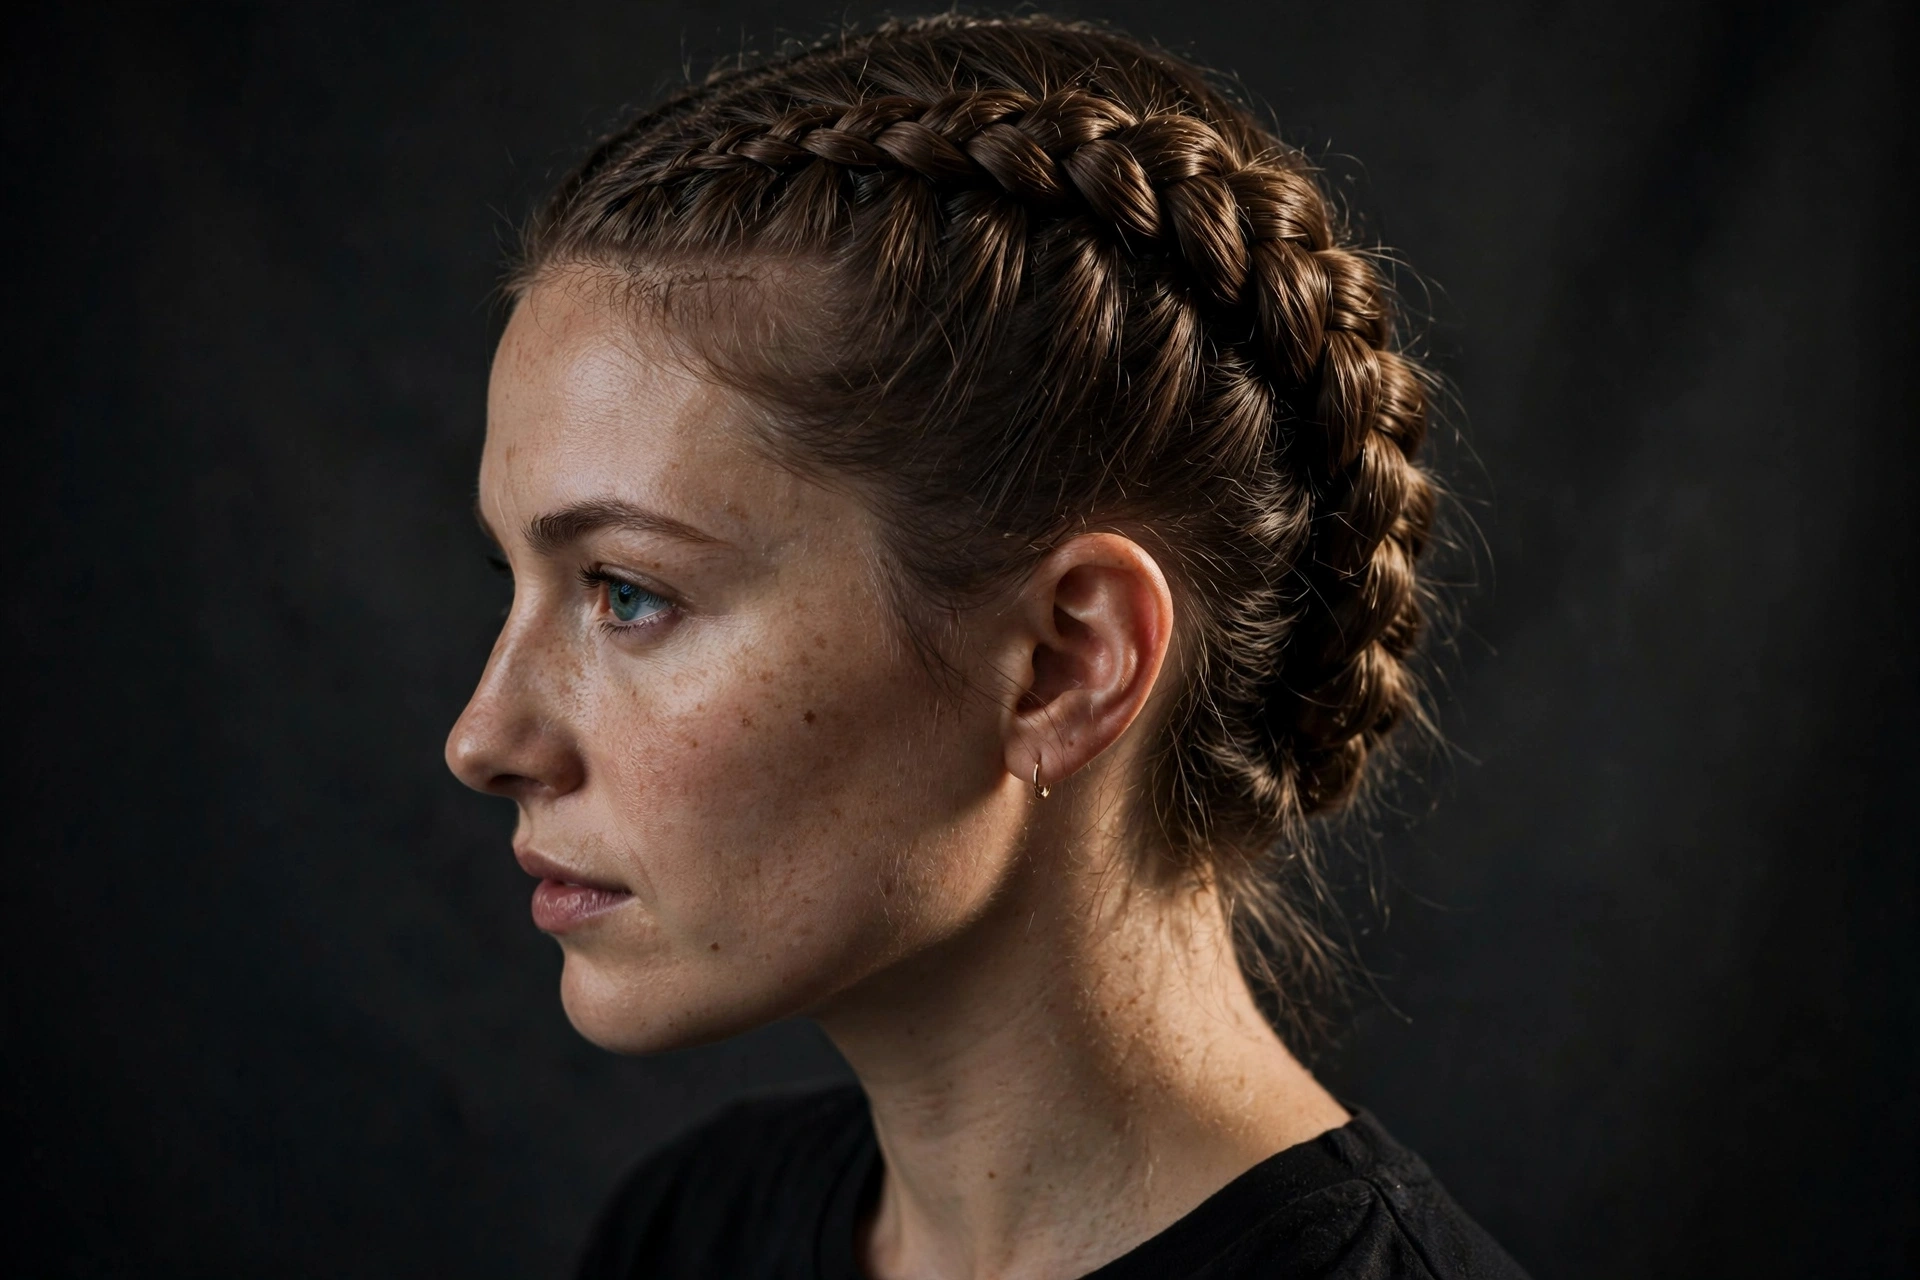
The Dutch Braid
A French braid inverted, where strands cross under instead of over, which makes the braid sit raised on the head in three dimensions.
Why it’s worth learning:
- Far more visible and defined than a French braid
- Same motion, just reversed, so it clicks fast once French is automatic
- Works better on shorter hair since the definition compensates for length
- Pancakes beautifully for a thicker, chunkier look
- Most people get it within two attempts
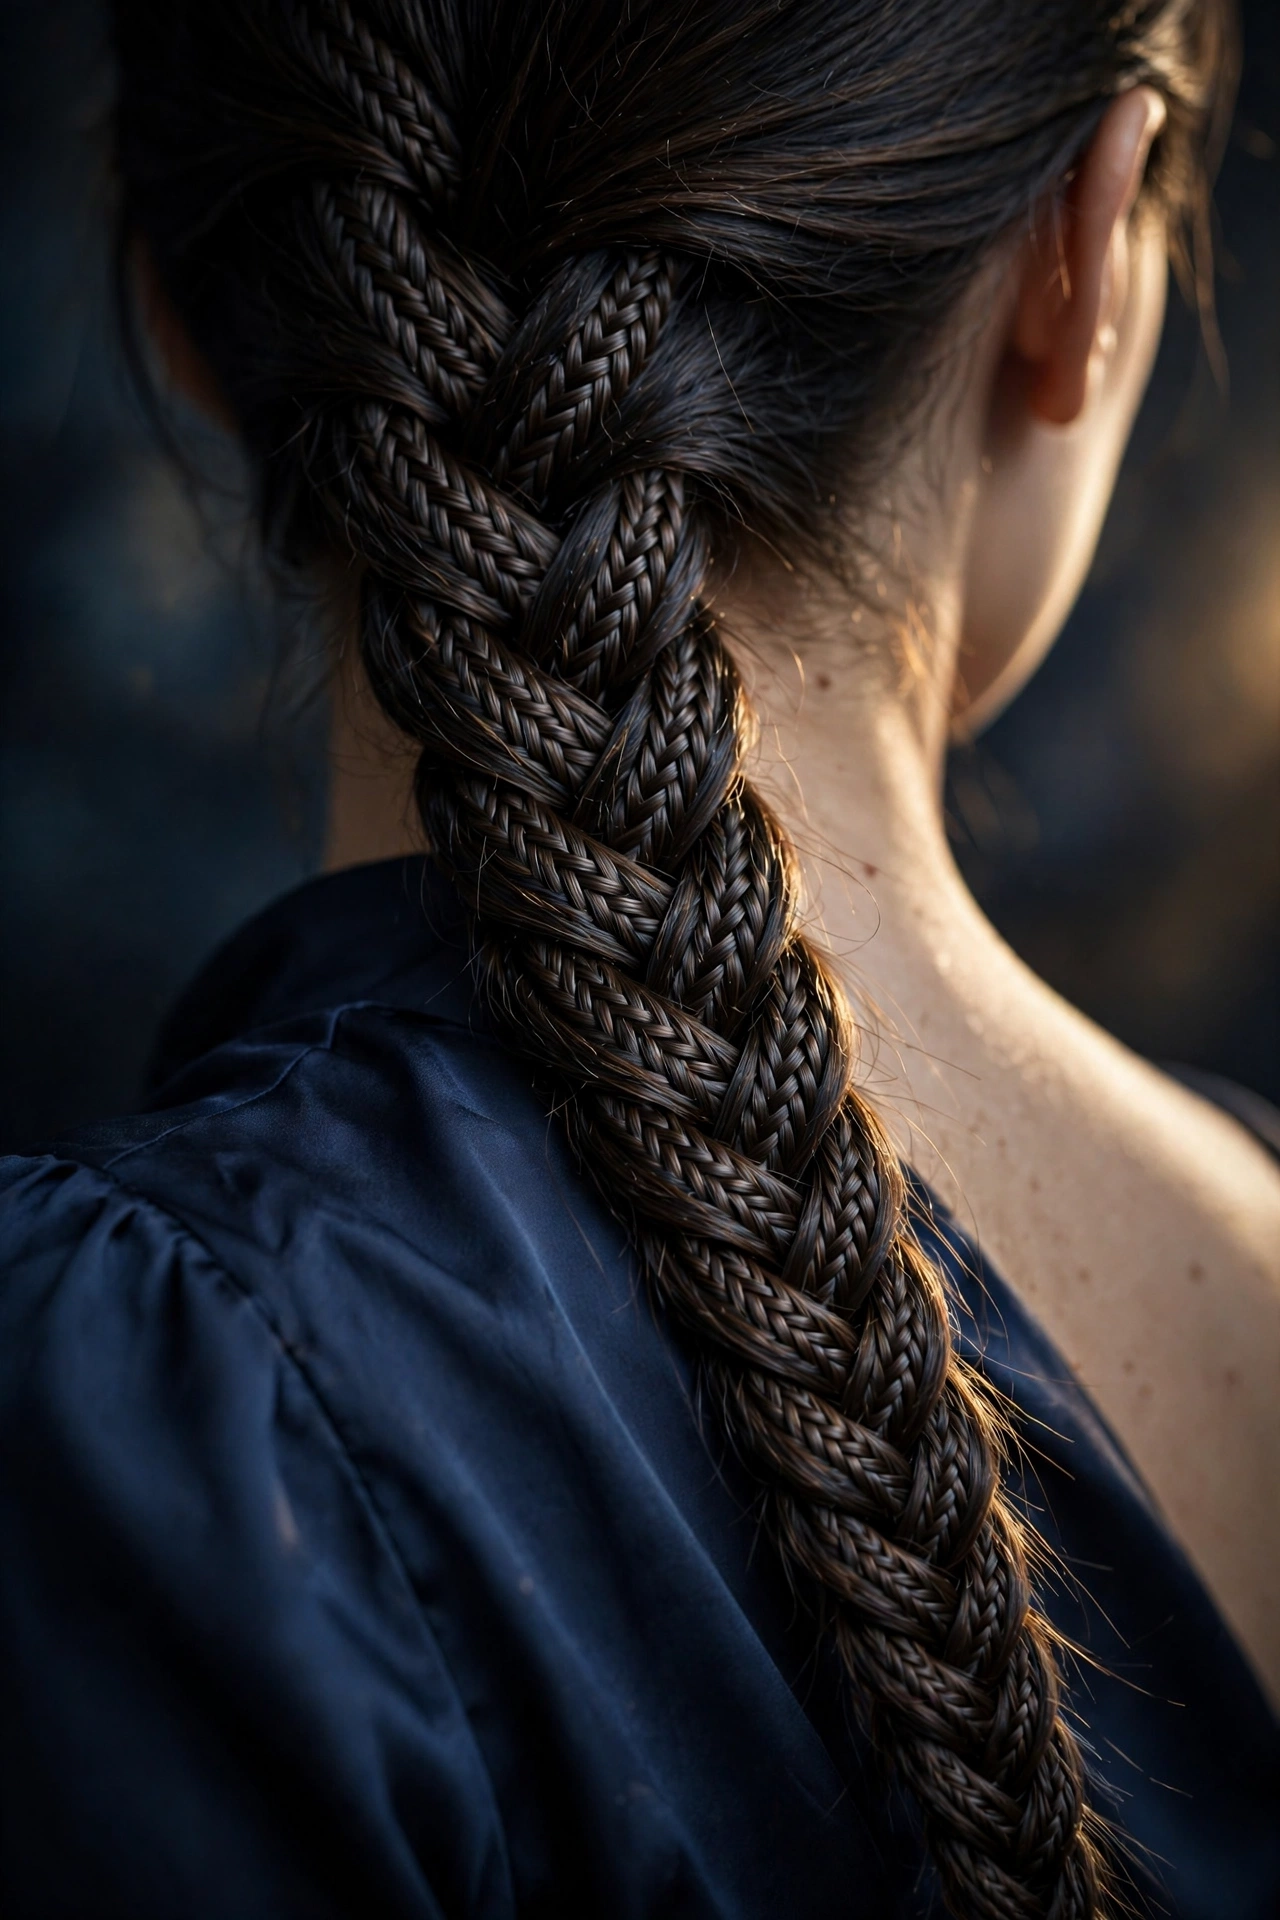
The Fishtail Braid
Two sections, with small pieces crossed alternately from the outer edges to the opposite side. That’s the entire technique, and it’s genuinely simpler than a three-strand braid, just slower.
The narrow woven pattern reads far more intricate than the effort suggests. Expect fifteen minutes the first time and five by the third.
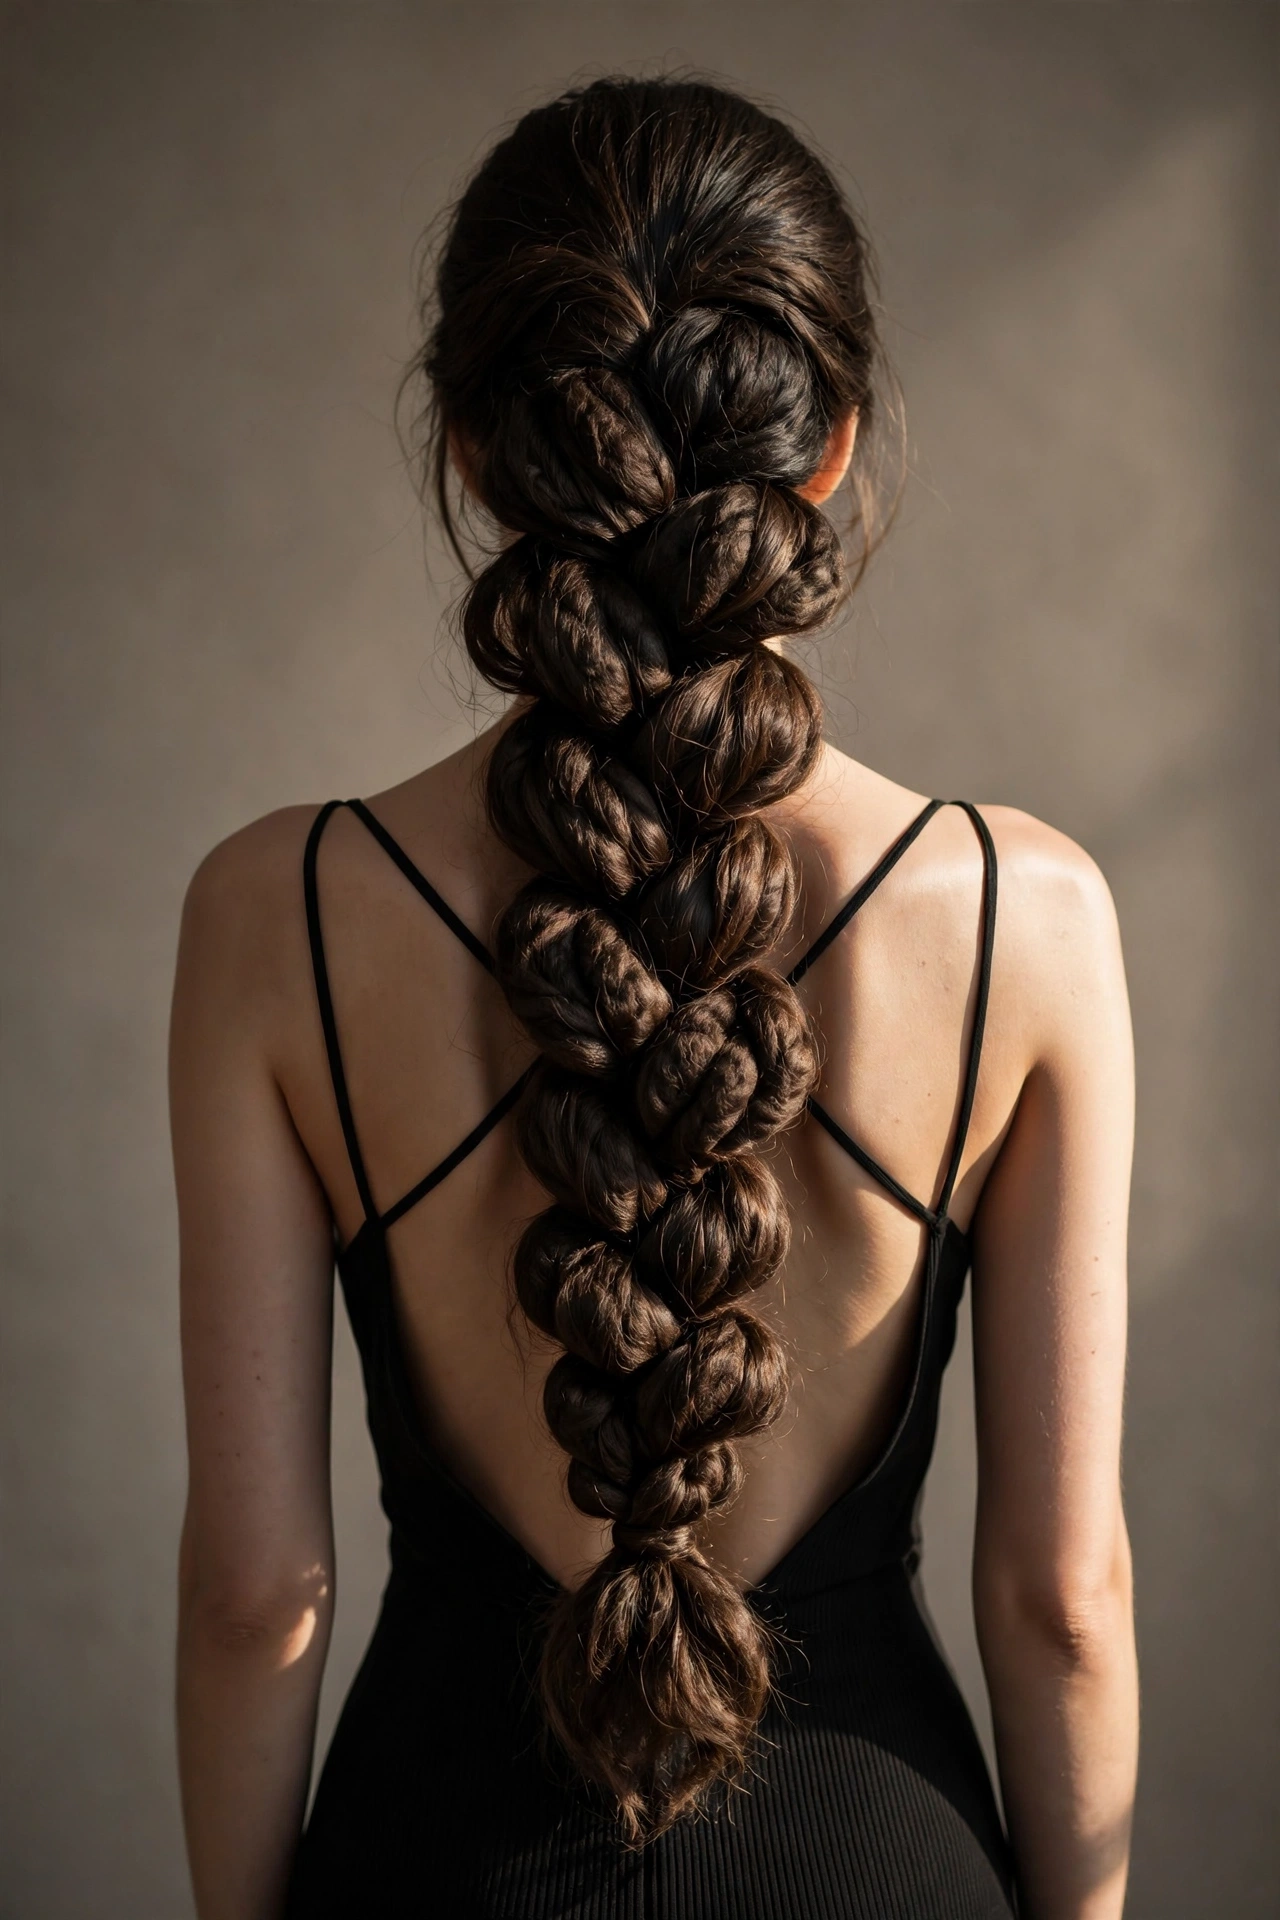
The Rope Twist Braid
Twisting two sections individually in the same direction, then winding them around each other in the opposite direction, produces a spiral that looks technical and takes no braiding skill at all.
That counter-twist is the only thing stopping it unravelling, so getting the directions right matters more than neatness. It also disguises second-day roots effectively, since the spiral breaks up the surface.

The Pull-Through Braid
Not a braid either, and possibly the highest impact-to-effort ratio on this entire list. A series of small ponytails, each pulled through the one above it, creates a thick woven-looking rope. Fine hair benefits enormously because the pulling-through step creates volume that a real braid cannot. Loosen each section outward as you go rather than at the end.
Double Dutch Braids
Two Dutch braids from a center part, running from the hairline to the nape. Gym sessions, festivals, long flights, hot days. It handles all of them, stays put through genuine movement, and doubles as a heatless wave set if you sleep in it and take it down in the morning.

Quick Braided Updo
Braid first, then coil. That one sequence turns an ordinary bun into something that looks architectural.
The Braided Bun
Four minutes, most of which is the braid itself. Braid a ponytail, coil it around the base, and pin it in an X pattern rather than pushing pins straight in. The braid texture is what makes the bun look considered instead of thrown together, and it also gives the pins something solid to grip.
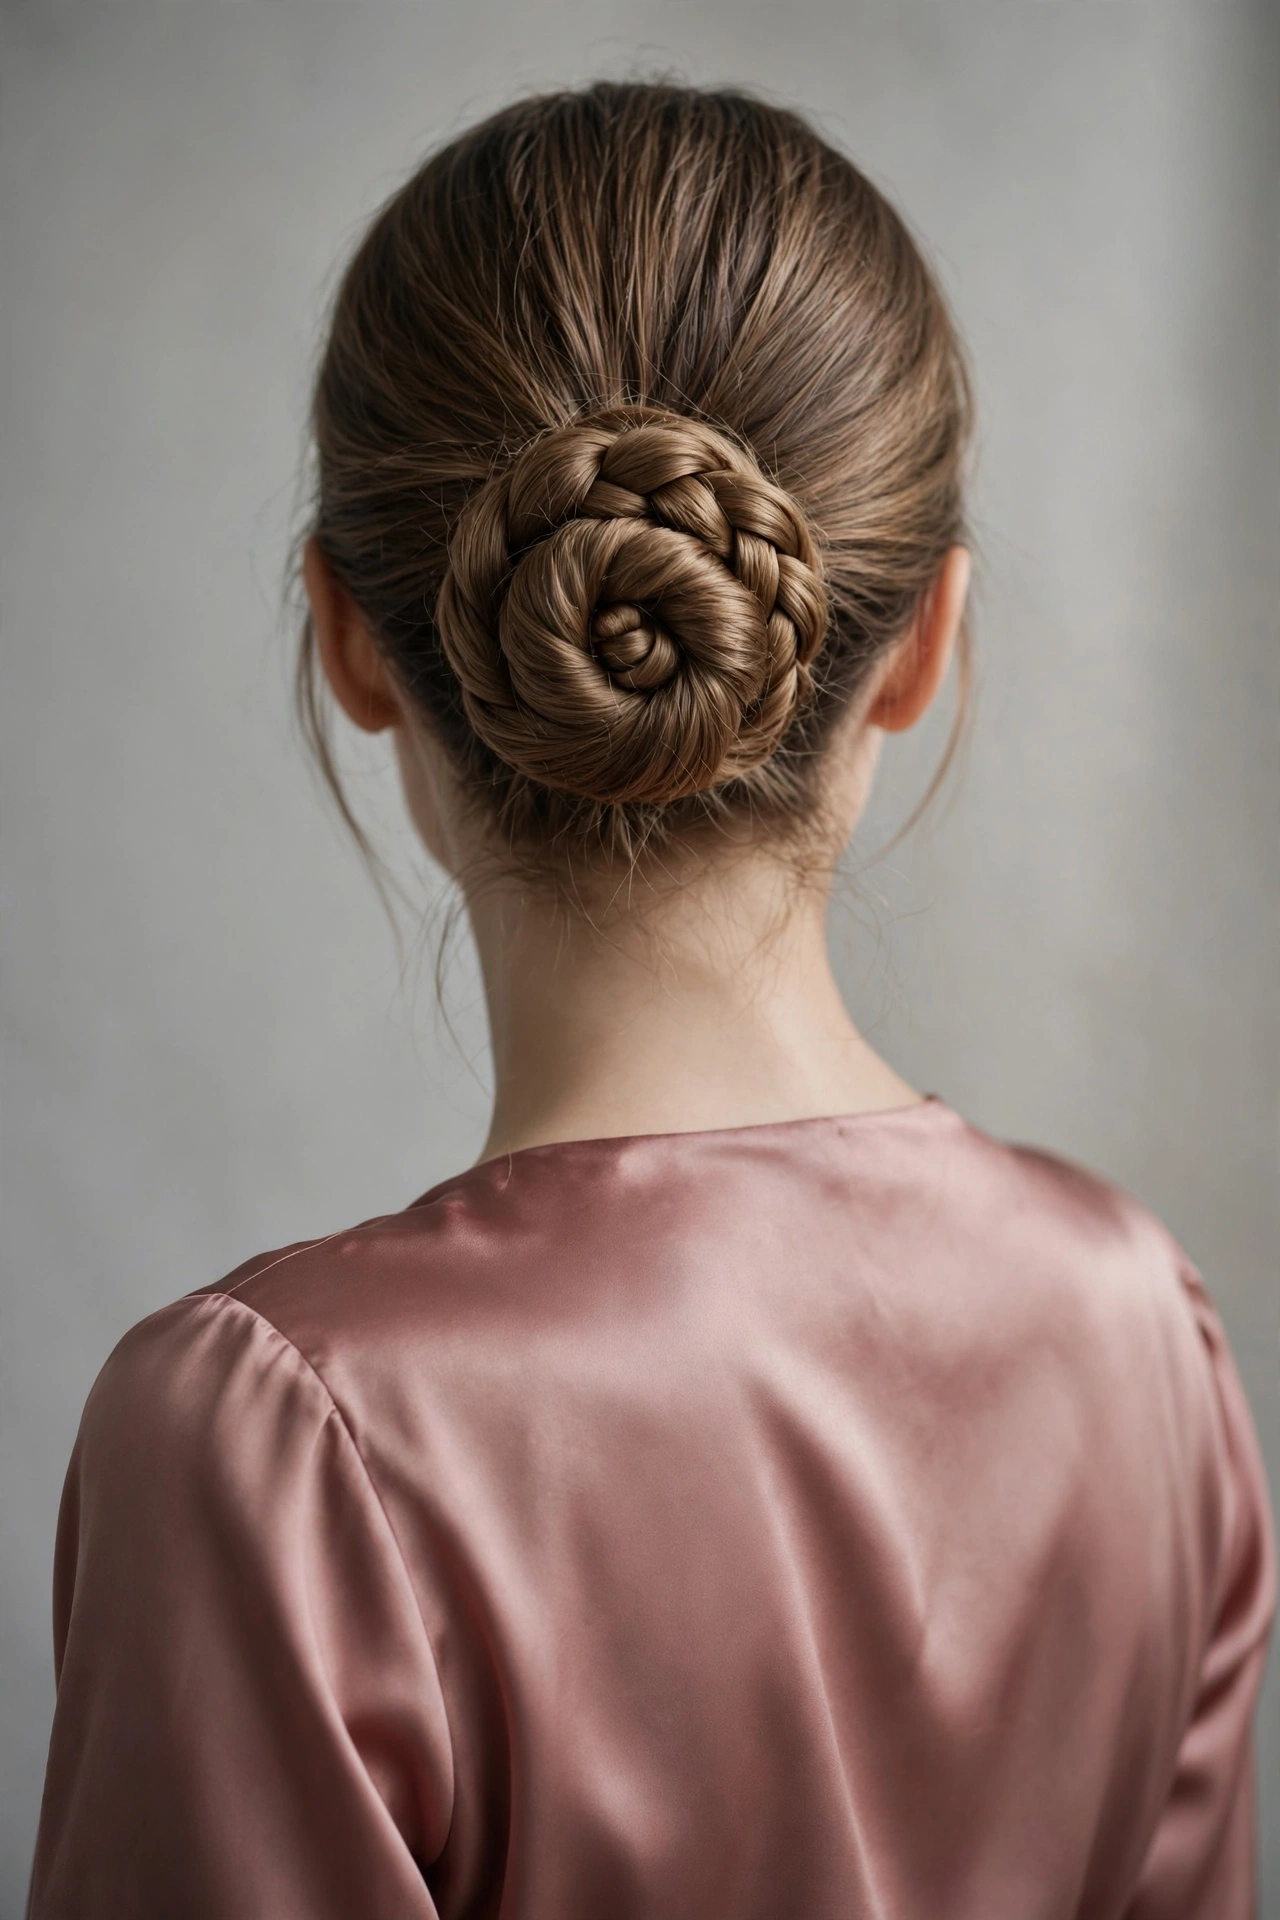
The Braided Chignon
Braiding before coiling expands the hair’s surface area, so the finished knot at the nape looks noticeably fuller than the same hair simply twisted.
Fine hair benefits most from this, which is exactly why stylists reach for it on clients who want a bun with visible substance. Pancake the braid before wrapping and the volume roughly doubles.
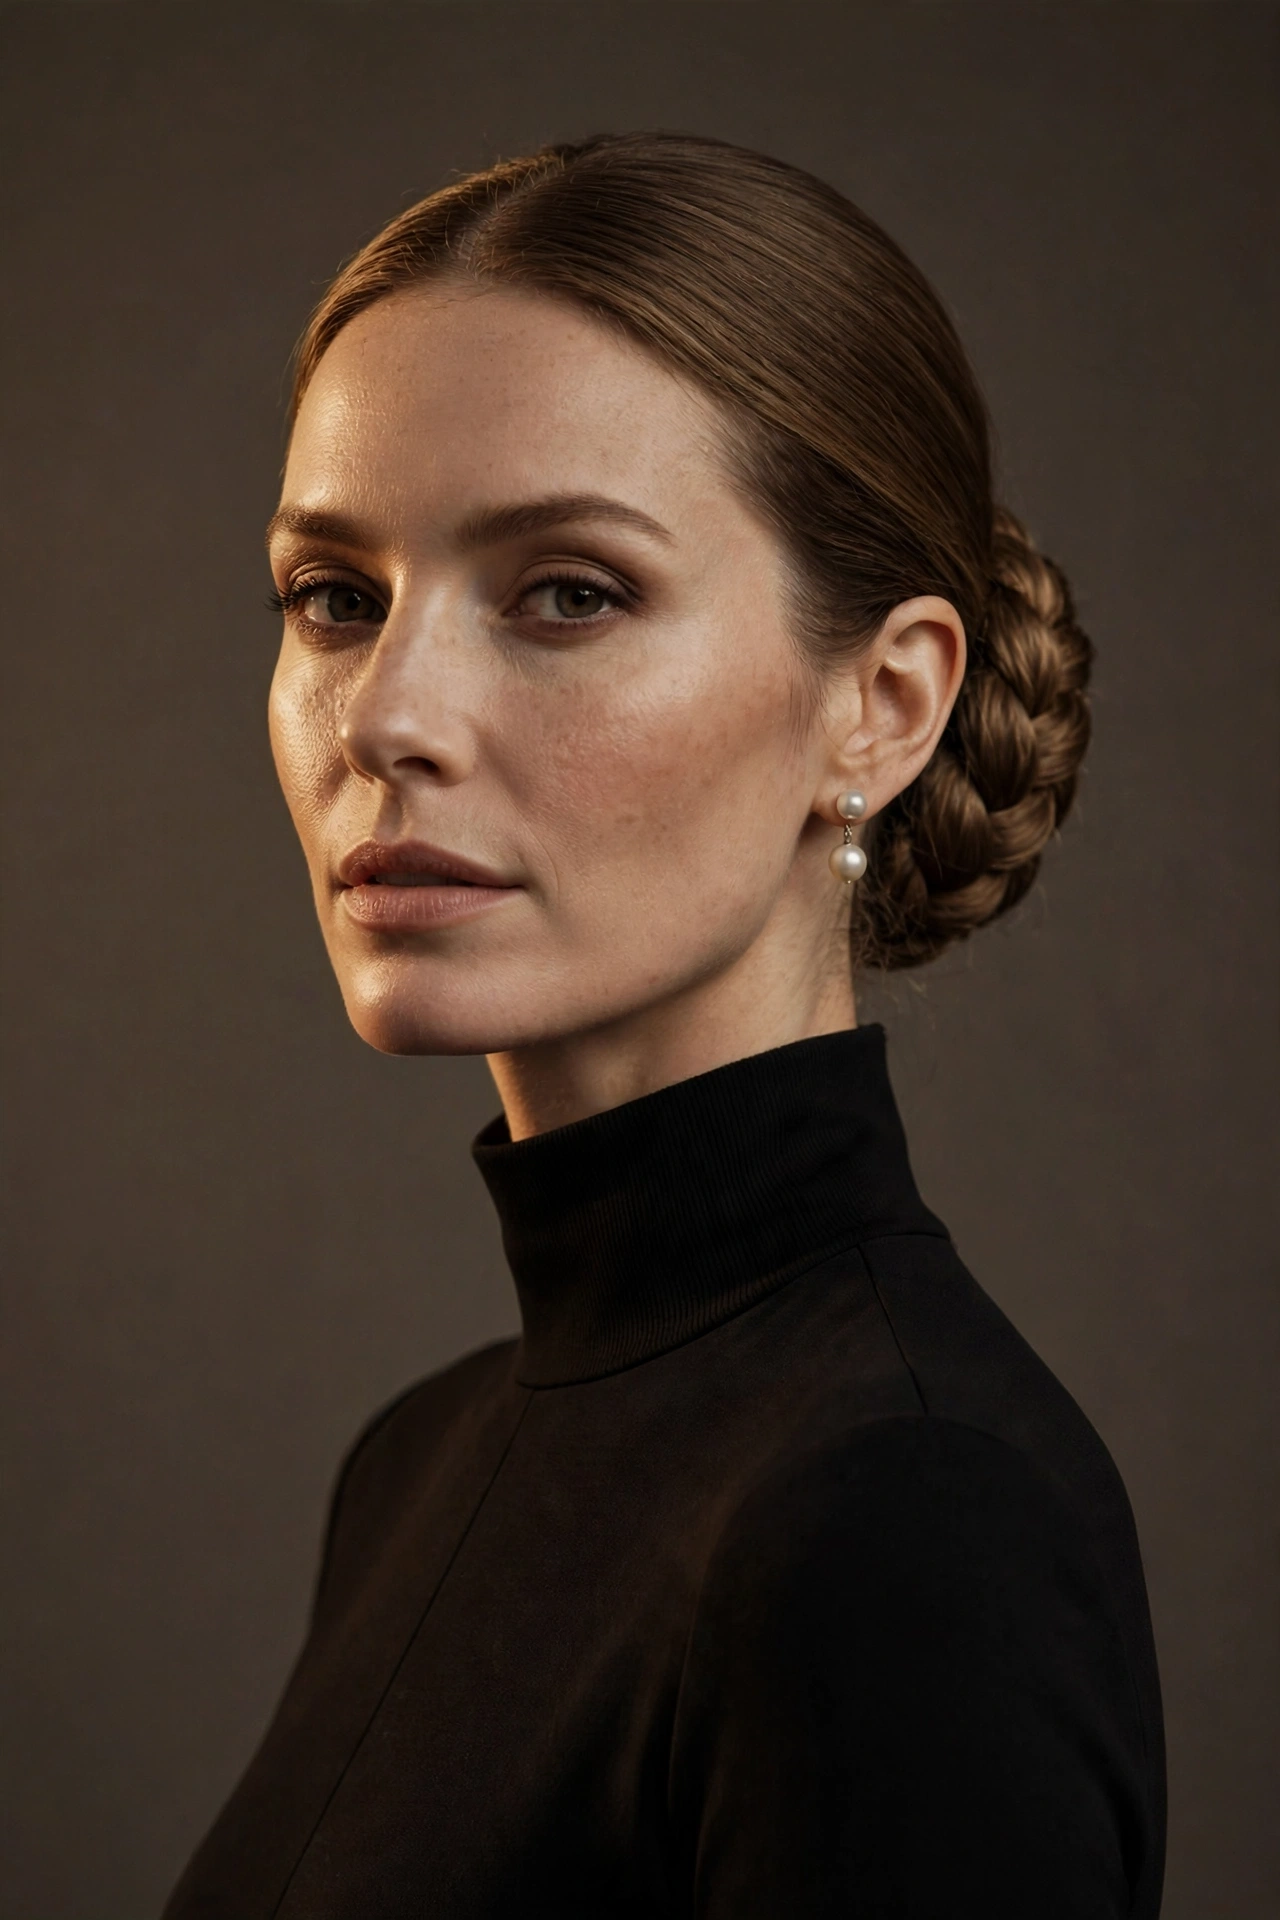
The Crown Braid
Wrapping a braid around the head creates a genuinely regal silhouette, and it’s more forgiving than it looks.
The braid only needs to be neat where it faces forward. Sections at the back can be considerably rougher and nobody will ever see them. Pin every four inches so it doesn’t shift as the day goes on.

Milkmaid Braids
Two braids, one on each side, crossed over the crown and pinned at the opposite temple.
Long hair is essential, since each braid needs enough length to reach across. Leave a few pieces loose at the front so it reads romantic rather than severe.

Braided Space Buns
Two braids gathered into small knots high on either side deliver playful energy in under five minutes.
Where they work:
- Festivals, concerts and weekend plans
- Second or third-day hair, which grips better
- Any length past the shoulders
- Days when the ends of your hair look rough, since they get tucked away
Let a few strands escape around the face deliberately.

Fast Braids for Natural and Textured Hair
Textured hair grips braids far better than straight hair, which makes these faster than the equivalent styles on smooth hair.
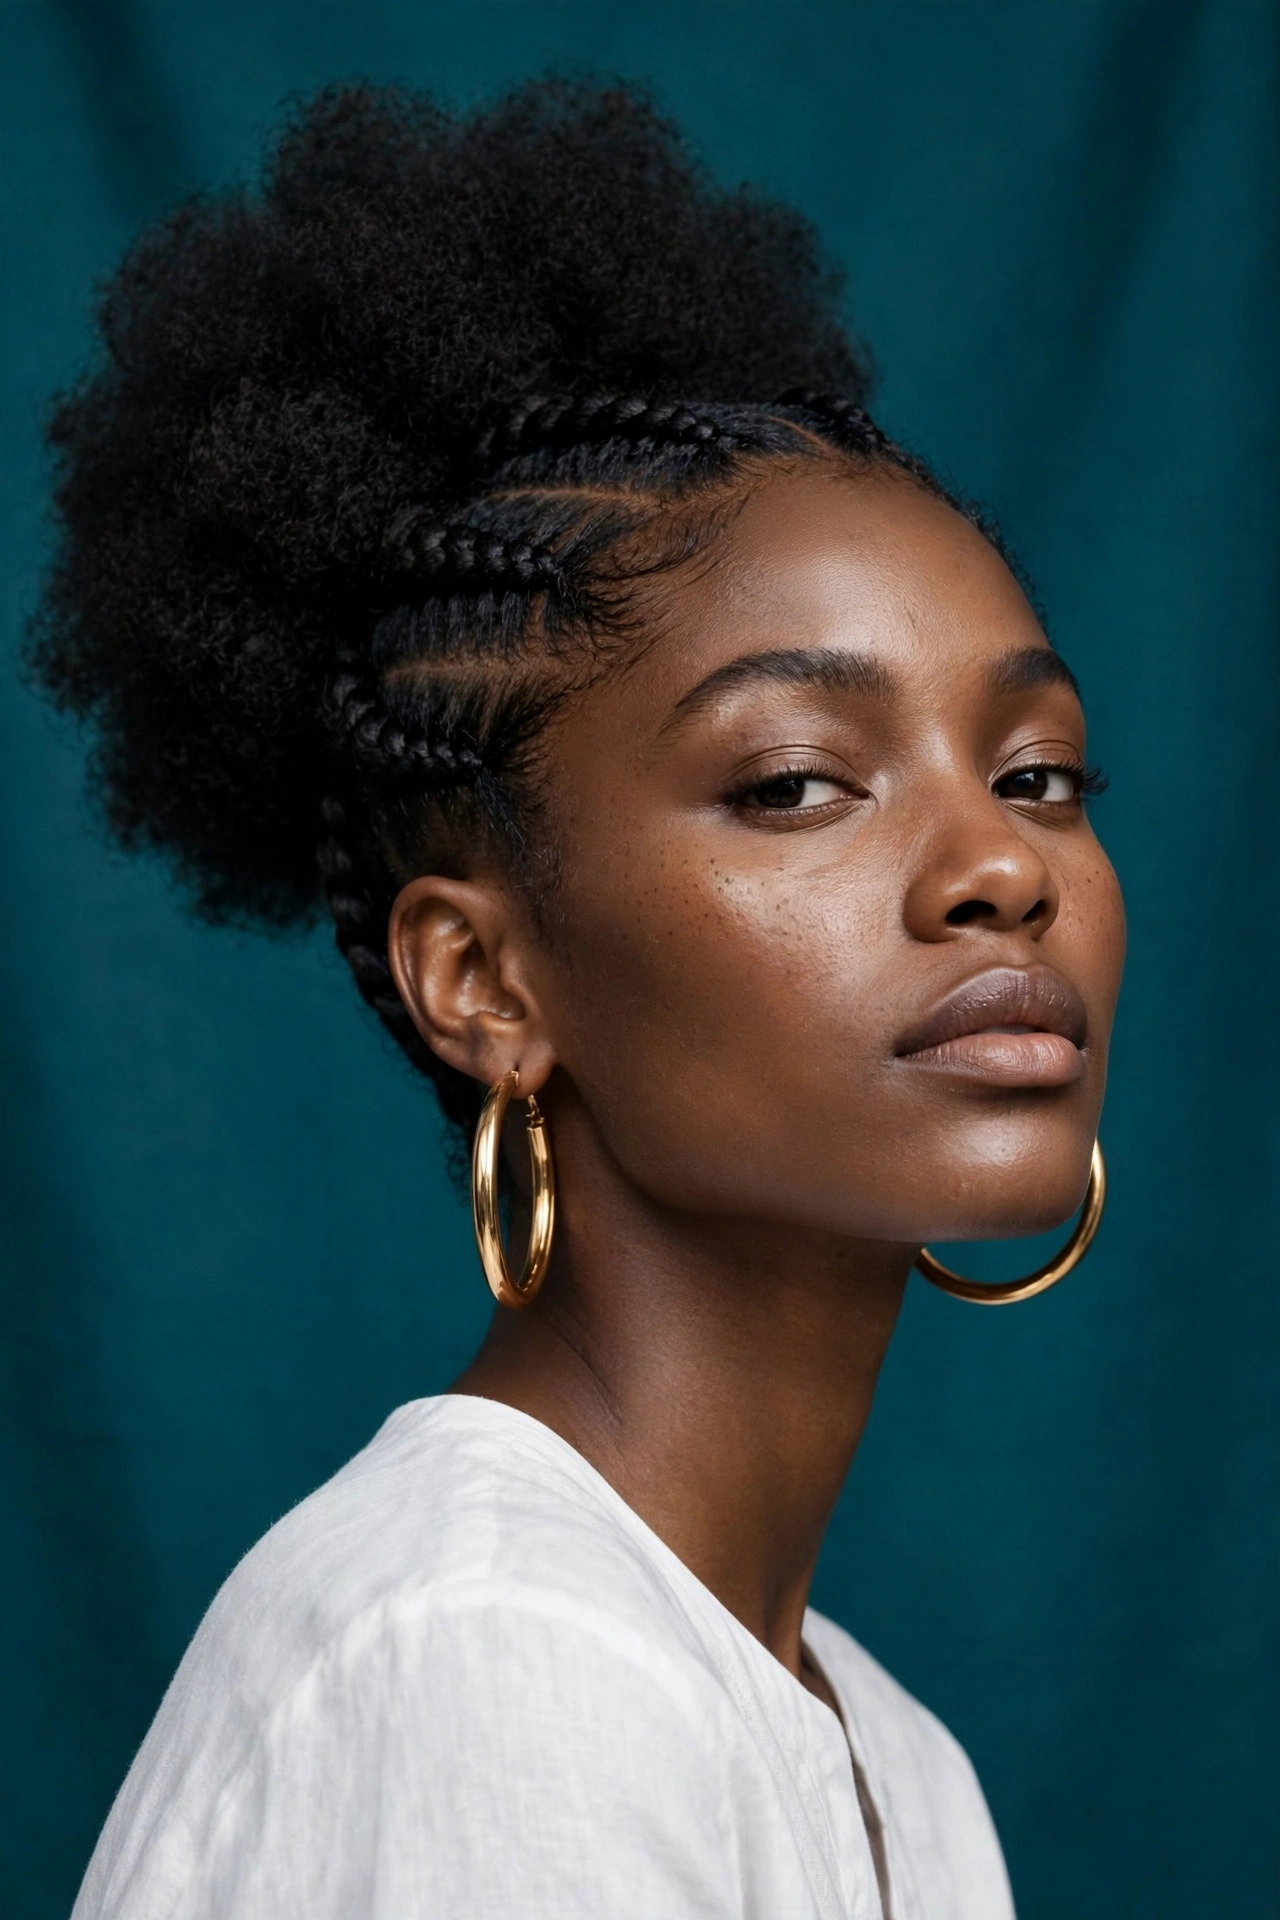
Two Quick Cornrows into a Puff
Braiding two chunky cornrows from the hairline back and releasing everything into a puff at the crown takes about ten minutes and lasts three or four days.
Chunky sections braid considerably faster than fine ones and put less tension on the scalp. This is one of the defining quick looks of 2026, appearing constantly in salon feeds.
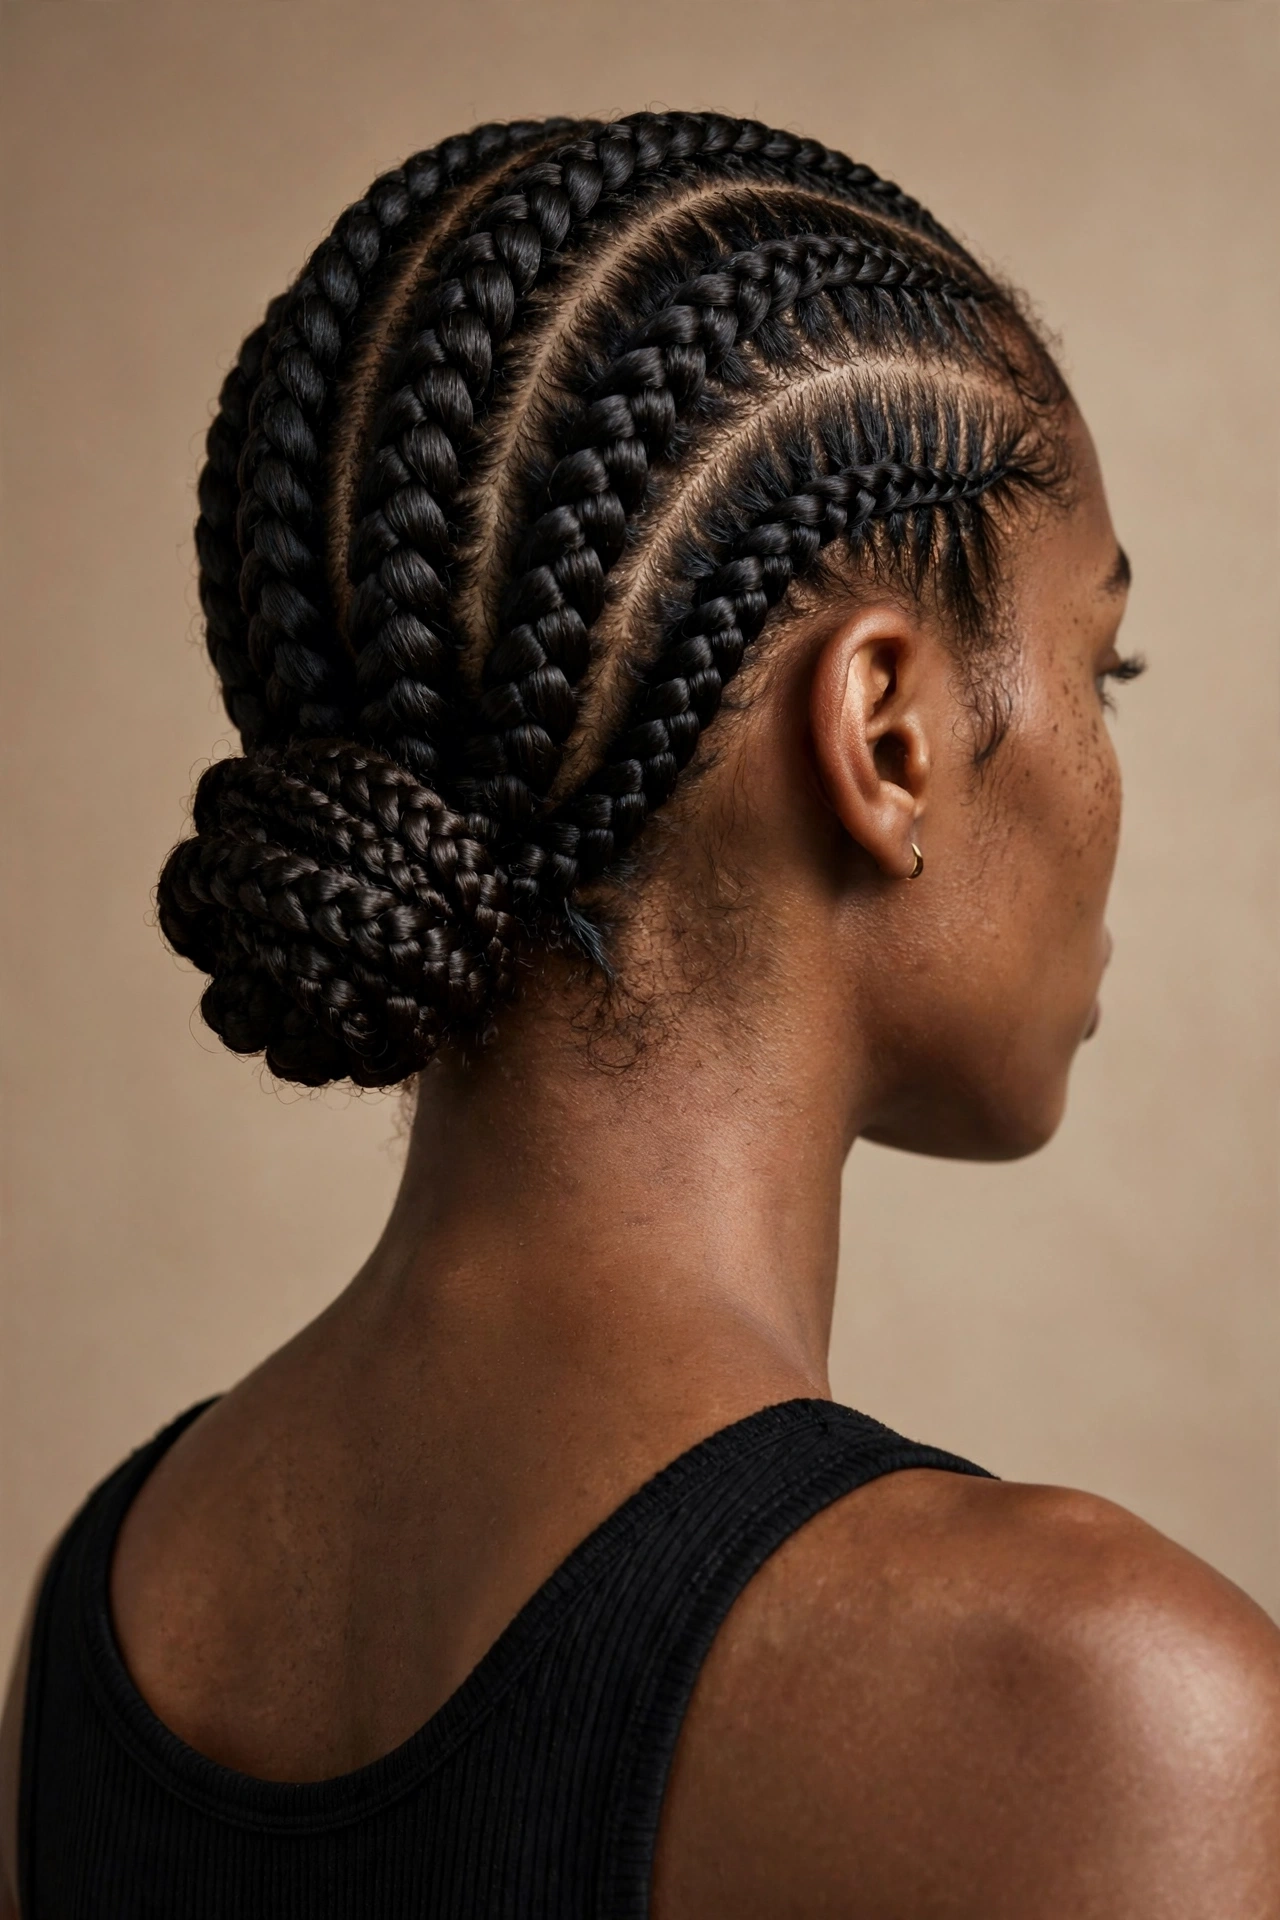
Half-Up Cornrows into a Bun
Braiding only the front half back, then gathering everything into a bun, gives you structure where you want it and leaves the rest untouched. Half the head means half the time, which is the whole point.
Chunky Feed-In Front Braids
Adding extension hair gradually as you braid the front sections creates a neat, seamless look with no bulk at the root.
Two or three feed-in braids framing the face take about fifteen minutes and hold for two weeks, which makes them one of the best time investments on this list.
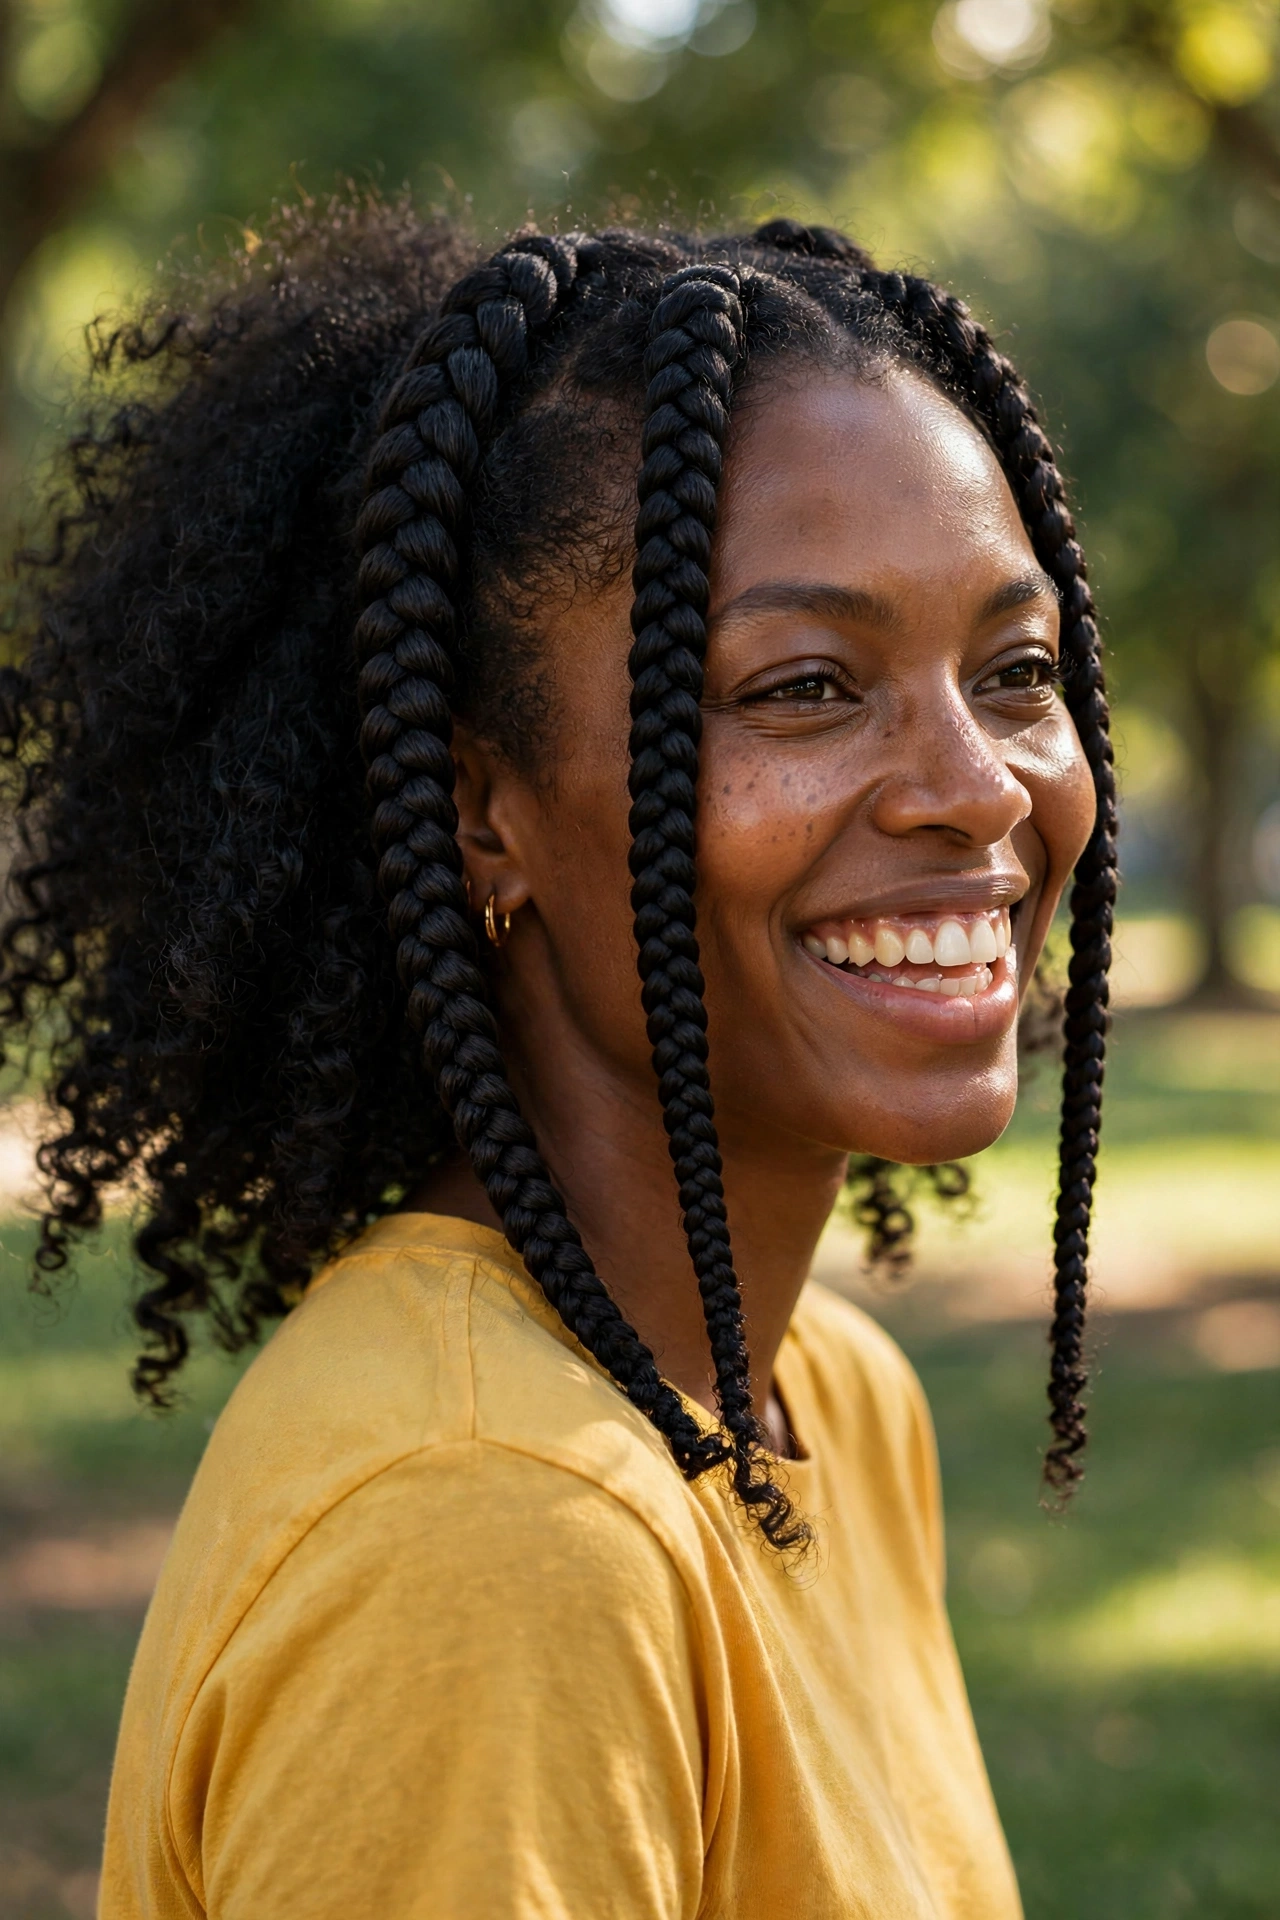
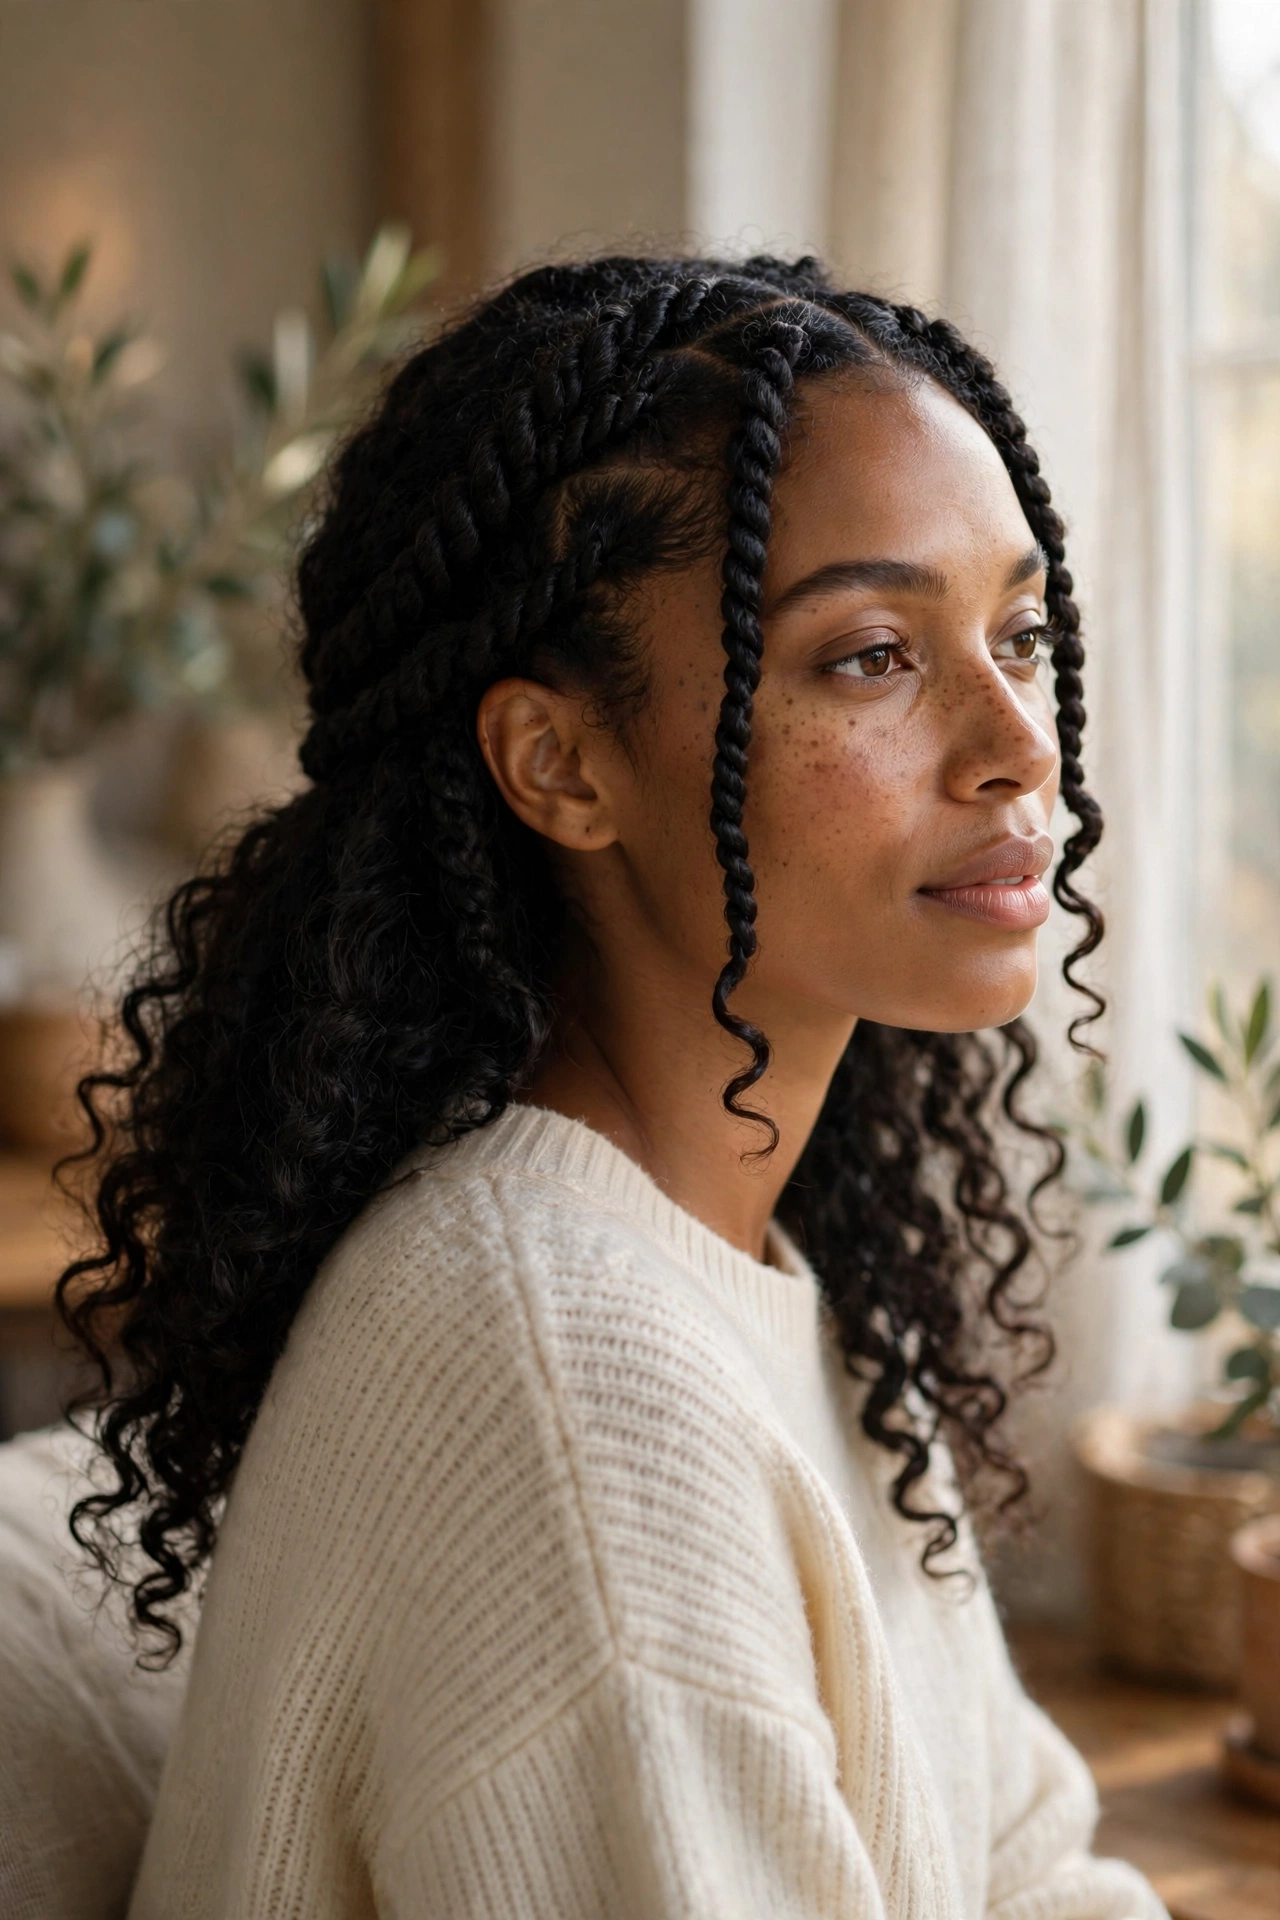
Two-Strand Twist Front with Loose Back
Twisting just the front sections while leaving your natural texture loose at the back is the fastest textured style here, often under five minutes.
Twists grip textured hair naturally, so they hold without product. It also solves the specific problem of the front flattening while the back still looks good.
Quick Braids with Detail and Accessories
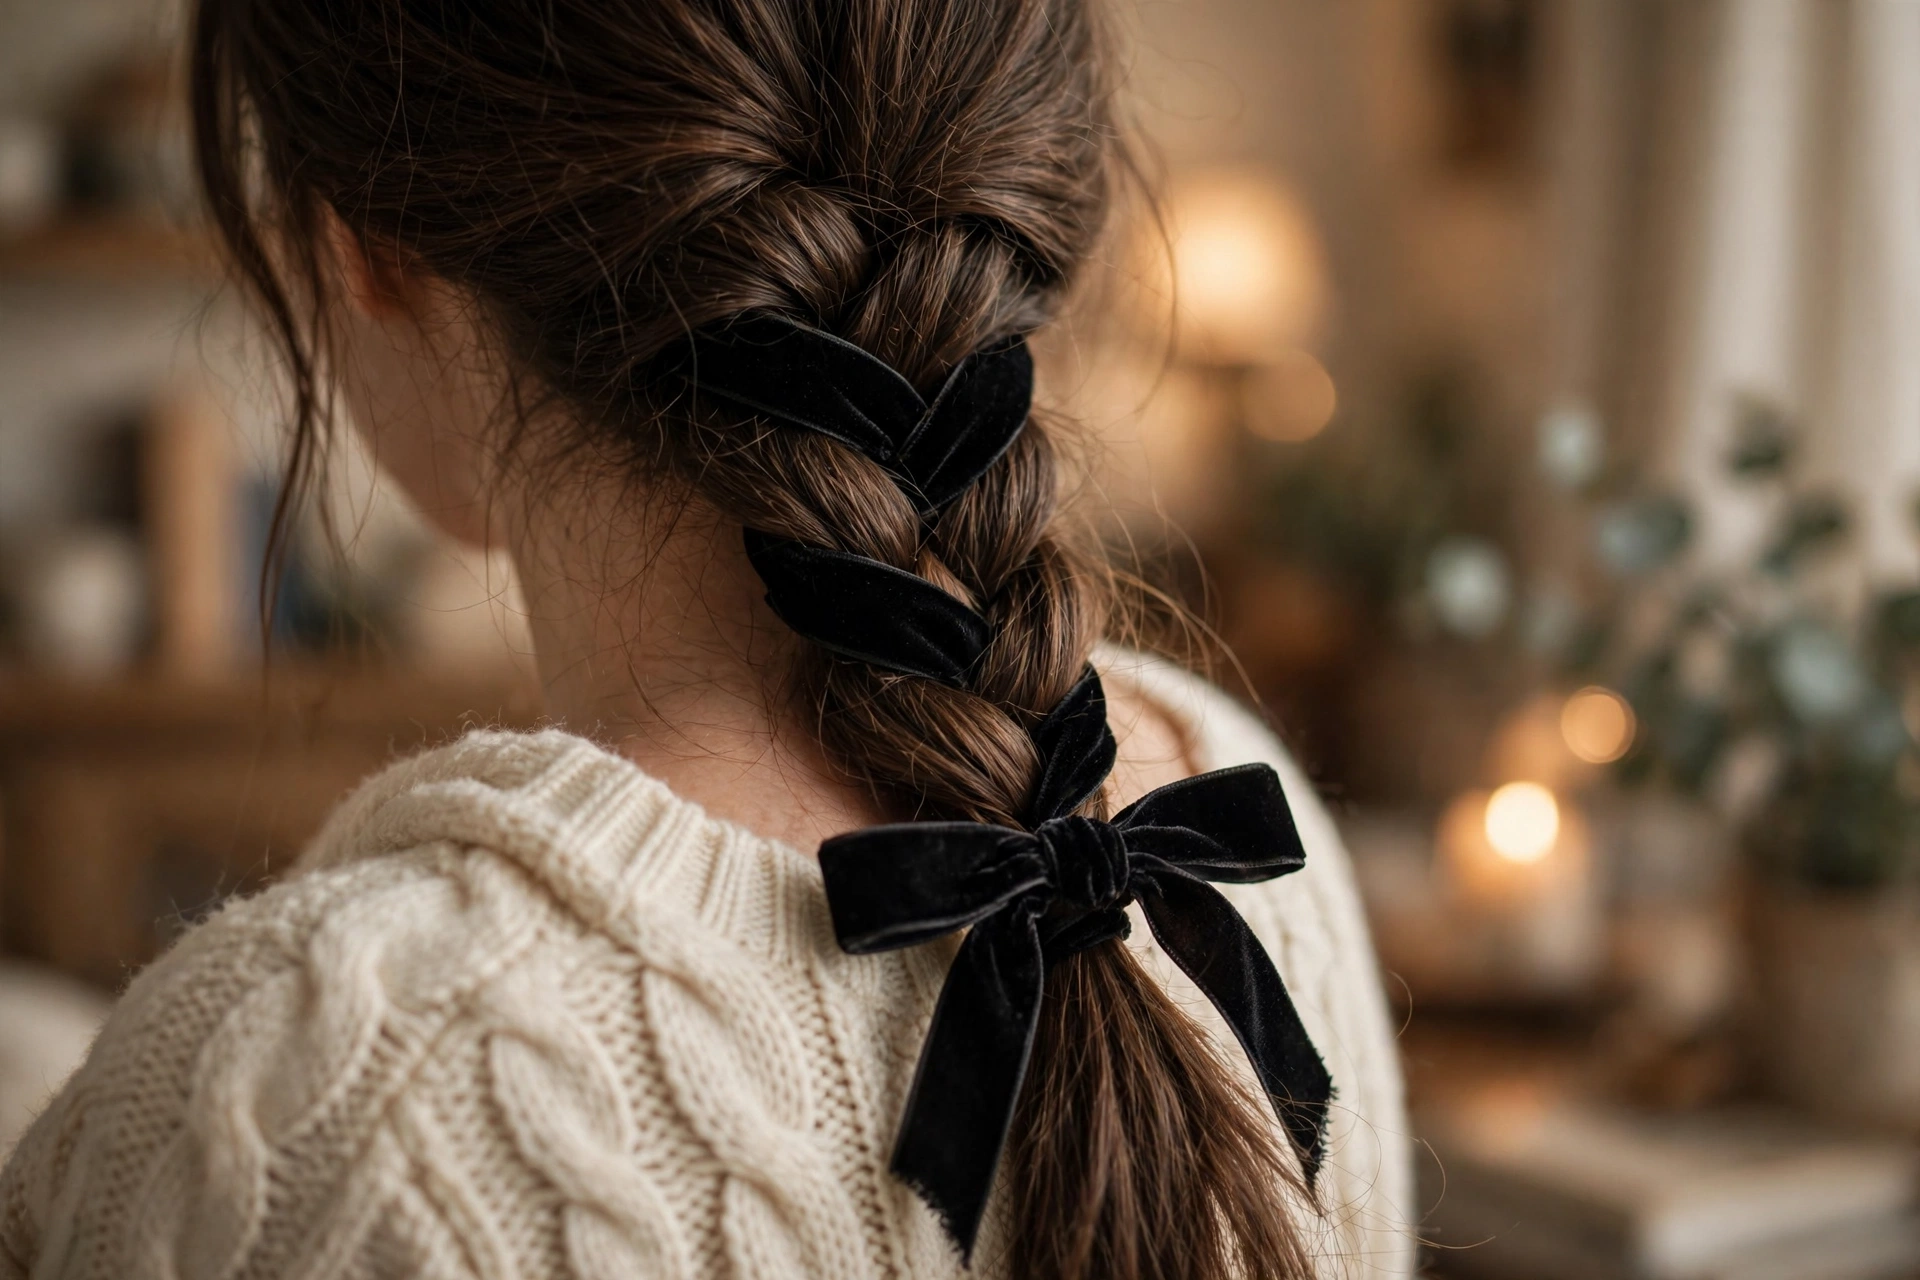
The Ribbon Braid
Why do ribbons make such a difference? Because they add colour and structure without requiring any extra skill from you.
Weave a narrow silk or velvet ribbon in as a fourth strand, or simply tie it at the base once you’re done. Black velvet reads formal, cream silk reads soft, and a colour pulled from your outfit reads considered.
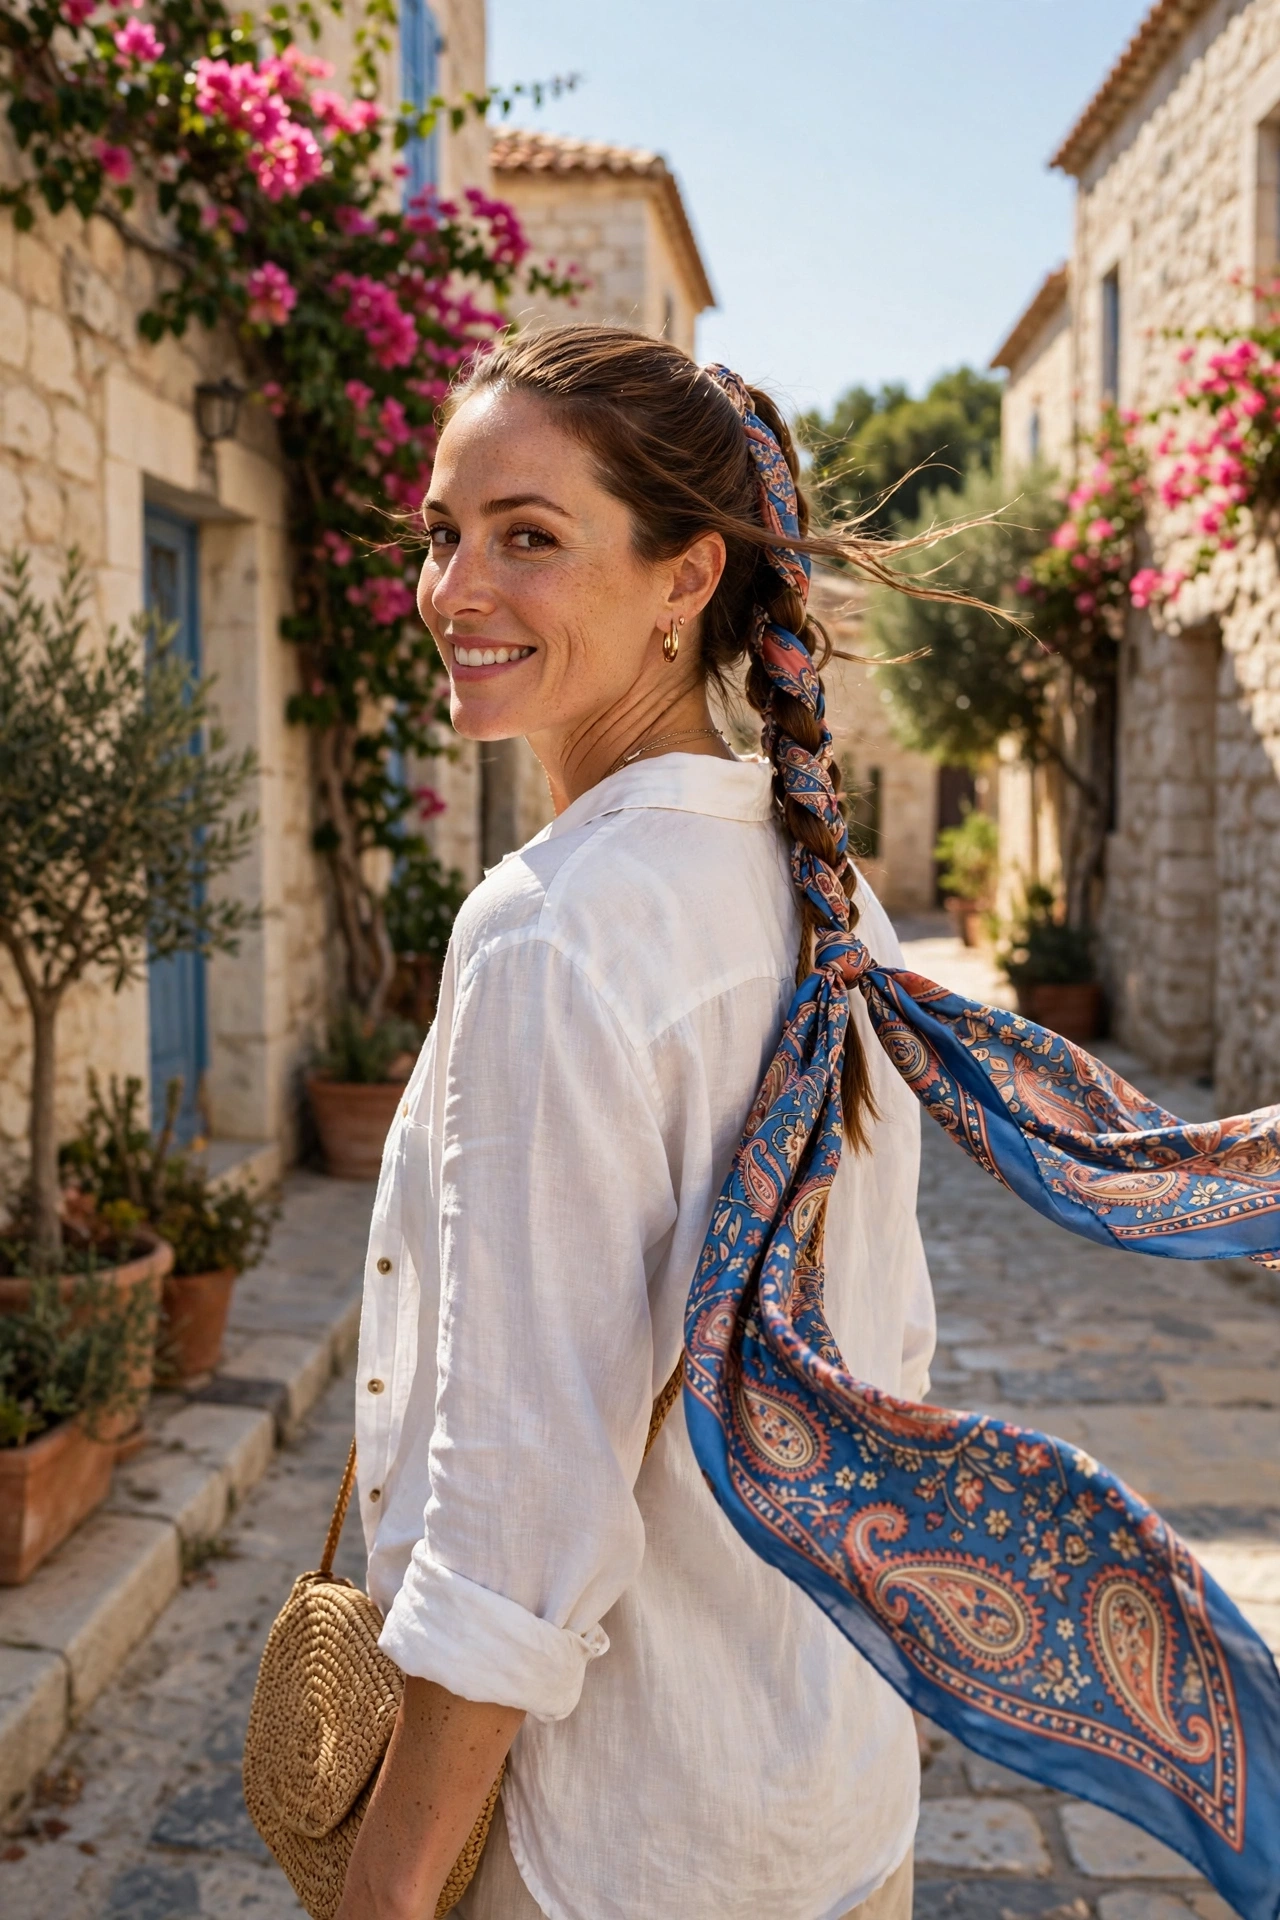
The Silk Scarf Braid
A scarf hides an elastic, introduces pattern and makes a two-minute braid feel intentional. Tie it at the base, wrap it over part of the braid, or weave a narrow one through the plait as you go. Silk also protects the hair at the tie point far better than an elastic does.
Braided Front Pieces
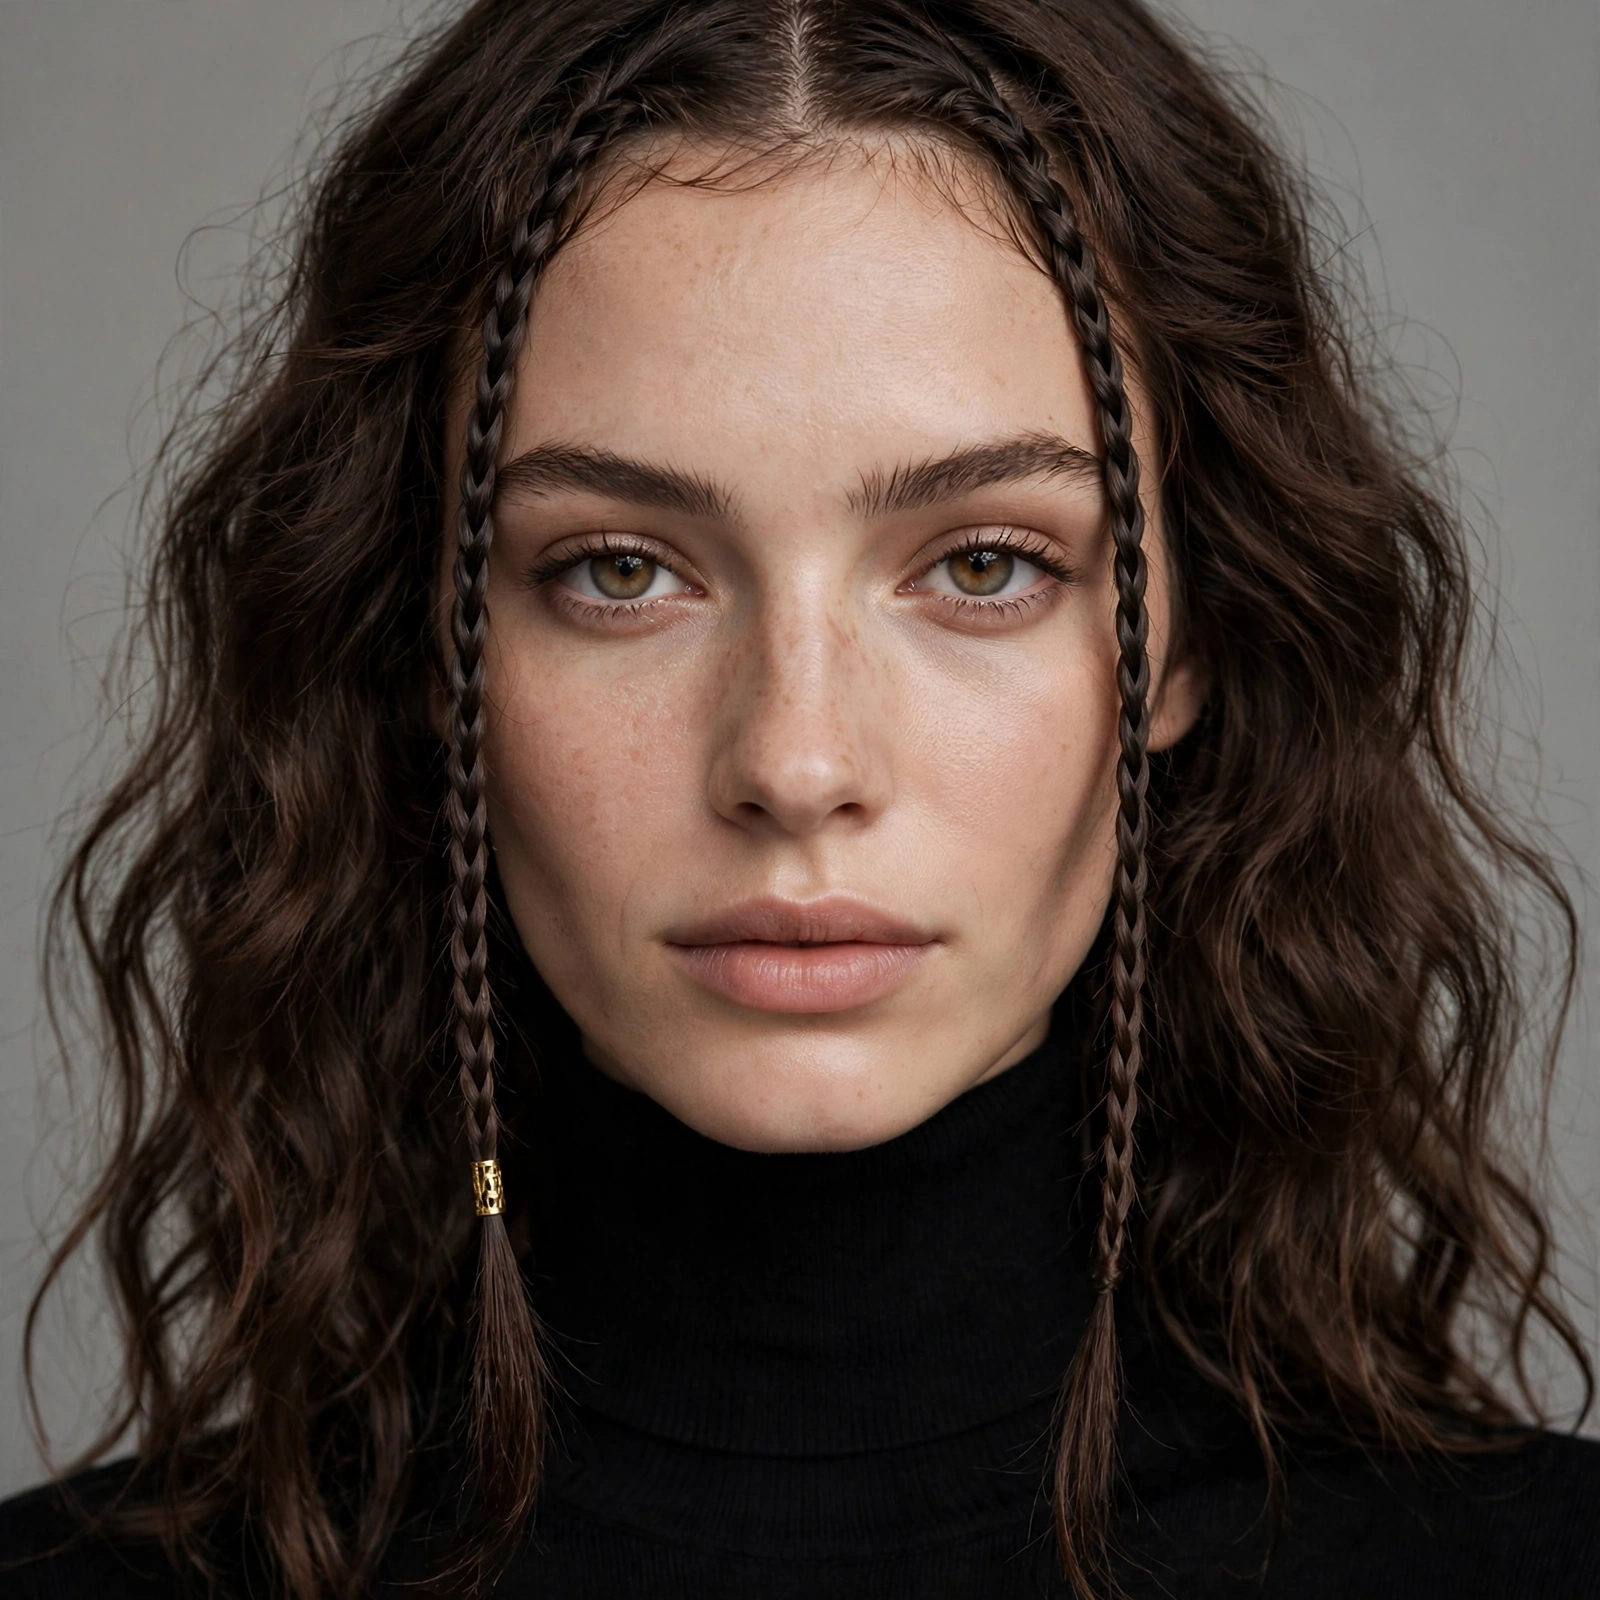
Small braids in just the front sections, worn loose among the rest of your hair, became one of the defining details of the year.
Two or three near the temple. That’s all. Add a small cuff or bead to one of them and it looks like you planned your whole morning around it.
The Waterfall Braid
Sections dropped out of the braid as you go create strands cascading downward, which is where the name comes from.
It looks best on hair with body and movement, so a volumising spray at the crown beforehand genuinely helps. Fine hair may need loose curls set first to give the falling sections something to show. Festivals and date nights are the natural home for it.

Getting Braids to Actually Hold and Look Good
Most quick-braid roundups skip the mechanics entirely. These are the details that decide whether your braid survives past 11am.
The Day-Two Rule
Freshly washed hair is smooth, and smooth hair slips out of braids. This is the single biggest reason home braids fail.
Two or three days post-wash gives you natural grip. If you must braid clean hair, dry texture spray or a light grit pomade worked through the mid-lengths recreates that texture artificially. Sea salt spray works too, though it can be drying on textured or colour-treated hair. Plan your braided days around your wash schedule and half your problems disappear.
Learn the Six Moves, Not Fifty Styles
Every braid you have admired is one of a small number of basic motions in different arrangements.
Three-strand, French, Dutch, fishtail, rope twist and pull-through. That’s essentially the whole vocabulary. Once those six are automatic, styles like milkmaid braids, crown braids and braided buns stop being separate skills and become obvious combinations. Learning the moves is a far better use of a Sunday afternoon than trying to follow twenty individual tutorials.
Pancaking, and Why Your Braid Looks Thin
Gently pulling the outer edges of a finished braid outward is called pancaking, and it can double the apparent thickness.
Work from the bottom of the braid upward, tugging small amounts at a time. Hold the base with your other hand so the whole thing doesn’t loosen. Fine hair benefits most from this, though even thick hair looks better pancaked, because a tight uniform braid reads dated while a slightly expanded one reads current.
Time Available Versus Style
| You Have | Try This | Skill Needed |
|---|---|---|
| 2 minutes | Bubble braid, braided ponytail wrap, face-framing braids | None |
| 5 minutes | Three-strand side braid, messy single braid, half-up braid | Minimal |
| 5 to 8 minutes | French braid, Dutch braid, rope twist, pull-through | Some practice |
| 8 to 12 minutes | Braided bun, chignon, fishtail, space buns | Comfortable braiding |
| 12 to 20 minutes | Crown braid, milkmaid, waterfall, cornrows to a puff | Confident |
Troubleshooting Common Braid Problems
| Problem | Likely Cause | Fix |
|---|---|---|
| Braid slides out within an hour | Hair too clean and slippery | Texture spray or braid on day-two hair |
| Braid looks thin and tight | Not pancaked | Pull edges outward from the bottom up |
| Lumpy, uneven braid | Inconsistent section sizes | Slow down, keep sections equal |
| Front sections escape | Layers too short to hold | Pin them or use a light grit pomade |
| Braid loosens through the day | Elastic too large or too smooth | Use a small elastic that grips |
| Scalp sore after braiding | Tension too tight at the hairline | Braid looser at the front specifically |
A Note on Edge Control
If you’re rotating through braided looks regularly, use an alcohol-free edge control.
Repeated application of alcohol-heavy formulas dries the hairline and contributes to breakage exactly where it shows most. Your edges will tell you when you’ve overdone it, usually as thinning at the temples. Wash it out properly rather than layering fresh product over old, and give your hairline product-free days between styles.
Practising Without Frustration
Braiding at the back of your own head is the hardest possible starting point, which is why so many people conclude they can’t braid.
Start with the hair pulled forward over one shoulder where you can see your hands. Move to the side, then to the back once the motion is automatic. Practising on damp hair also helps, since it grips better and forgives uneven tension while you’re learning.
Final Thoughts
Quick braided hairstyles are the most useful thing in your styling toolkit precisely because they solve so many different problems at once. Bad hair day, no time, growing out layers, third day after a wash, a sudden dinner invitation. A braid handles all of them, and it protects your hair from the wind, friction and heat that cause breakage over time.
Learn the six moves rather than chasing individual tutorials. Braid on day-two hair, or fake it with texture spray. Pancake everything, because a tight braid looks dated and a loosened one looks current. Practise with your hair over your shoulder before attempting anything behind your head. Keep your edge control alcohol-free if braids are becoming a habit.
Pick two styles from this list and practise them until they’re automatic. Having two reliable braids in your back pocket does more for a rushed morning than knowing twenty you can’t quite manage.
Frequently Asked Questions
Why does my braid keep falling out?
Almost always because your hair is too clean. Freshly washed hair is smooth and slips out of a braid within the hour. Braid on day-two hair, or work dry texture spray through the mid-lengths first to create grip. A small gripping elastic helps too.
What is the easiest braid for a beginner?
The classic three-strand braid pulled over one shoulder, where you can see your hands. It’s the foundation for every other braid. After that, the bubble braid and pull-through braid look impressive while requiring no braiding technique at all.
How do I make my braid look thicker?
Pancake it. Gently pull the outer edges of the finished braid outward, working from the bottom upward and holding the base steady with your other hand. This can nearly double the apparent thickness and instantly makes the braid look more current.
What is the difference between a French and Dutch braid?
Direction. A French braid crosses strands over each other, so the braid sits flat and slightly sunken. A Dutch braid crosses them underneath, which makes the braid sit raised on top of the head with far more visible definition.