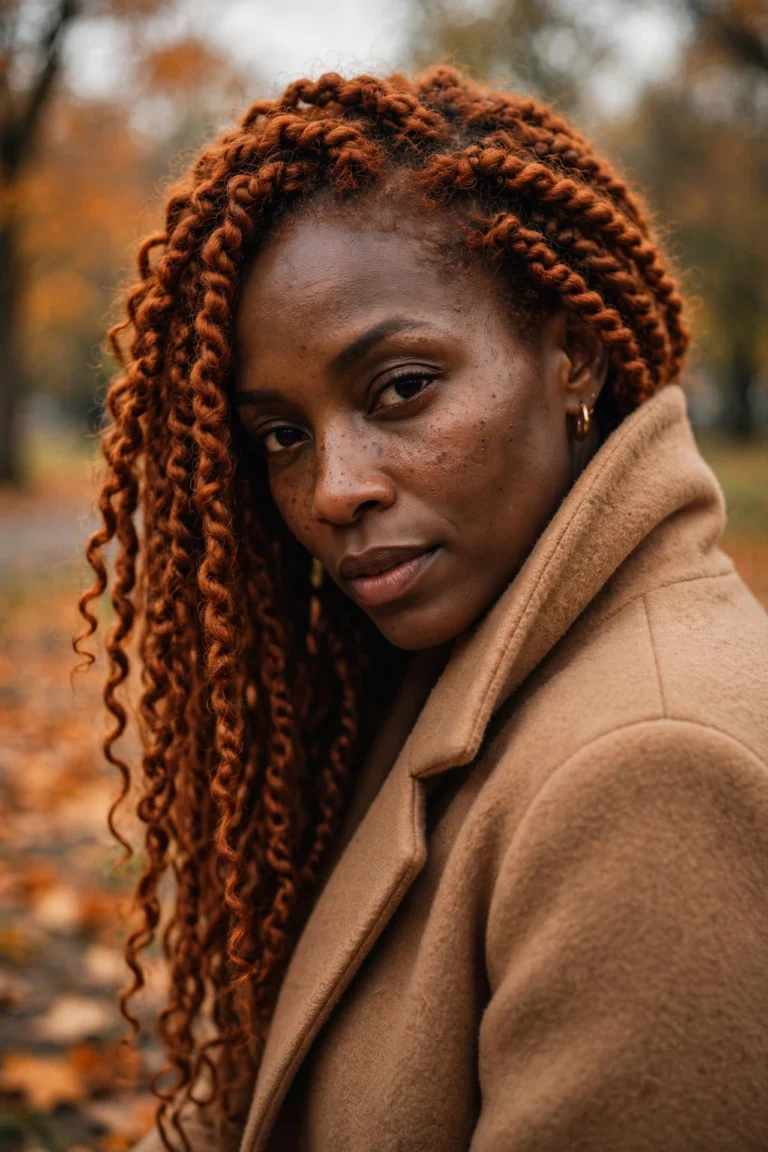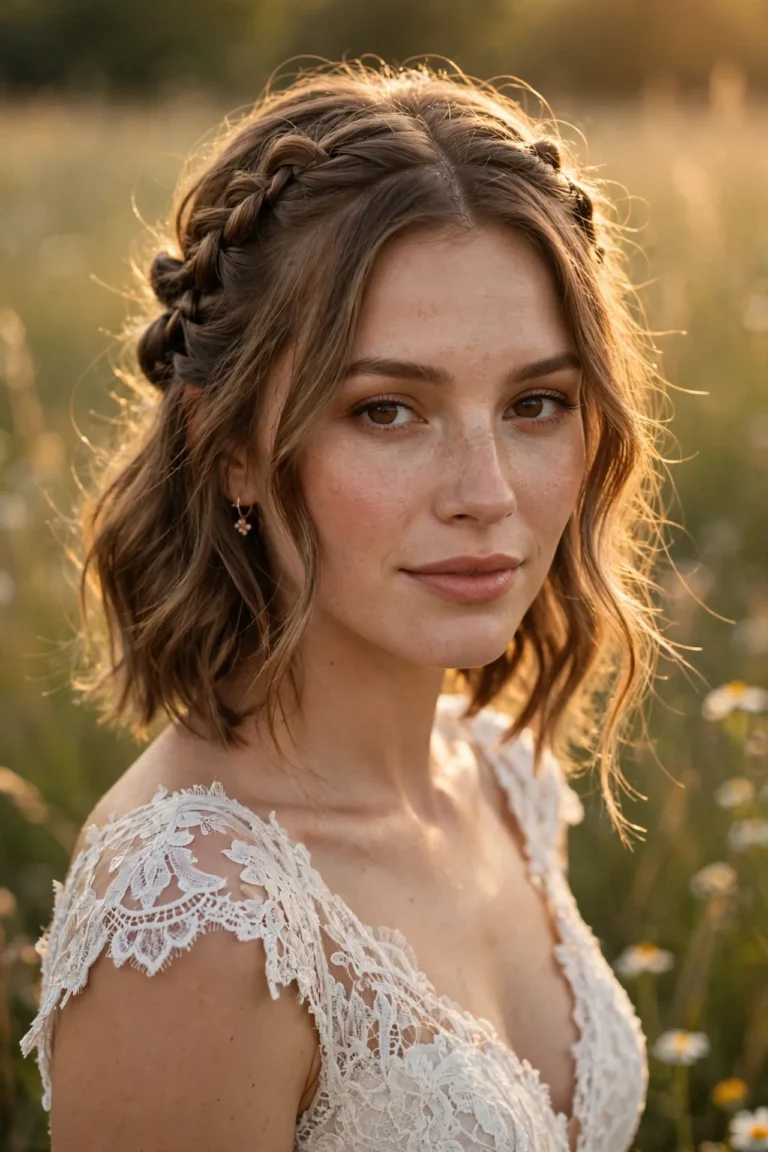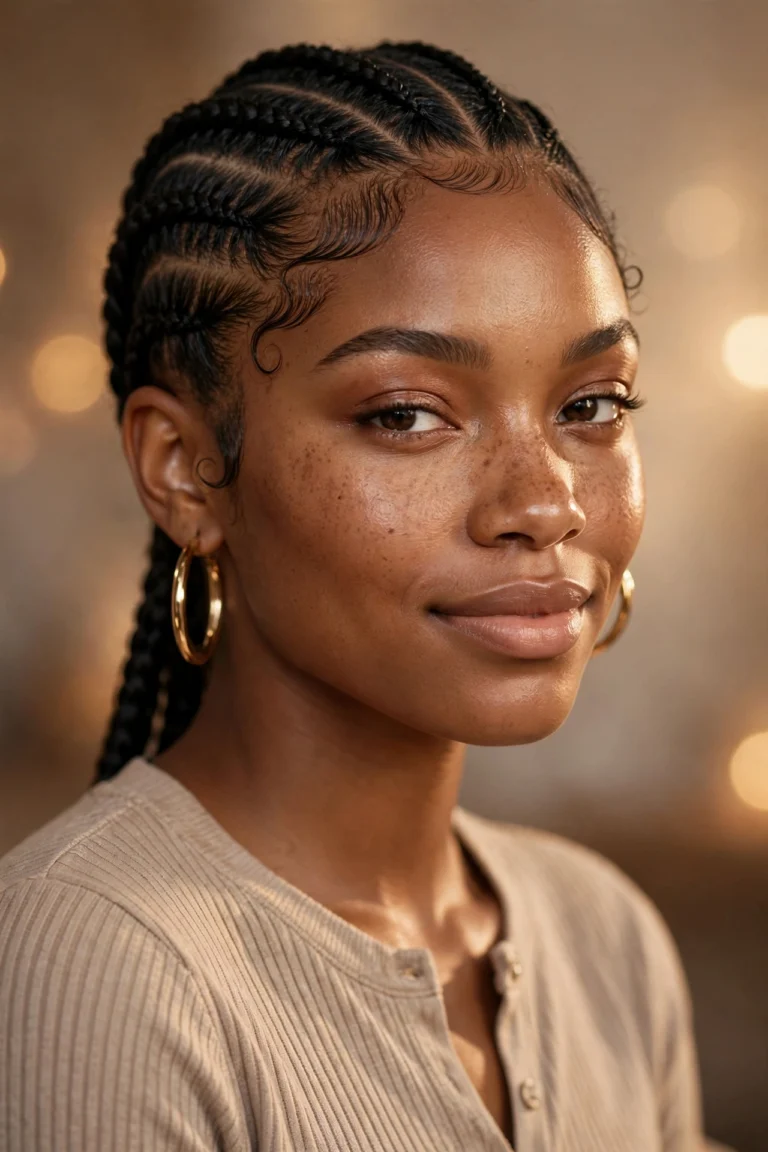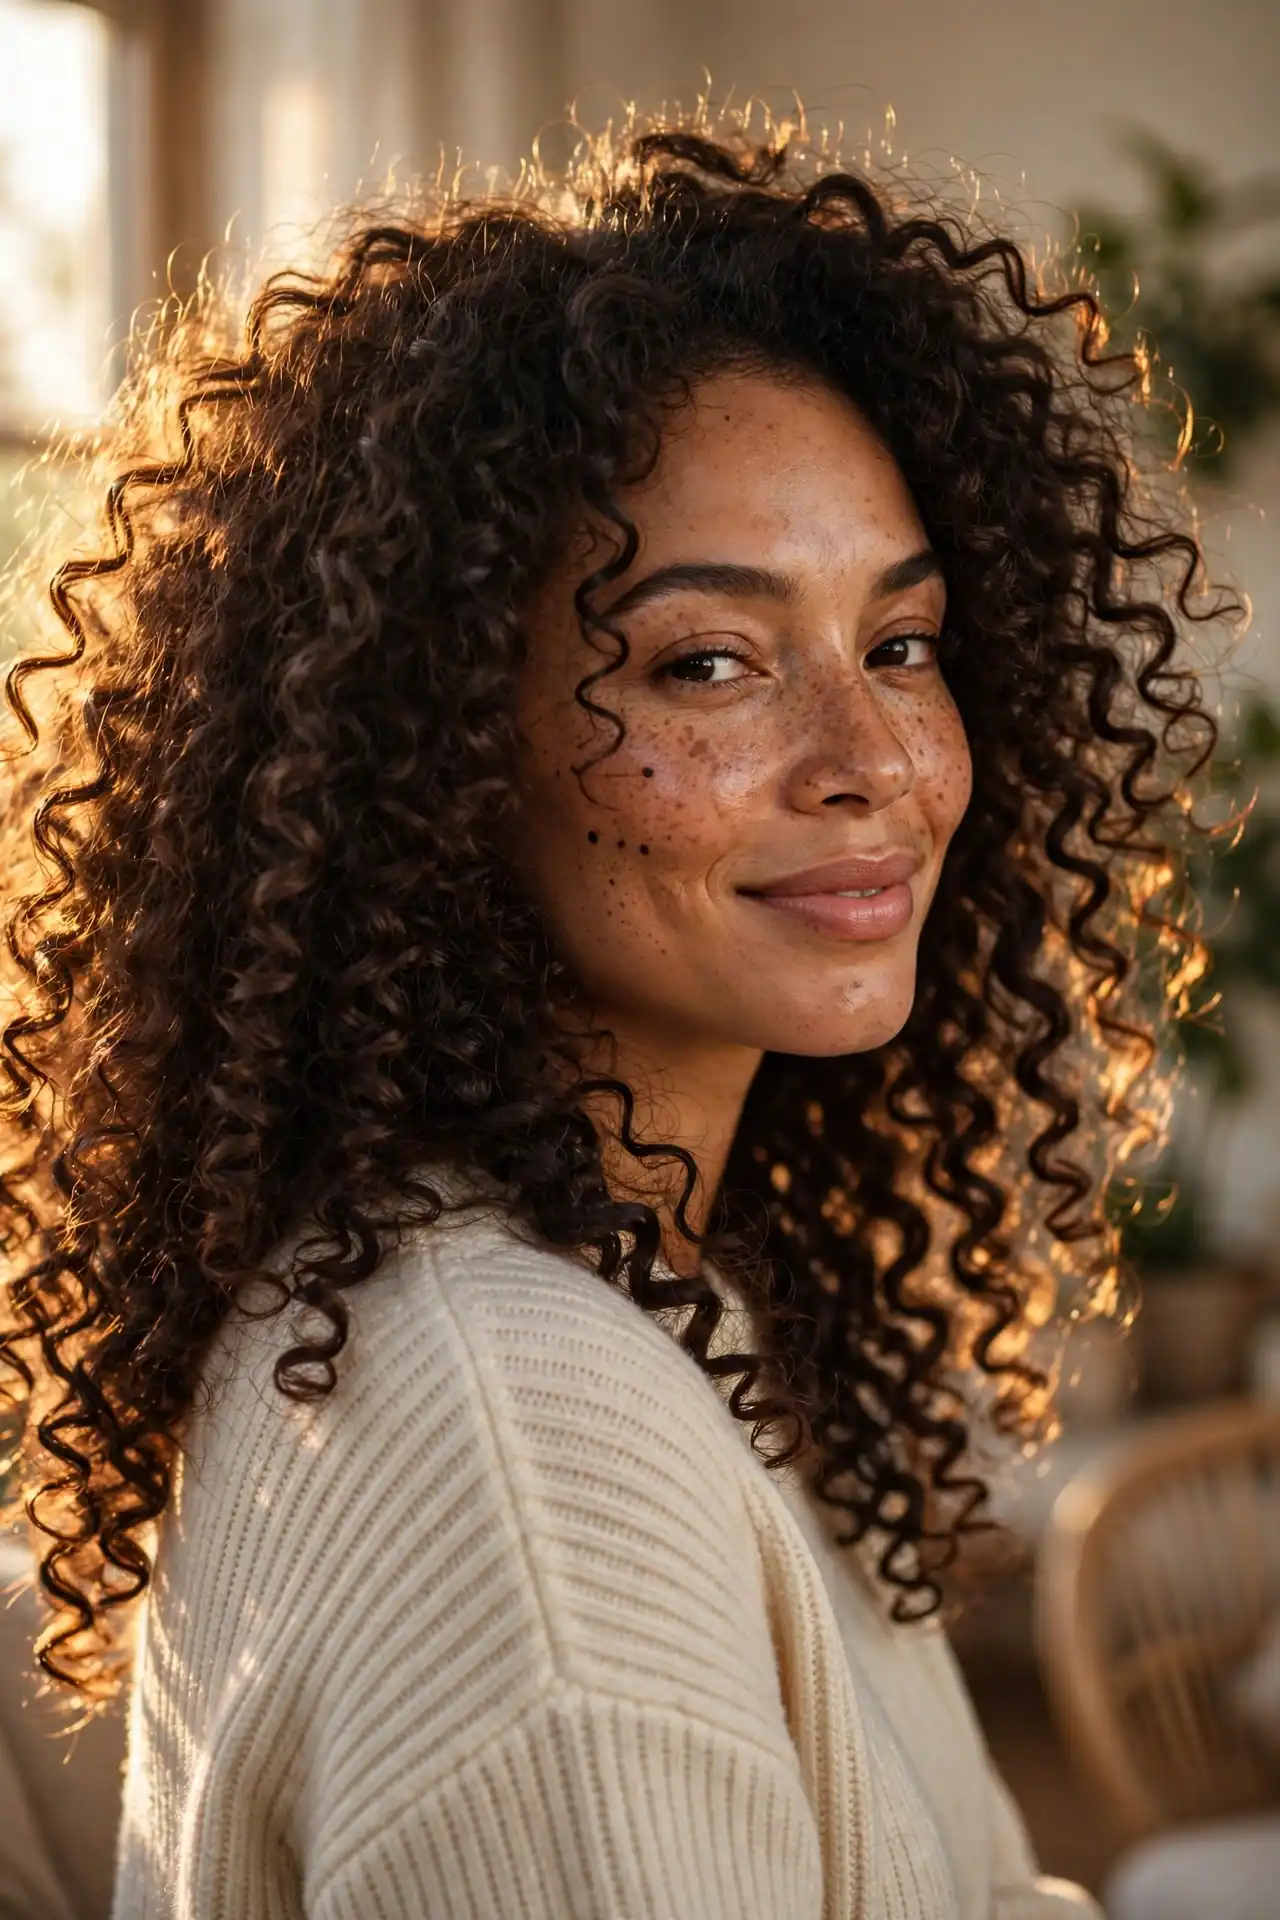
25 Gorgeous Curly Hairstyles You’ll Want to Try This Year
Something has genuinely shifted in how curls are being worn. The crunchy, sculpted, not-a-hair-out-of-place look that dominated the 2010s has been replaced by something softer, and the curly hairstyles filling salon chairs right now are built around letting hair do what it naturally wants to do. Tiffanie Richards, master colourist at Louise O’Conner Salon, has described the biggest current trend as lived-in soft curls with an air-dried texture, moving away from the stiff ringlets of previous years.
The demand is real, not manufactured. Google Trends data shows searches for curly hairstyles climbing roughly 30 percent since 2024, driven partly by Zendaya, Tracee Ellis Ross and Lupita Nyong’o wearing their natural texture at high-profile events rather than straightening for them. Salons report the same thing: clients now want a cut that holds its shape air-dried, not one that only looks good blown out.
Twenty-five ideas follow, covering cuts, everyday styling, heatless definition and occasion looks across the full curl spectrum.
Curly Cuts Defining 2026
The cut matters more than any product you will ever buy. These six are what curl specialists are asked for most.
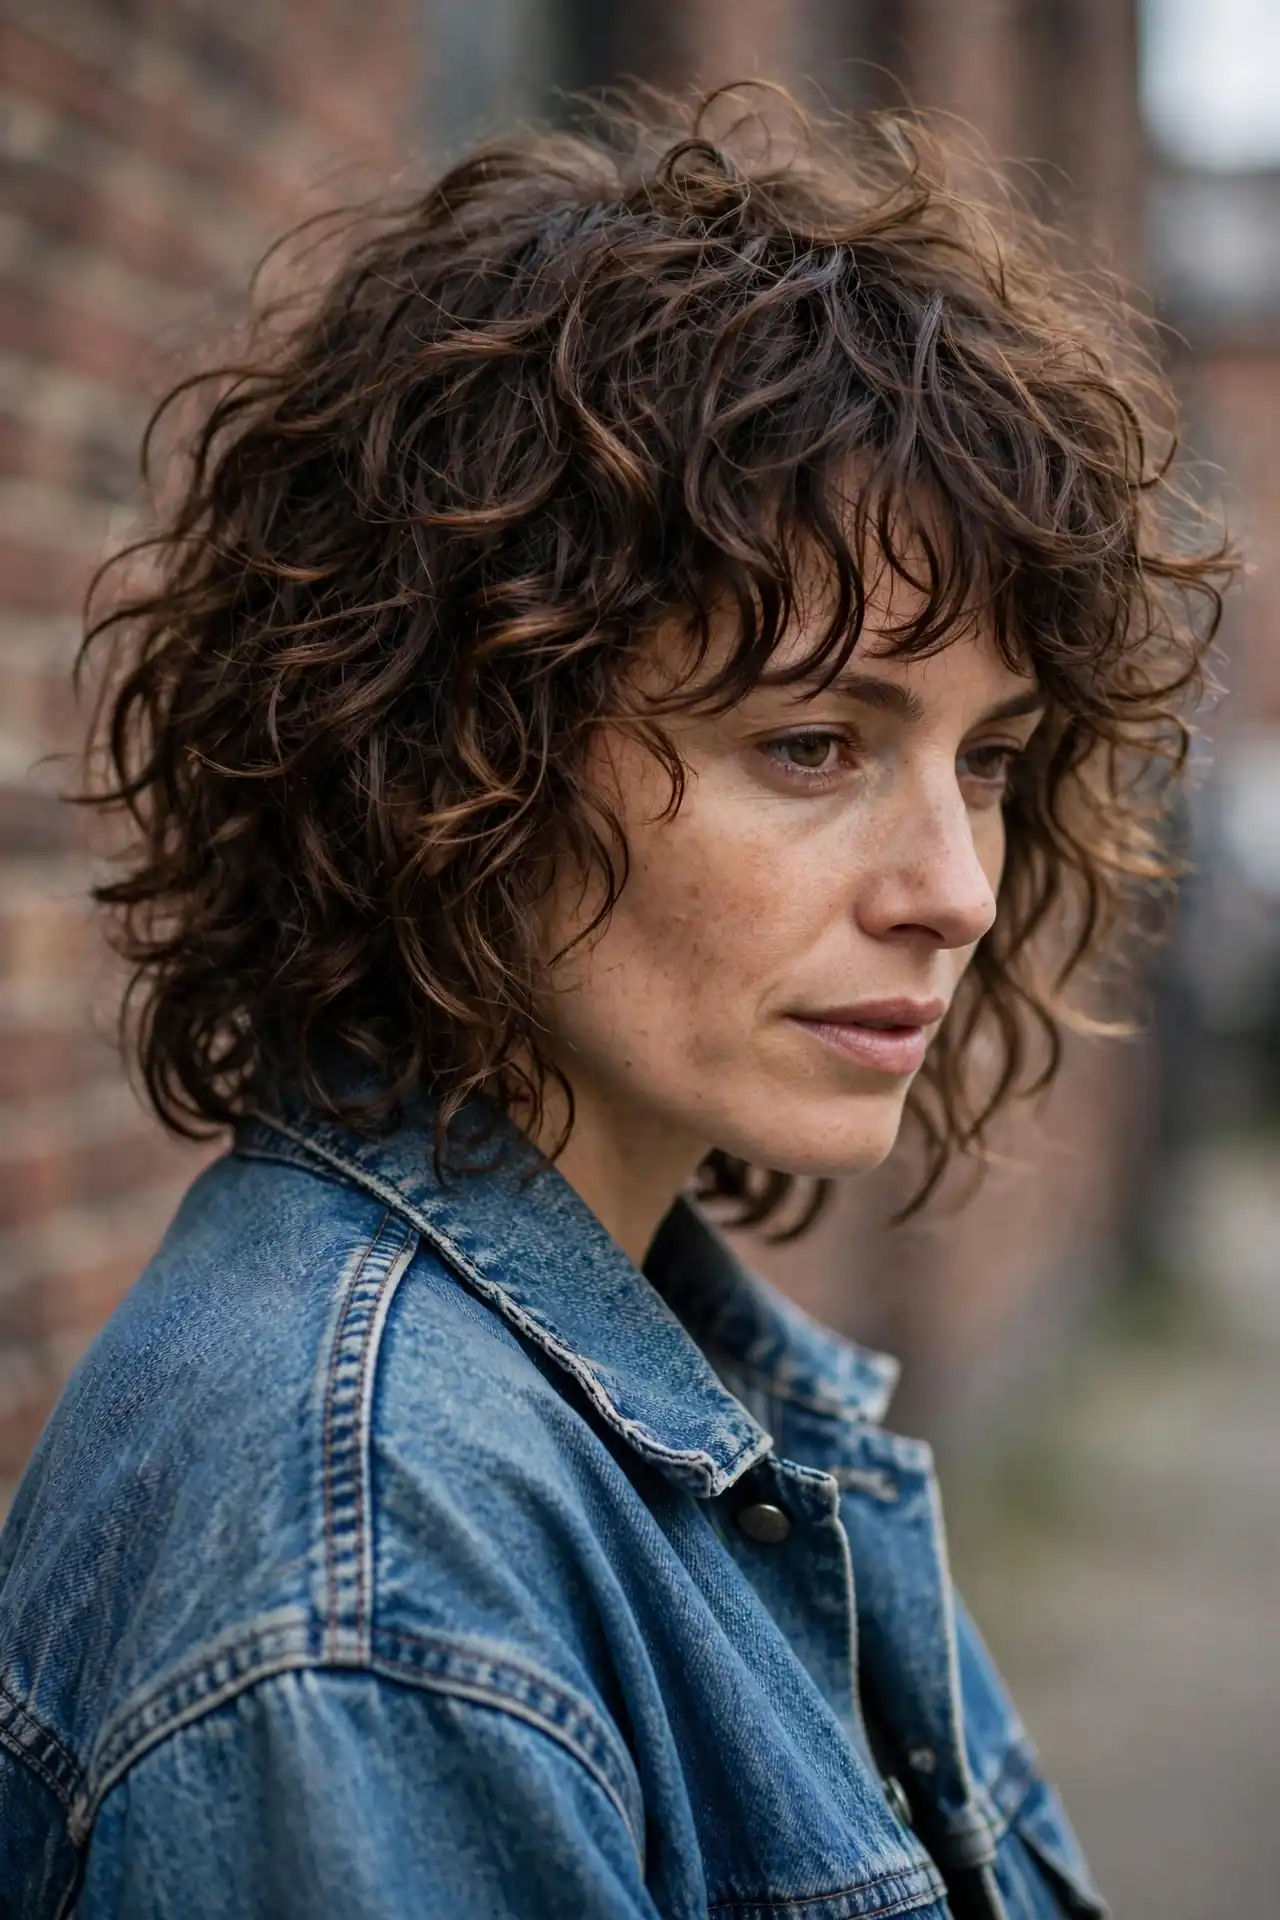
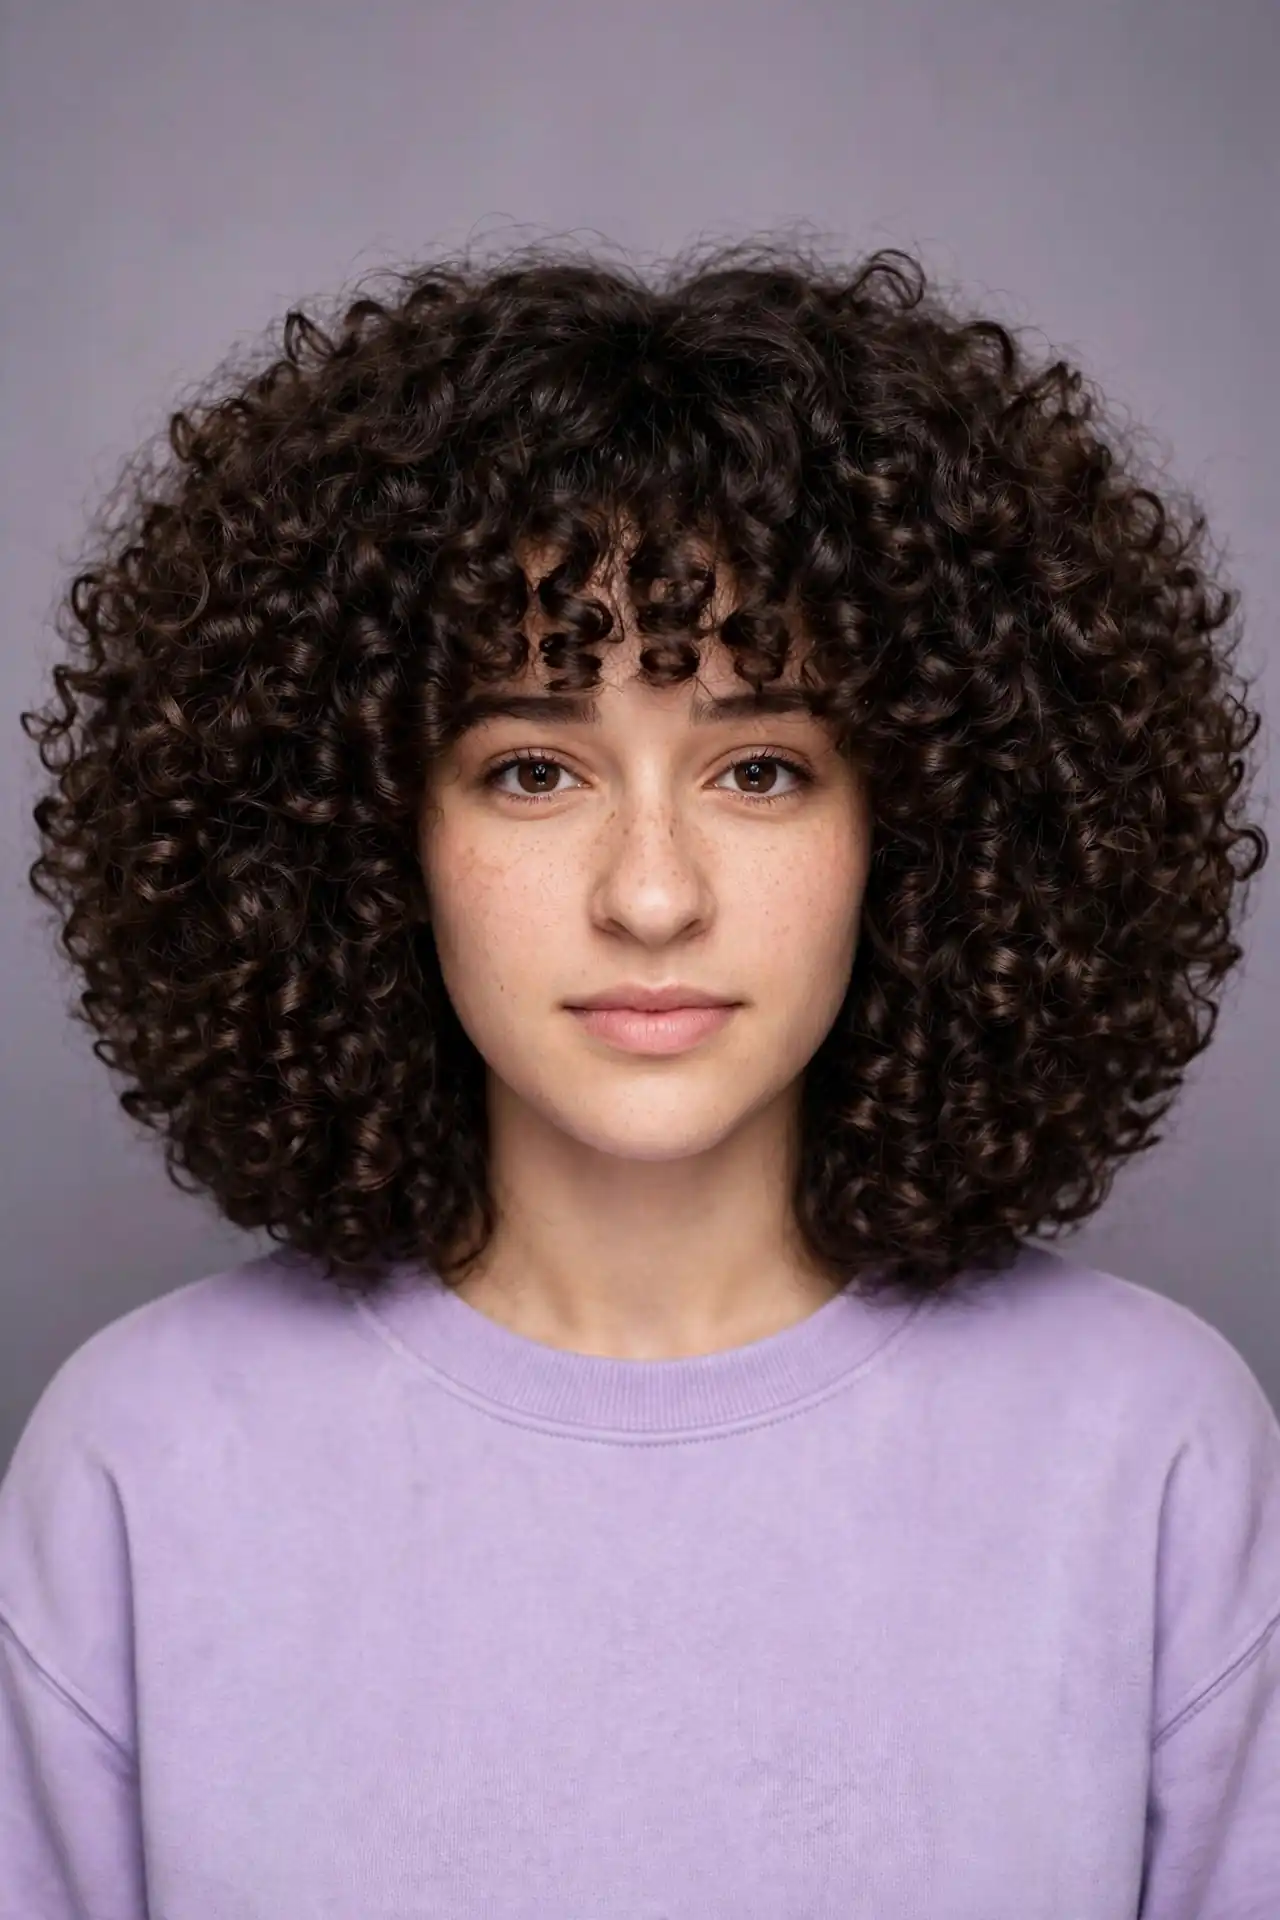
The Curly Shag
Textured, heavily layered and built for movement, the curly shag lets each layer show off a different section of your curl pattern. Wispy bangs soften the forehead while the layering adds volume through the crown. Be aware that curly bangs are the highest-maintenance element here, since they curl in different directions, shrink unpredictably and shift with the weather. Keep a curl enhancer nearby.
The Curly Bob
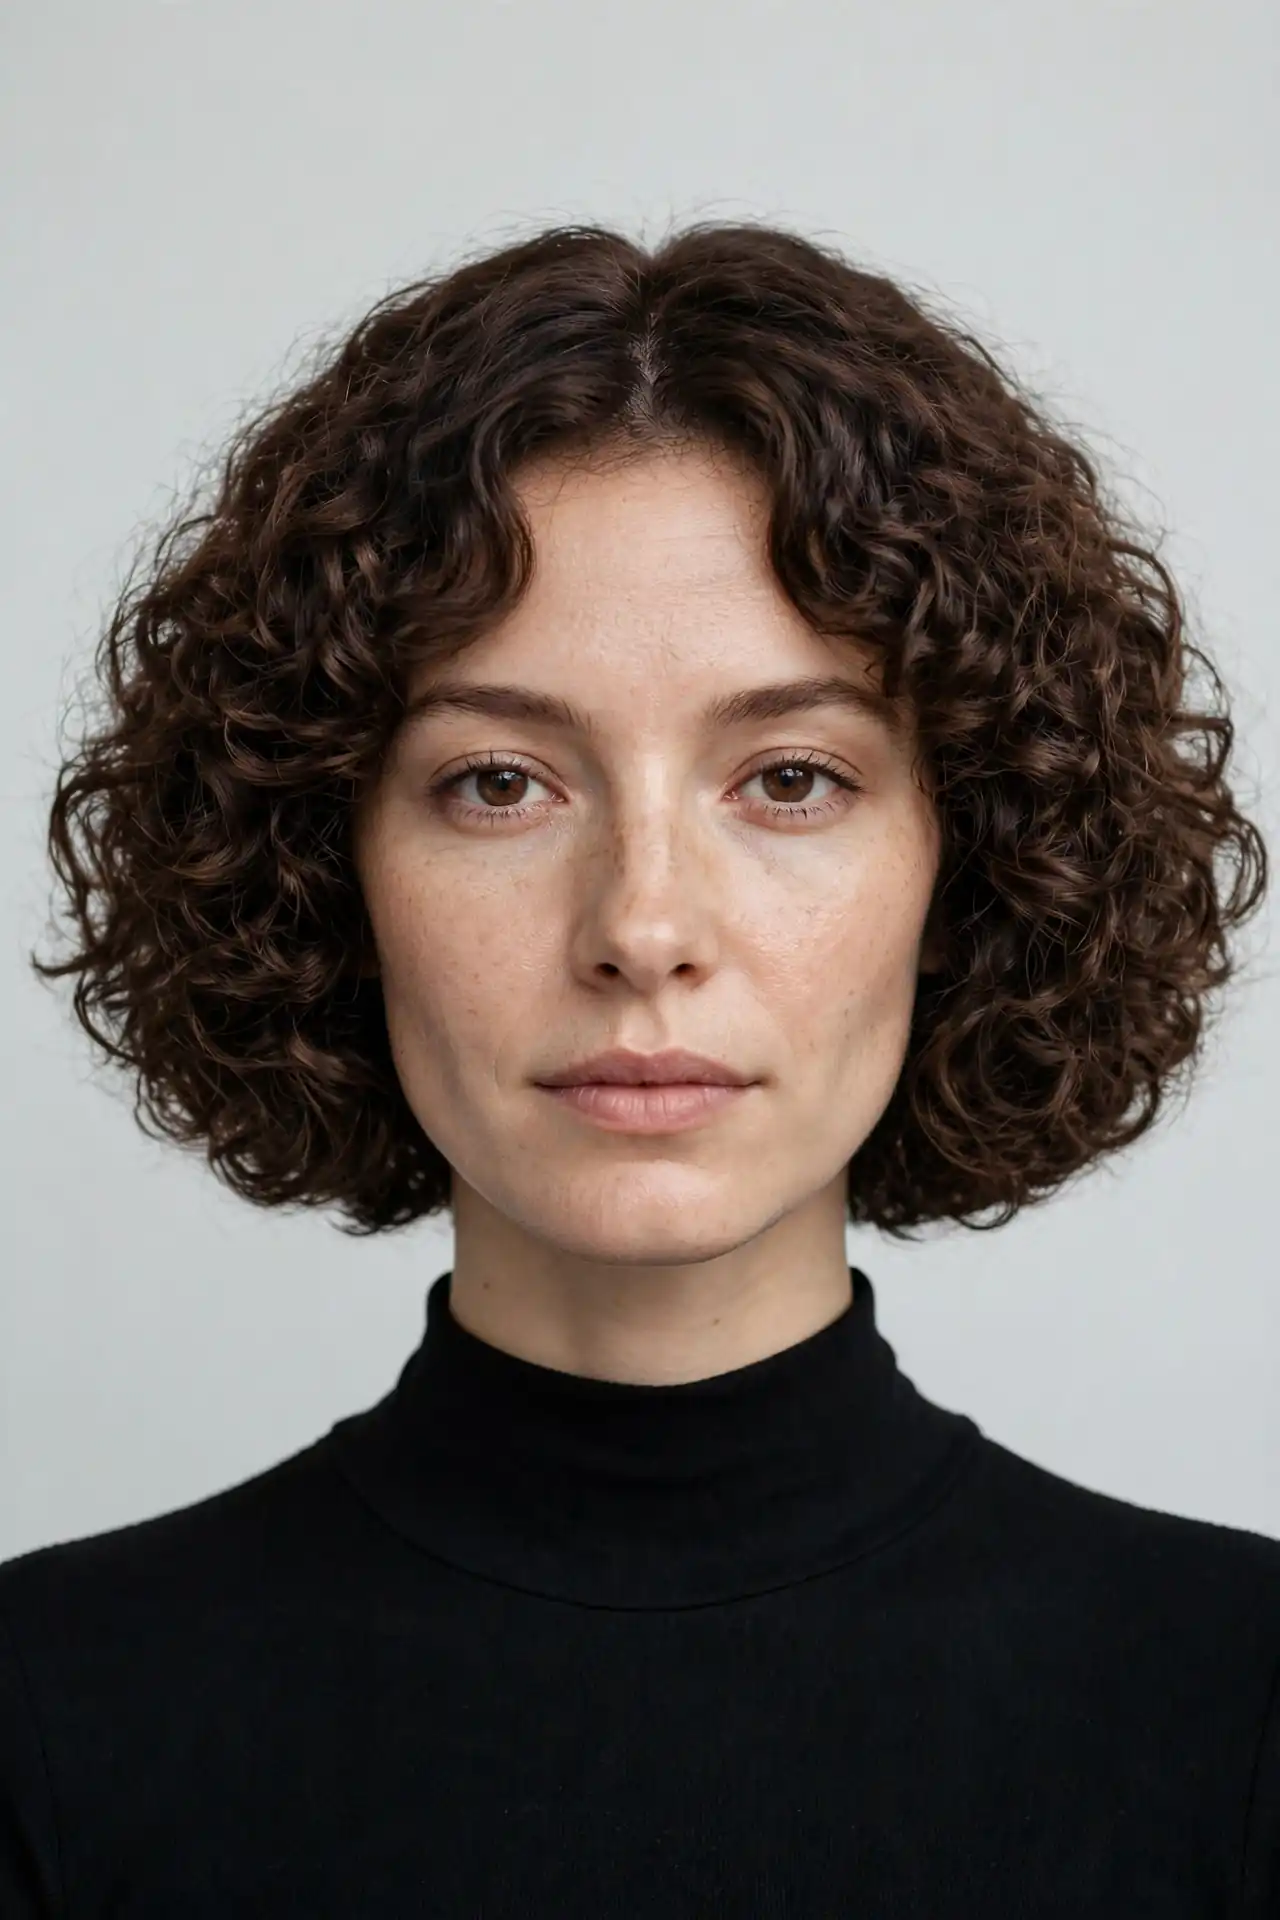
Chin to jaw length, and currently one of the most requested shapes in the entire category. Removing length removes weight, which is exactly what lets curls spring upward instead of hanging flat. Round faces should be careful here, since volume at the sides widens everything. Longer and oval faces get the best results. Ask for interior layers rather than surface ones so the shape stays full without going triangular.
The Curly Lob with Layers
Why do so many curly cuts end up shaped like a triangle? Because the layering stopped too high. A shoulder-grazing lob with layers carried properly through the interior solves it. The weight distributes evenly instead of collecting at the ends, and the shape stays rounded. This length also happens to be the easiest to air-dry, since there’s enough weight to encourage curl formation without enough to drag it down.

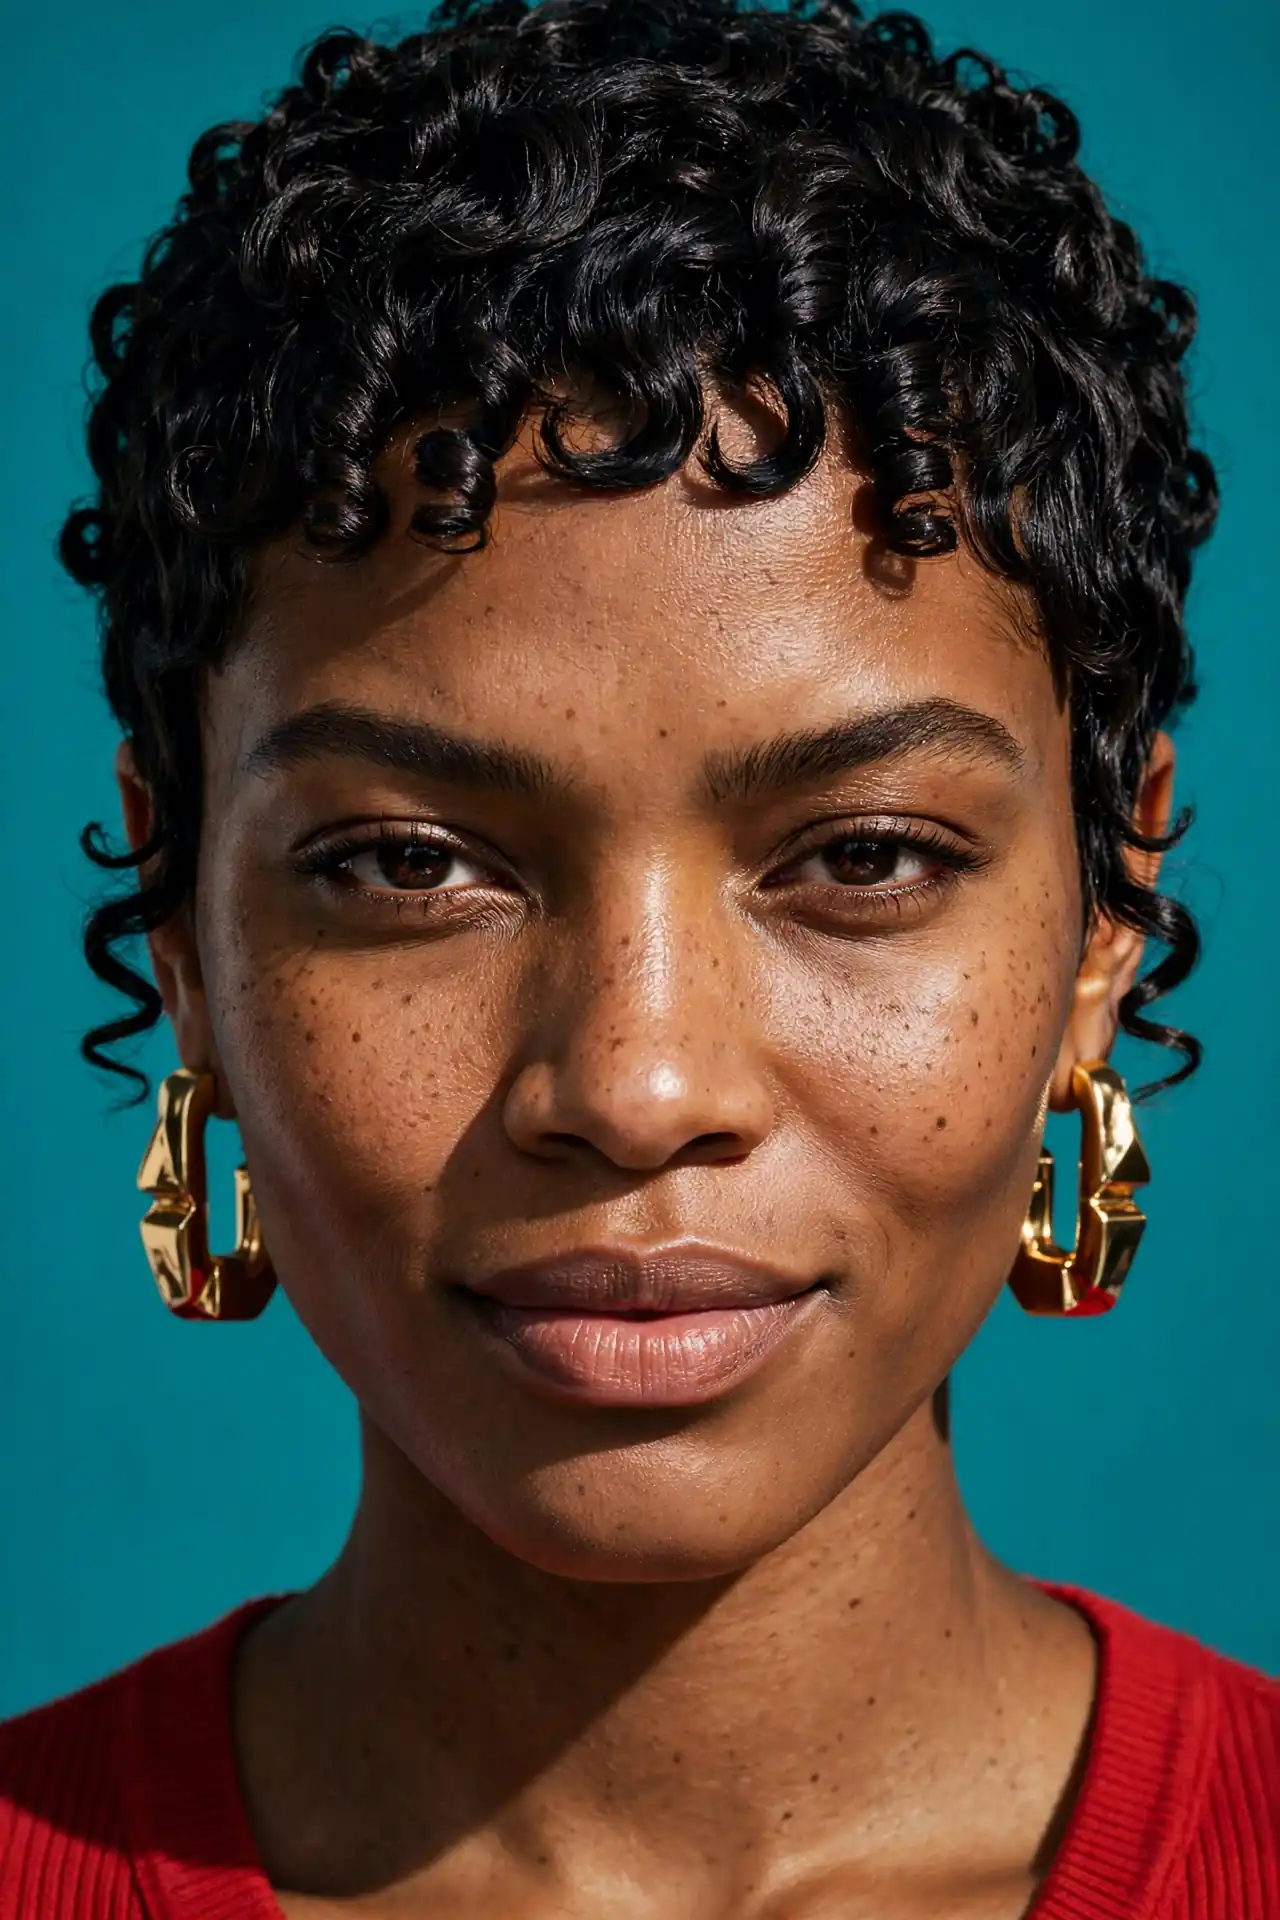
The Curly Pixie
Four to six weeks. That’s the trim schedule a curly pixie genuinely needs, and it’s the main thing people underestimate. Short curls create sculpted volume around the face, and the shape looks intentional in a way longer curly cuts sometimes don’t. Rita Ora’s curly crop is a good reference. Medium to thick density suits it best, since very fine curls can look sparse at this length. Styling is minimal, usually cream on damp hair and nothing else.
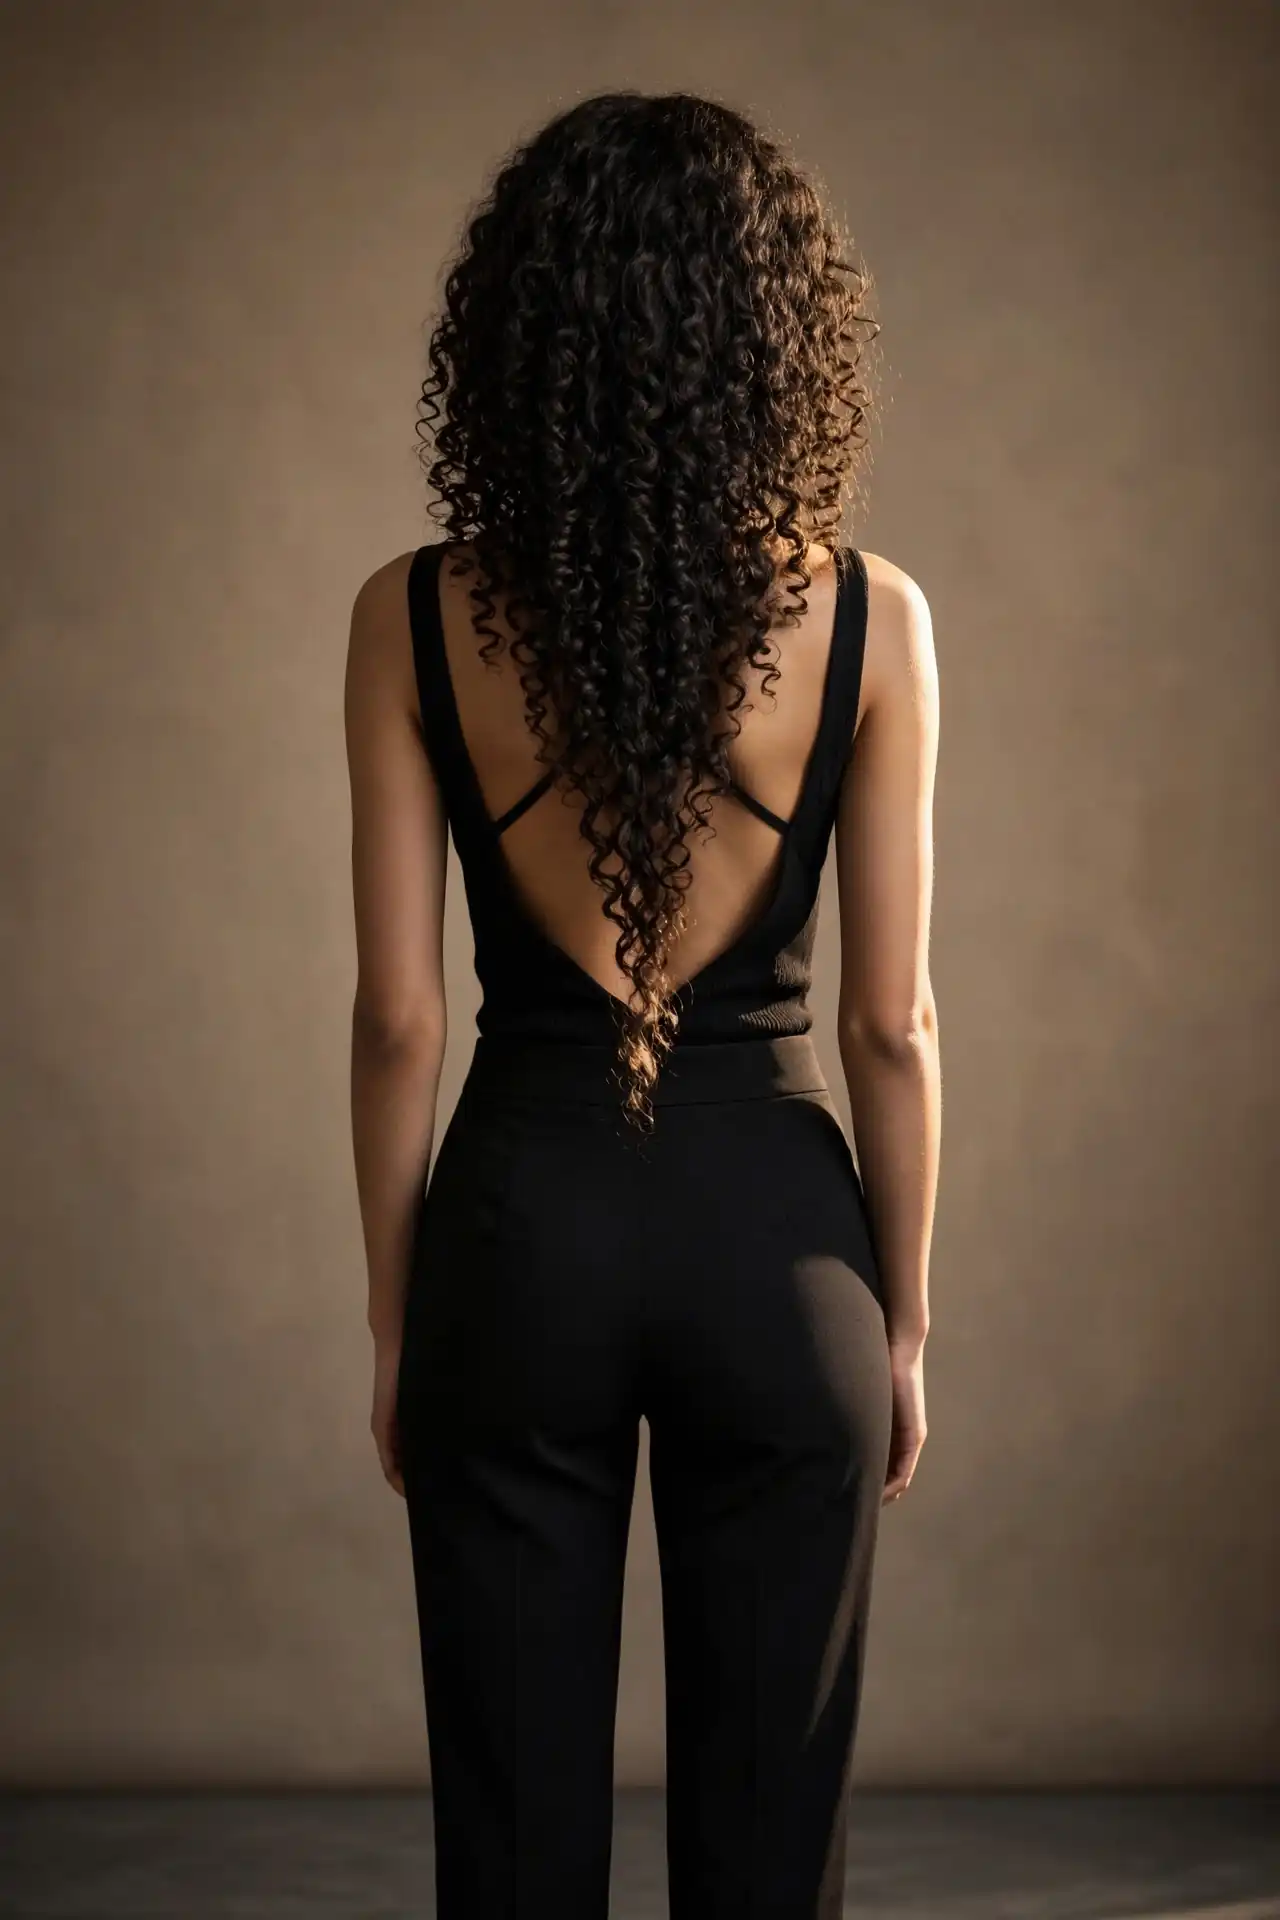
V-Shaped Long Layers
Tapering the ends into a soft V adds drama to long curly hair while removing the bulk that makes length look heavy. Tighter patterns from 3B through 4C benefit most, because the V shape prevents the widening that happens when tight curls are cut bluntly. Interior layers do the real work. A weekly hydrating mask keeps the tapered ends from looking thin.
The Rezo Cut
Developed specifically for curly hair, the Rezo cut is done on dry hair with the curls in their natural state, aiming for uniform volume all the way around rather than a triangular silhouette. It suits fine curly hair particularly well, since it builds body without removing density. Not every stylist is trained in it, so ask directly rather than assuming.
Everyday Curly Styles
These are the looks you’ll actually wear on a Tuesday, sorted roughly by how much time each one costs you.
The Wash and Go
Nobody warns you that the wash and go is a technique, not an absence of one. Product goes onto soaking wet hair, in the shower, before you towel anything. Rake or shingle it through in four sections so nothing gets missed, then do not touch your hair again until it’s dry. Every touch mid-dry creates frizz. Shrinkage will happen, and that’s elasticity rather than damage.
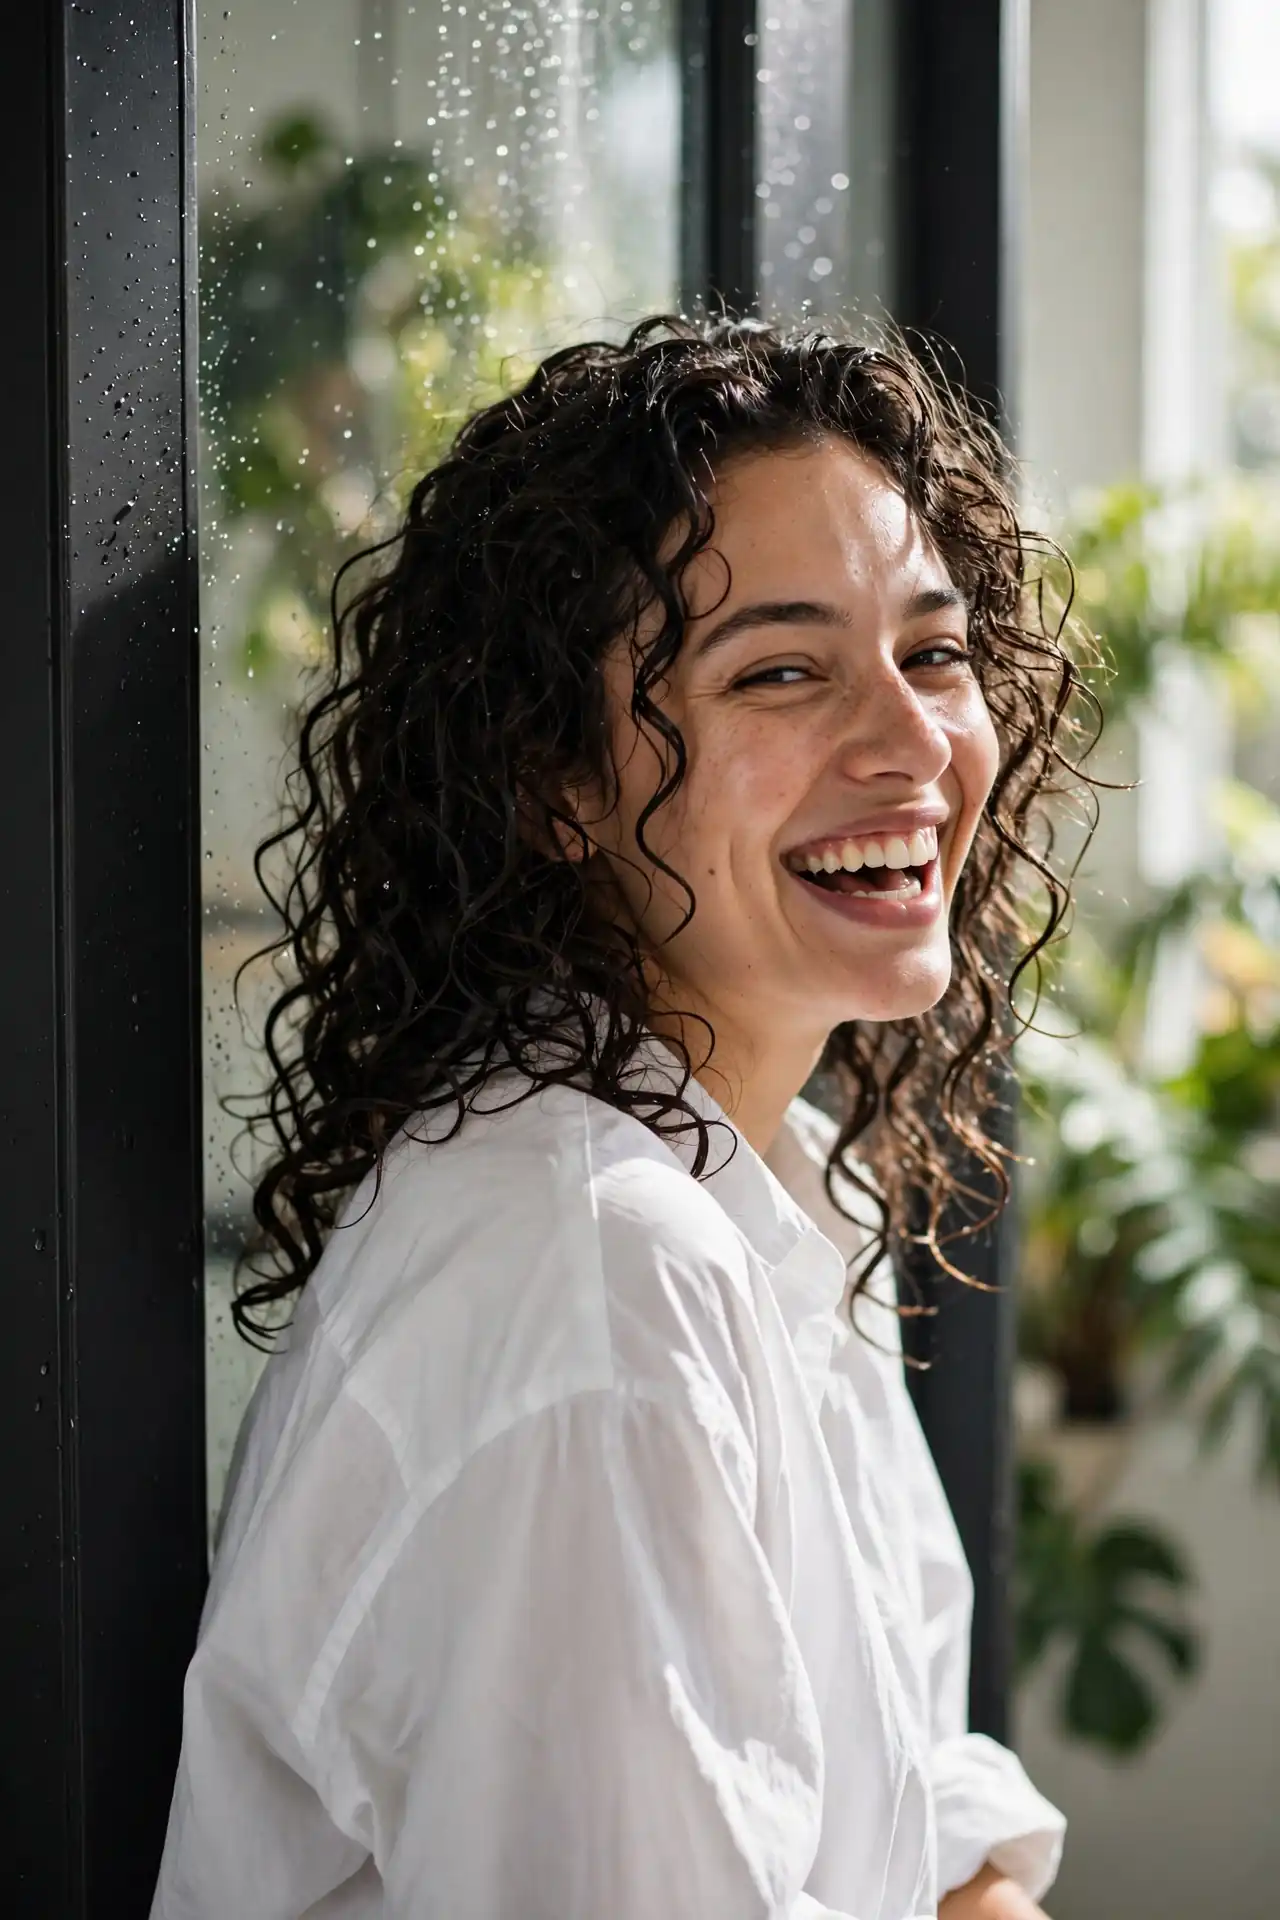
Air-Dried Lived-In Curls
Richards’ point about the shift toward air-dried texture lands squarely on this style, which is now the default look rather than the fallback. What makes it work:
- A lightweight cream instead of a heavy gel
- Applying to soaking wet hair, never damp
- Scrunching upward, never downward
- Leaving it completely alone for at least an hour
- Scrunching out any cast once fully dry

Diffused Volume
Using a diffuser on low speed with medium heat lifts curls at the root and cuts drying time roughly in half compared with air drying. Hover, don’t press. Cupping sections upward toward the scalp builds volume, while pressing the diffuser flat against the head just flattens everything you were trying to lift.
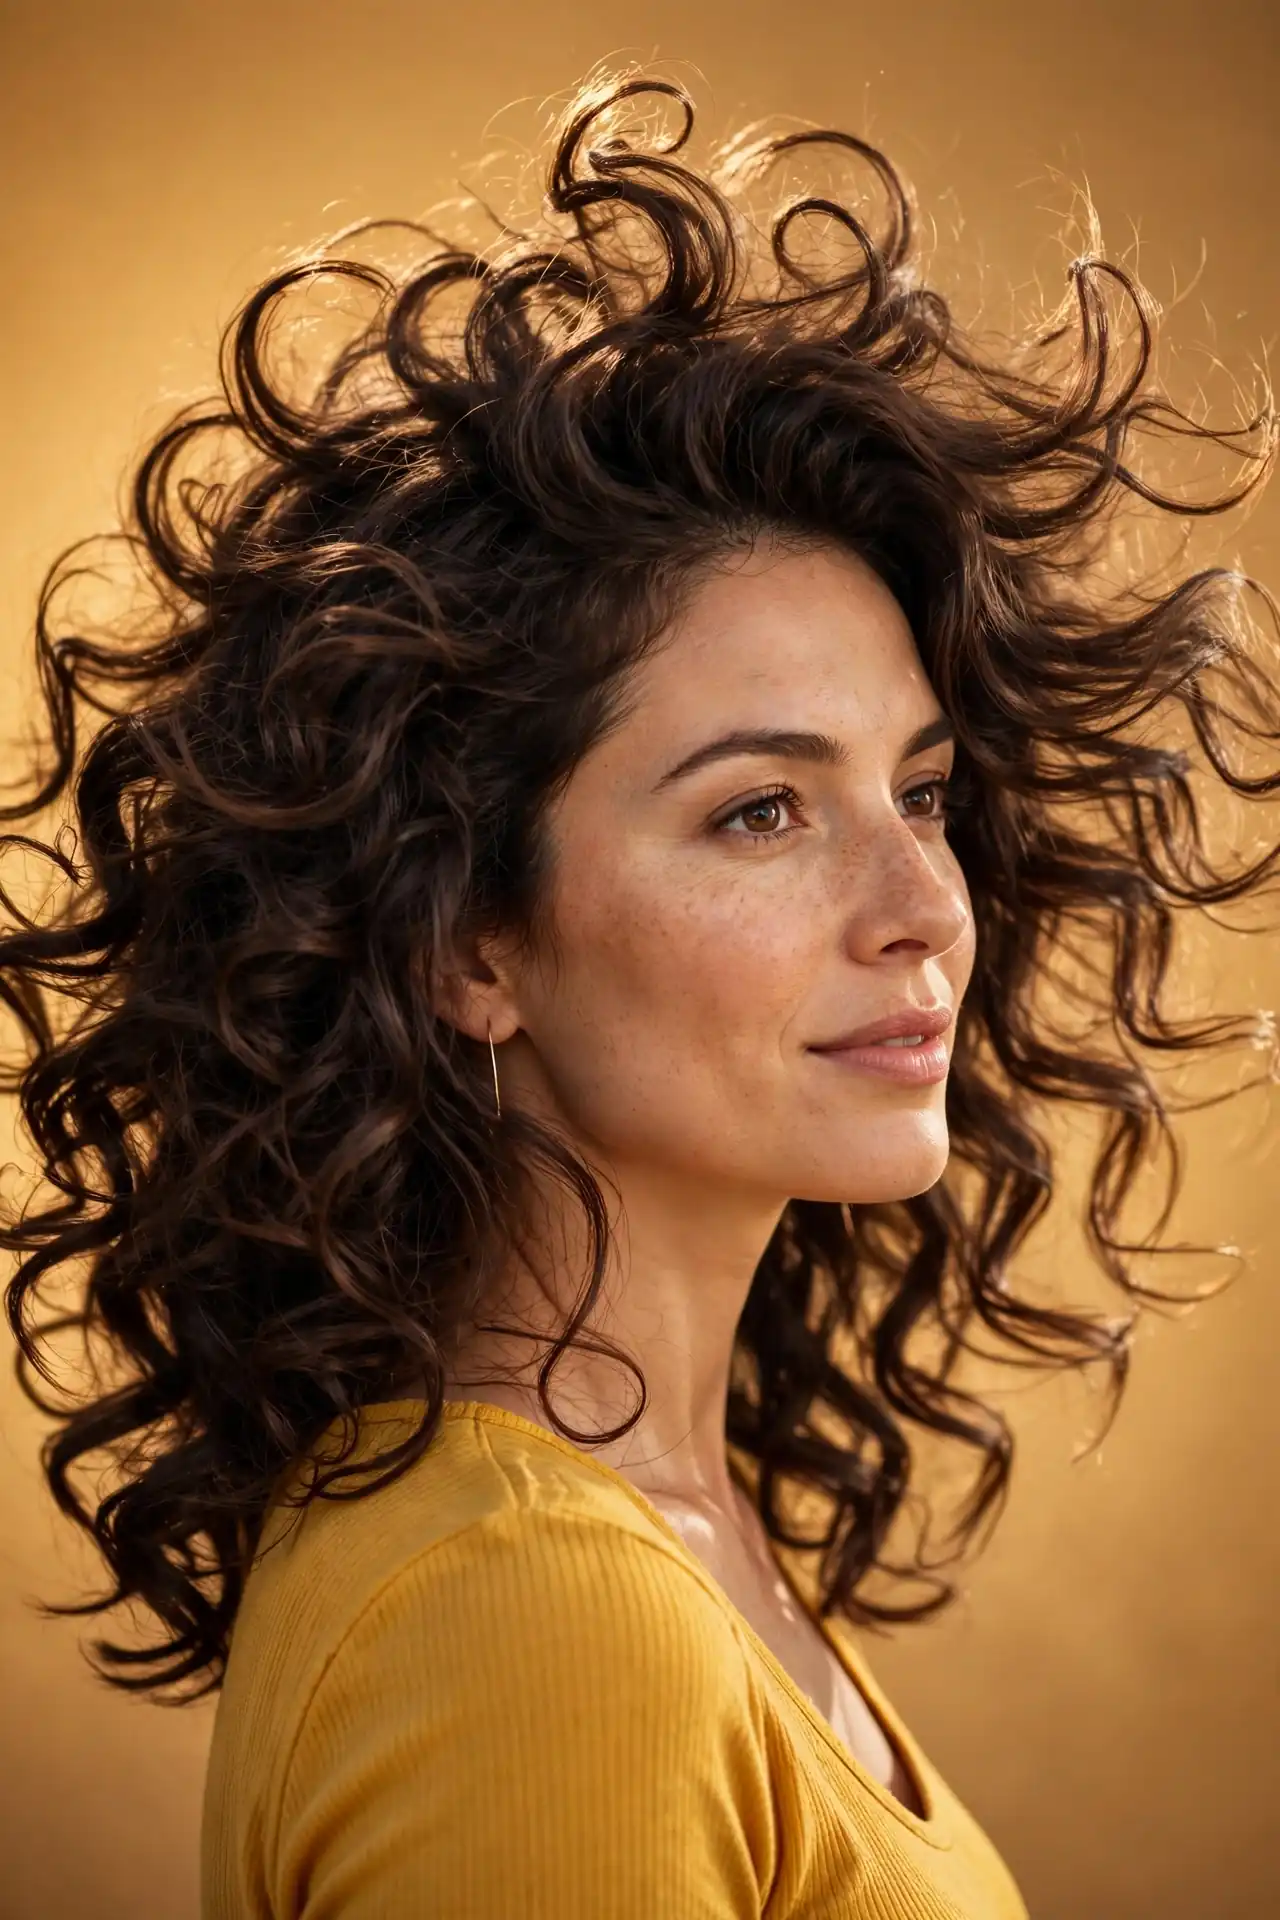
Curly Half-Up Half-Down
Structure at the crown, movement below, and considerably less scalp tension than a full updo. Gather loosely with your fingers rather than brushing, and use a silk scrunchie instead of an elastic. This is also the most practical option on day three, when the crown has flattened but the length still looks fine.

The Curly High Bun
Can curls be gathered high without losing definition? Yes, provided you don’t compress them. Gather loosely, coil, and secure with a fabric-covered band. Pulling tight flattens the very curl pattern that makes the bun interesting. Leaving a few coils free at the front softens the whole shape. Worn at night in a looser version, this becomes the pineapple, which preserves definition until morning.
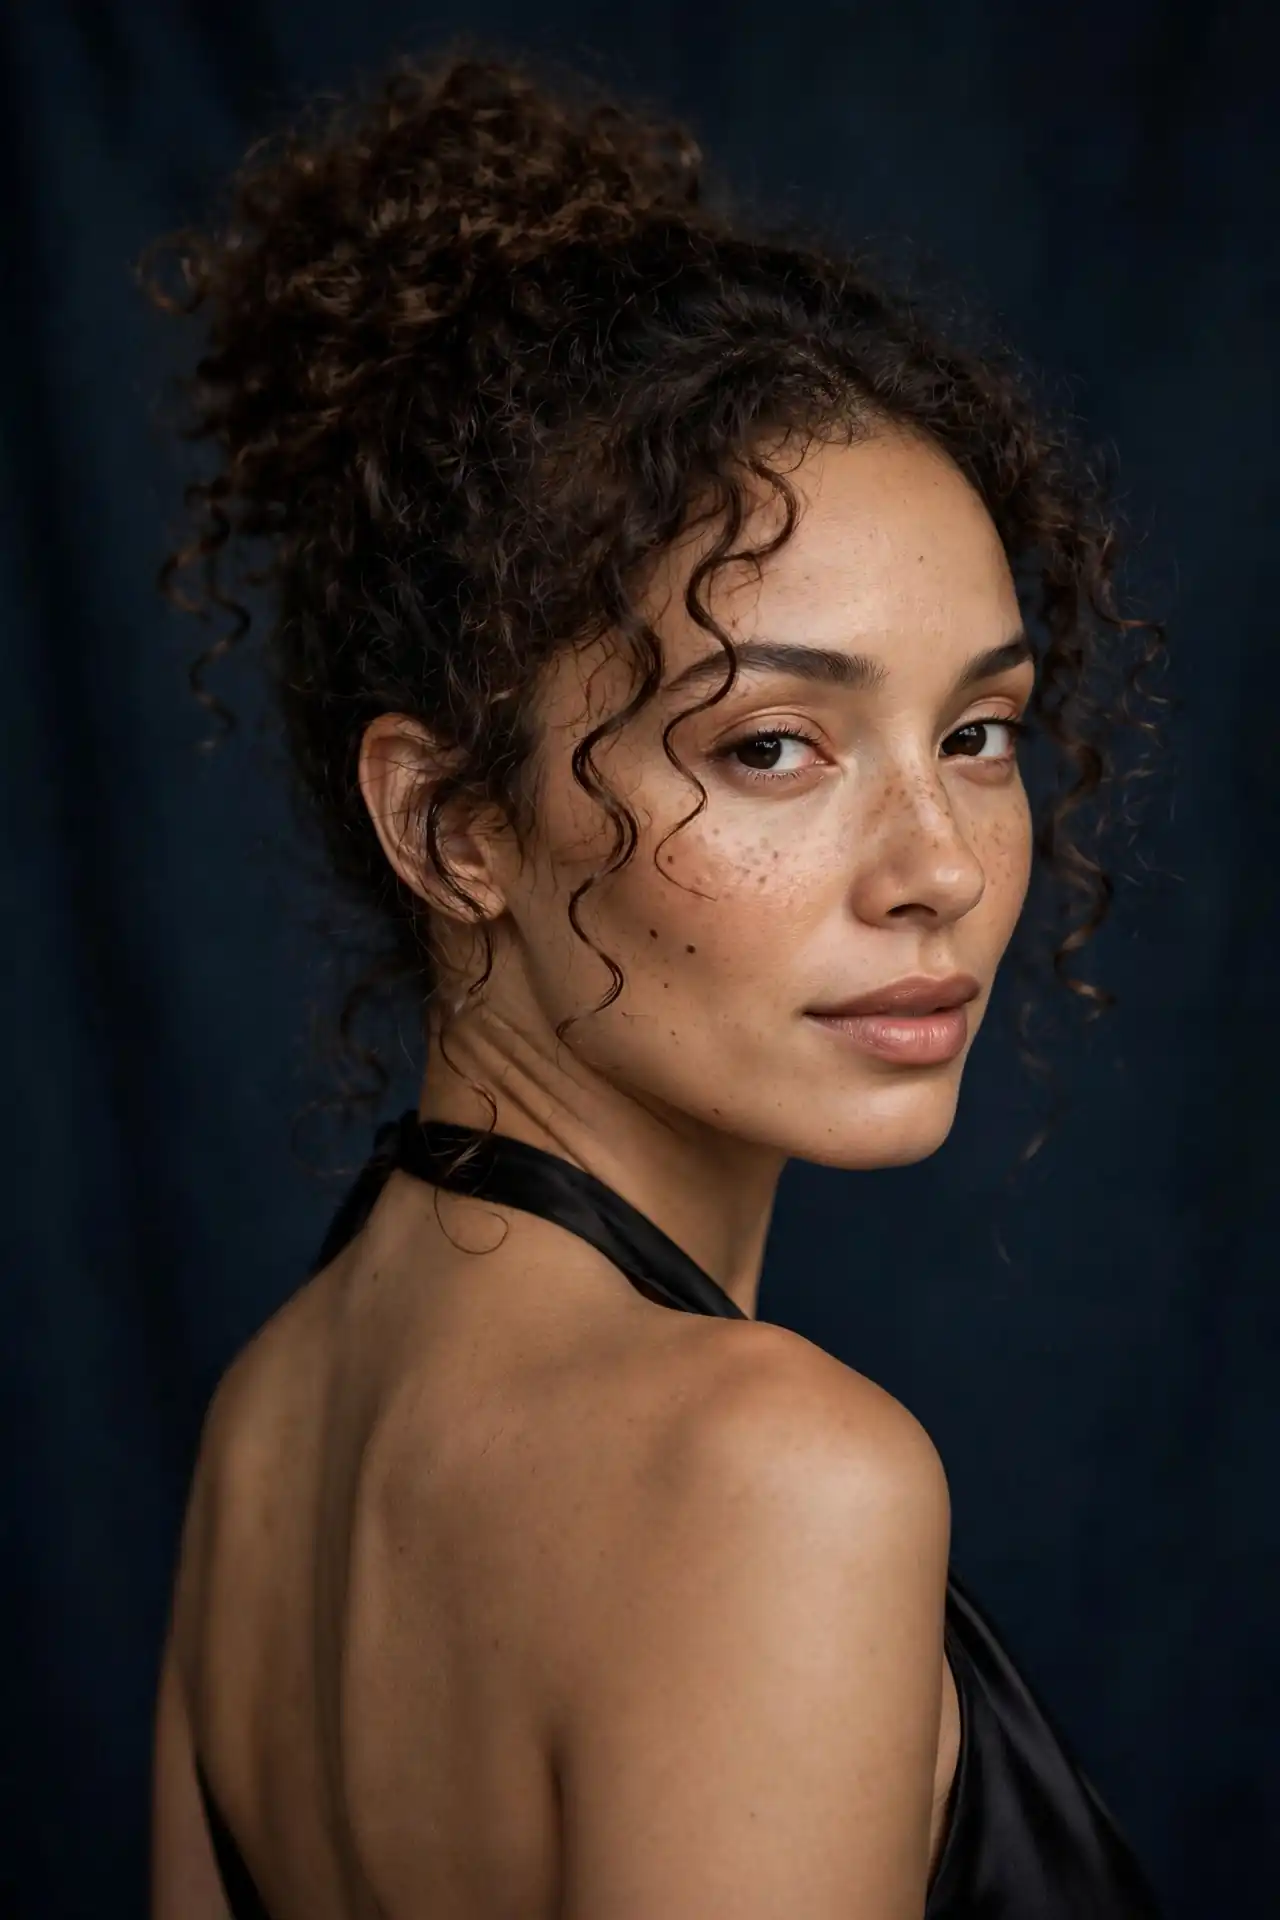
The Curly Low Ponytail
Havana Rose Liu’s soft, ethereal low ponytail shows how good this can look when the curls are left unbrushed. Gather at the nape with your fingers, wrap one section around the base to hide the elastic, and pull two curls loose at the front. Sixty seconds, start to finish.
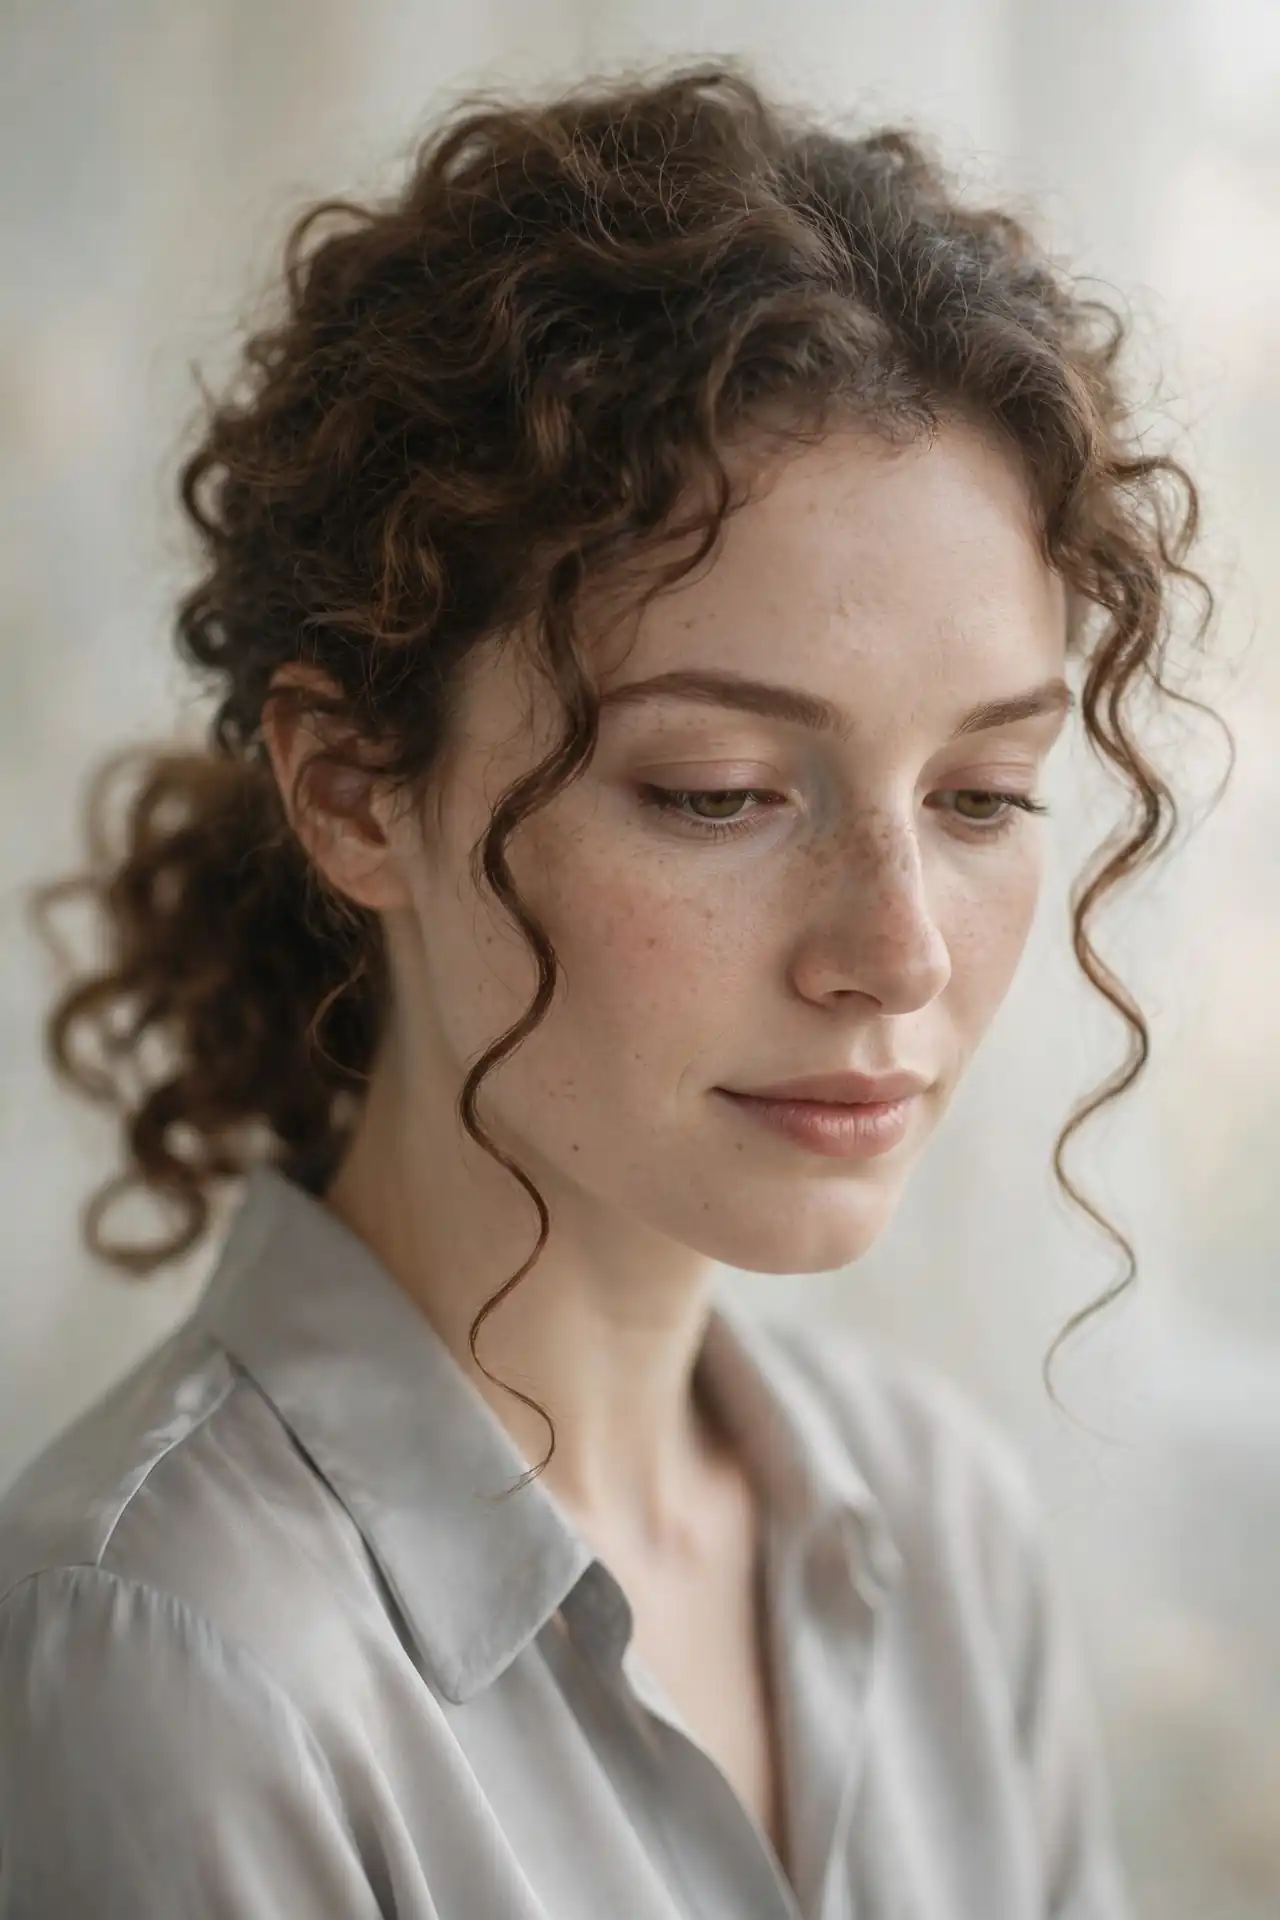
Heatless Definition Techniques
No hot tools, just patience the night before. These five deliver definition without heat damage.
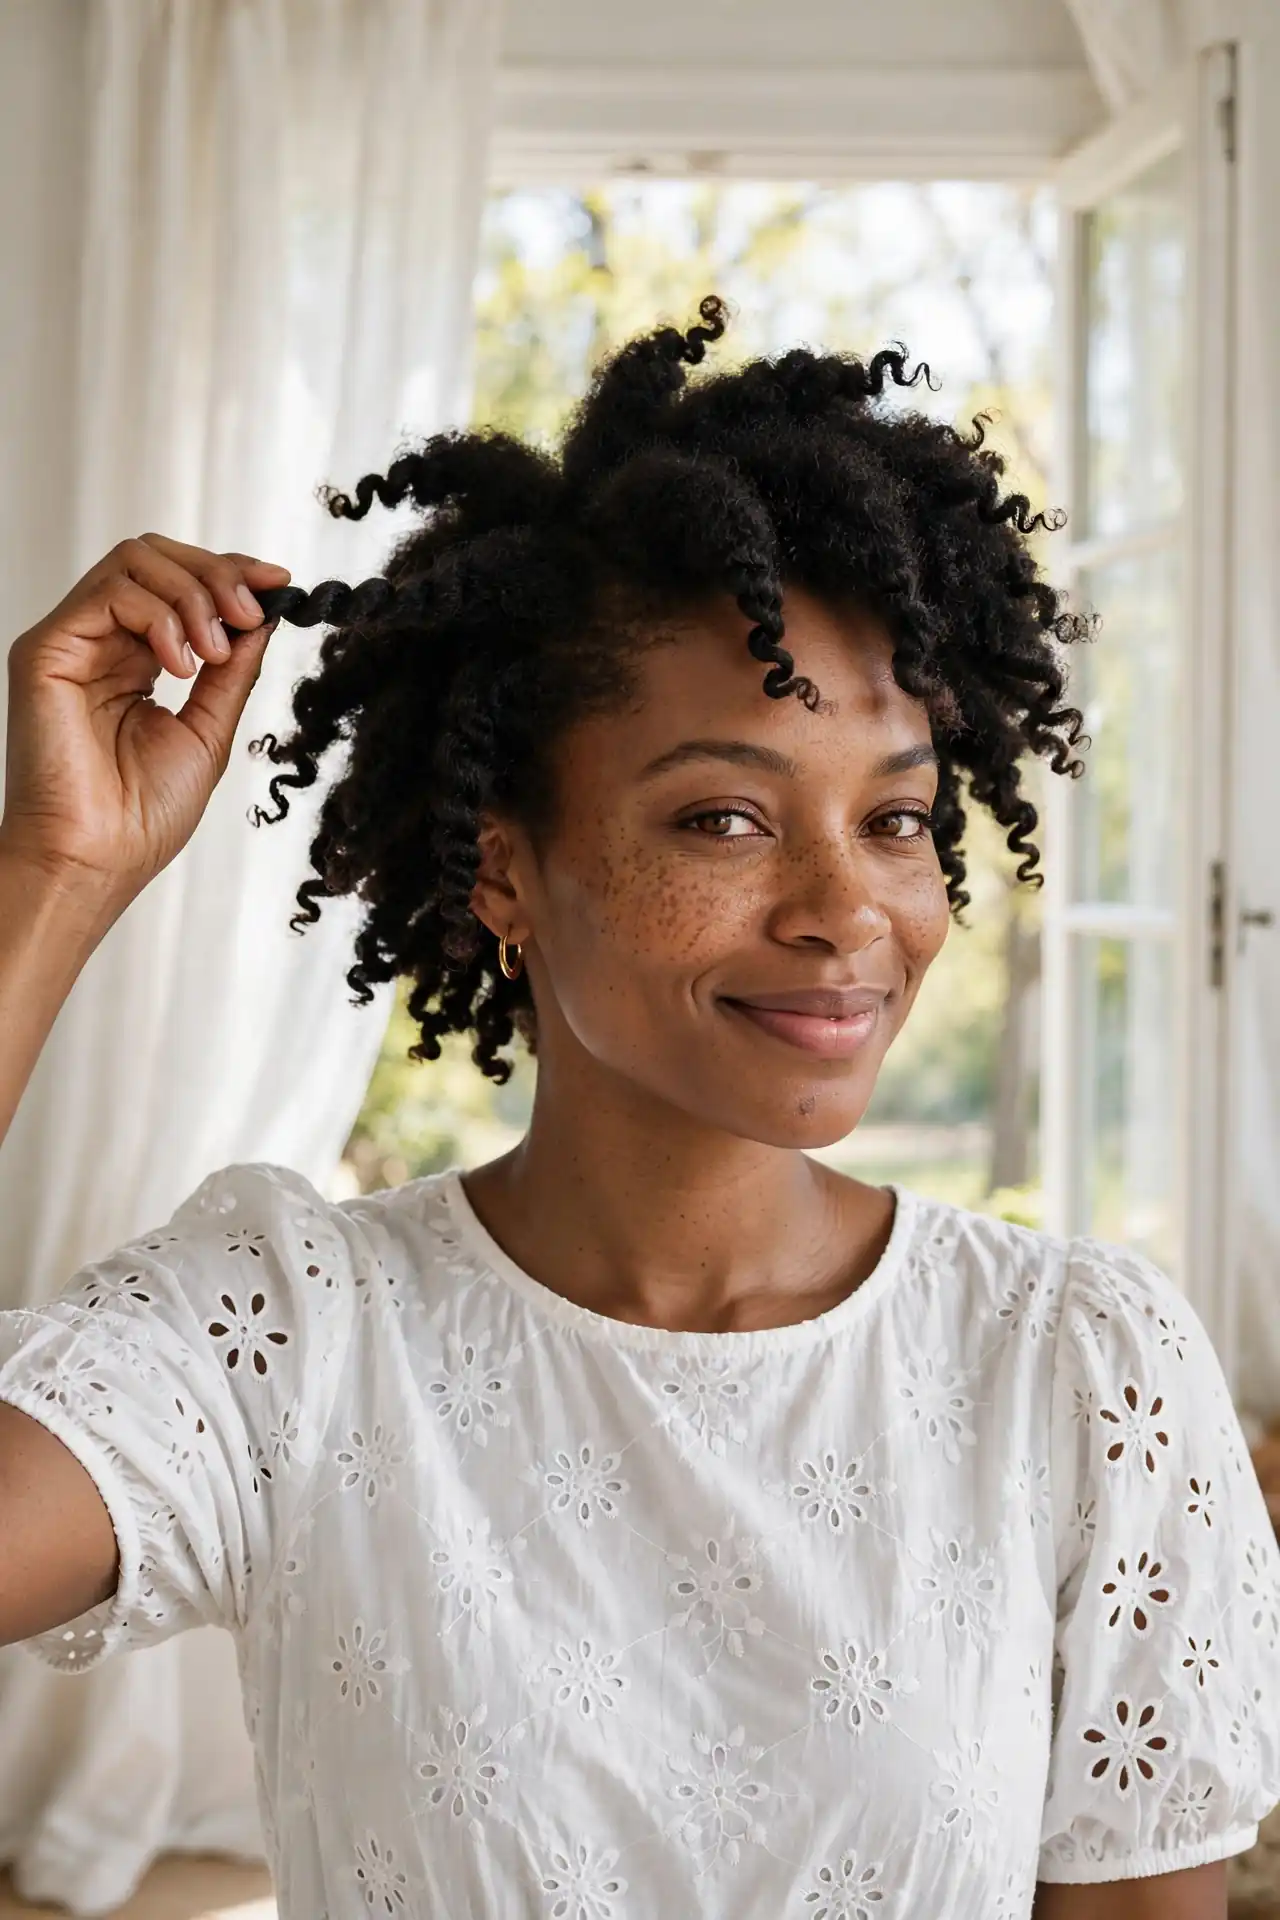
The Twist Out
Six to ten twists cover most heads, and the whole set takes under thirty minutes once you’ve done it twice. Two-strand twists set on damp hair and unravelled once completely dry produce soft, springy definition with more body than a wash and go delivers. Apply moisturiser then a sealing oil to each section before twisting. Unravel with oiled fingertips to prevent frizz, and fluff at the roots rather than the ends.
The Braid Out
Braiding rather than twisting produces a looser, more crimped wave pattern that reads less defined and more undone. It’s the better choice for anyone wanting stretched, wavy texture rather than distinct coils. Larger braids give bigger waves, smaller braids give tighter ones. Bone dry before takedown, always.
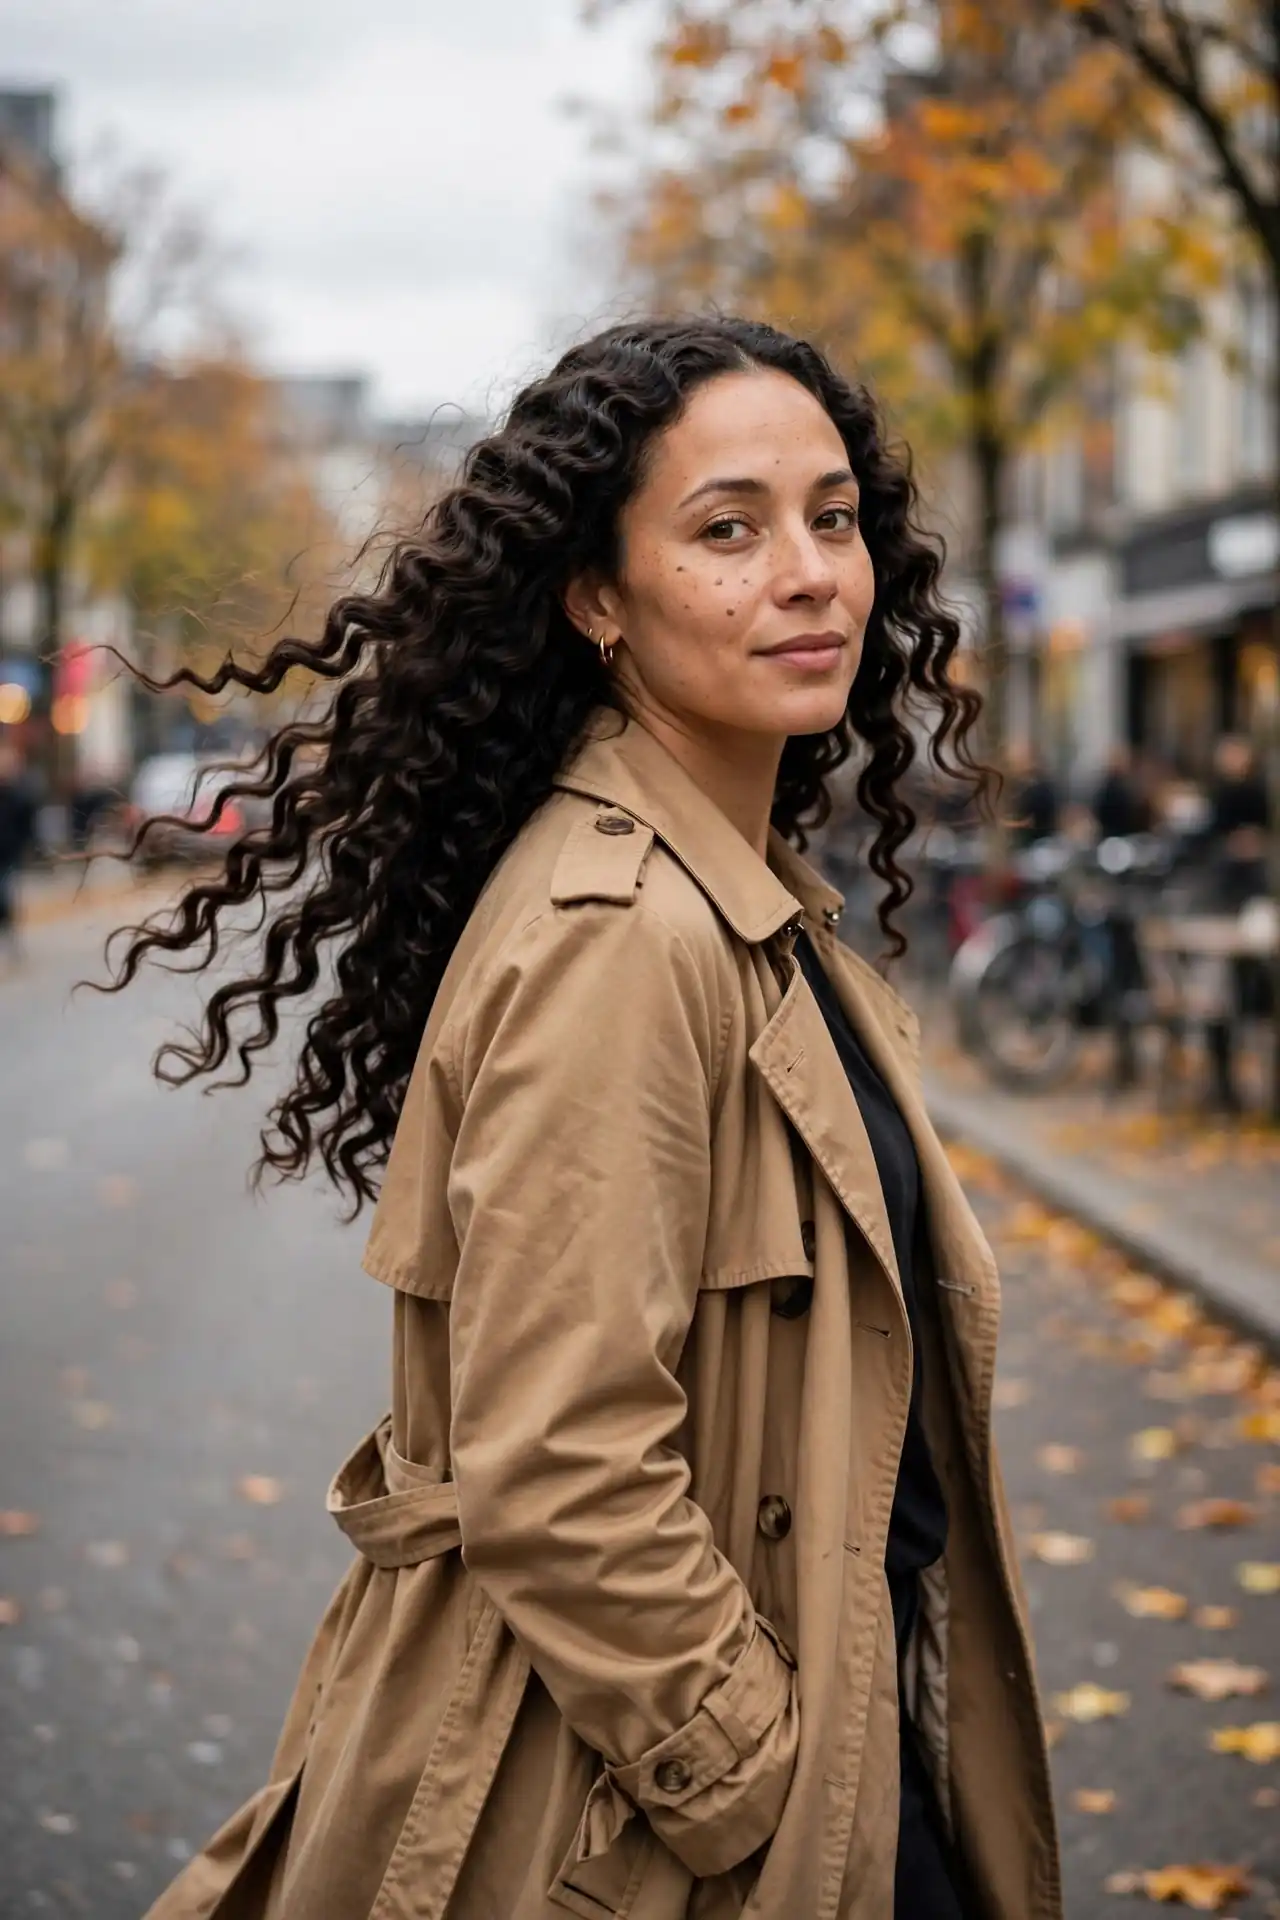
Bantu Knot Out
Most people ruin this by unravelling too early. The knots must be completely dry, not almost dry. Coiling sections into small knots against the scalp and taking them down once fully set produces bouncy, uniform waves that look like an iron was involved. Damp hair reverts within an hour and all that work disappears. A little oil on the fingers during takedown keeps the pattern smooth.
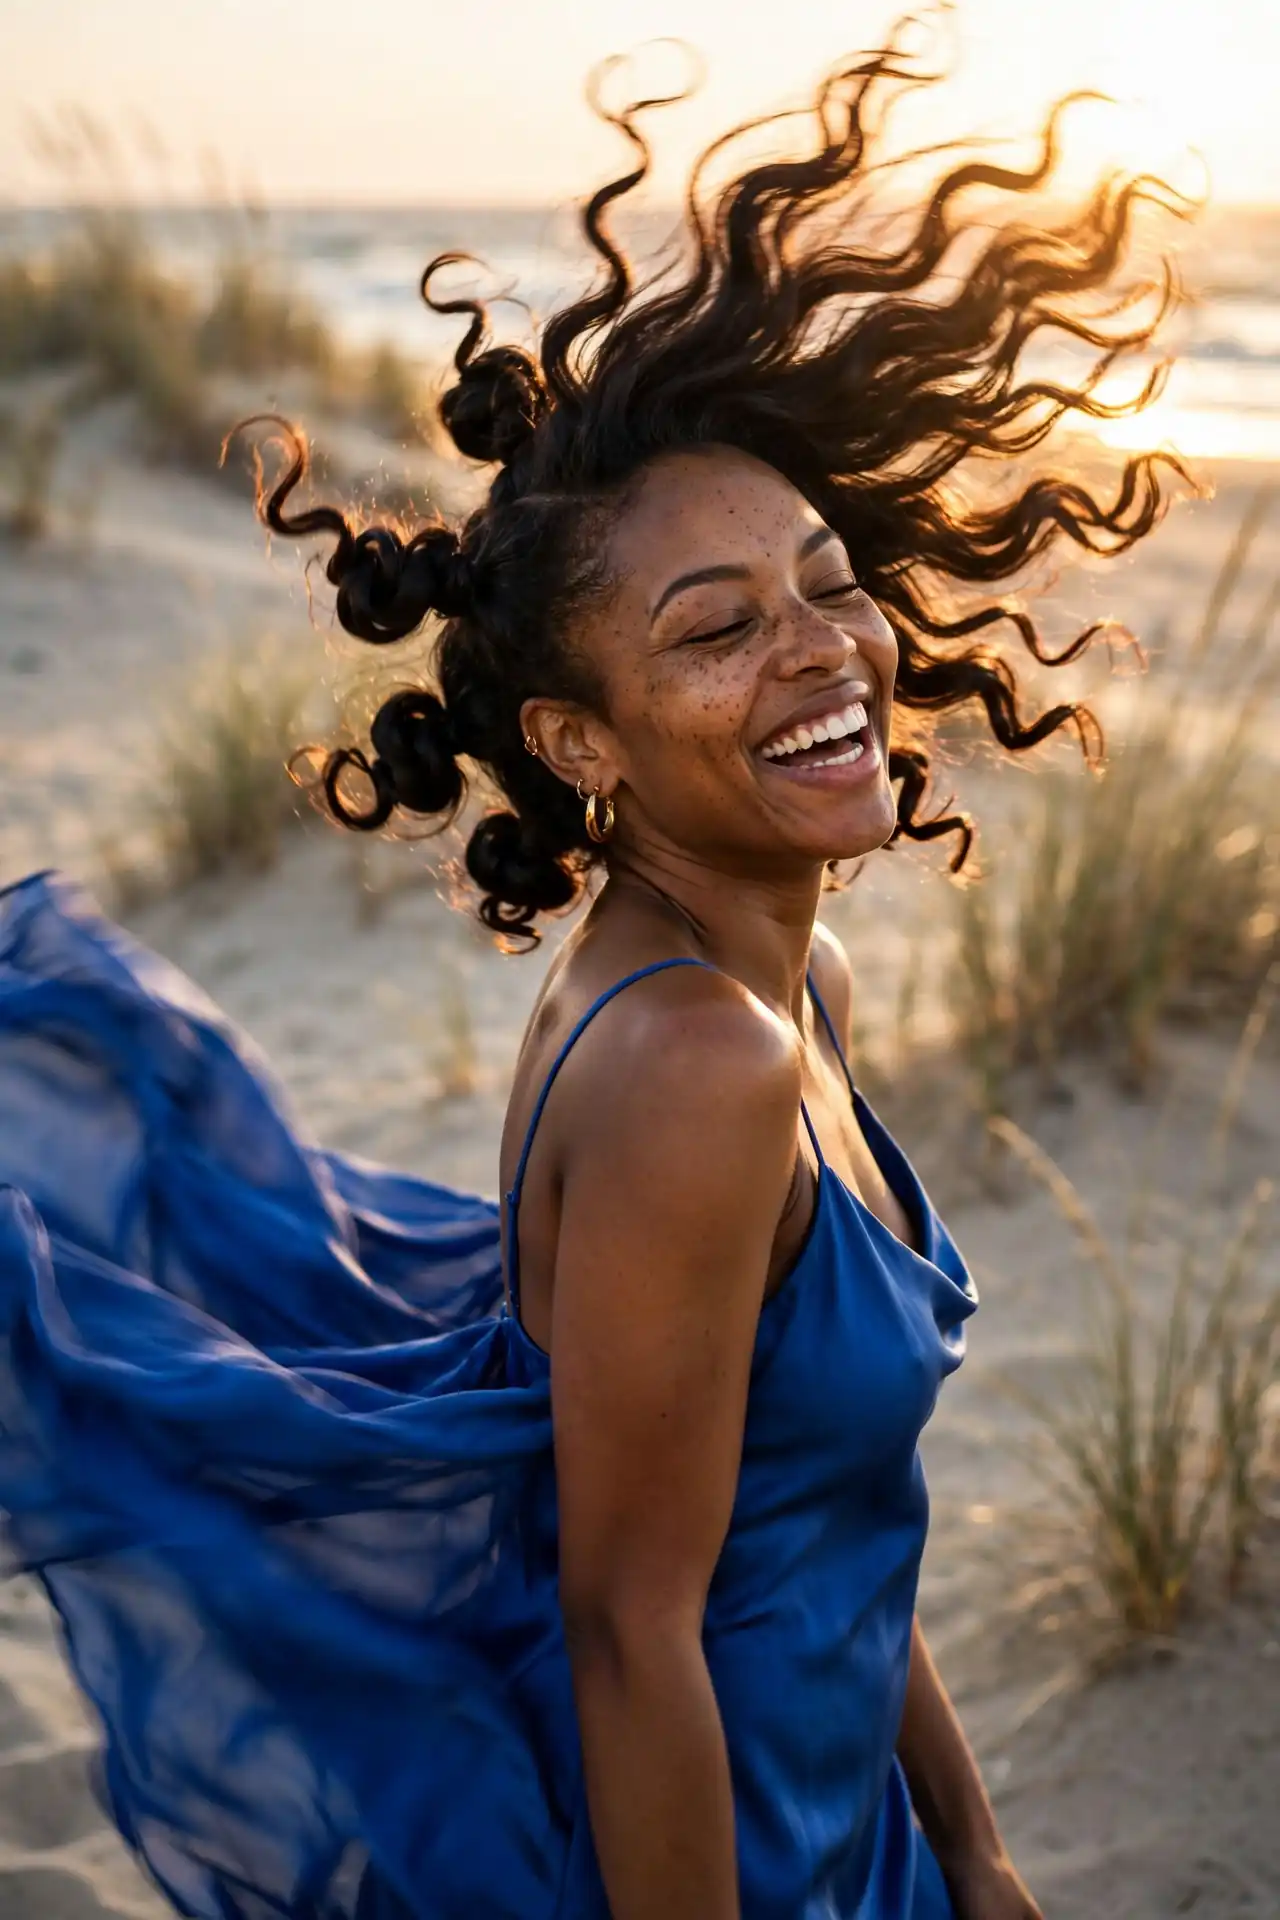
The Flexi Rod Set
Wrapping damp sections around flexible foam rods creates uniform, defined ringlets with no heat at all. Rod size determines curl size, so smaller rods for tight spirals and larger ones for loose waves. It’s the most predictable heatless method, which makes it a good choice before an event where you need to know exactly what you’re getting.
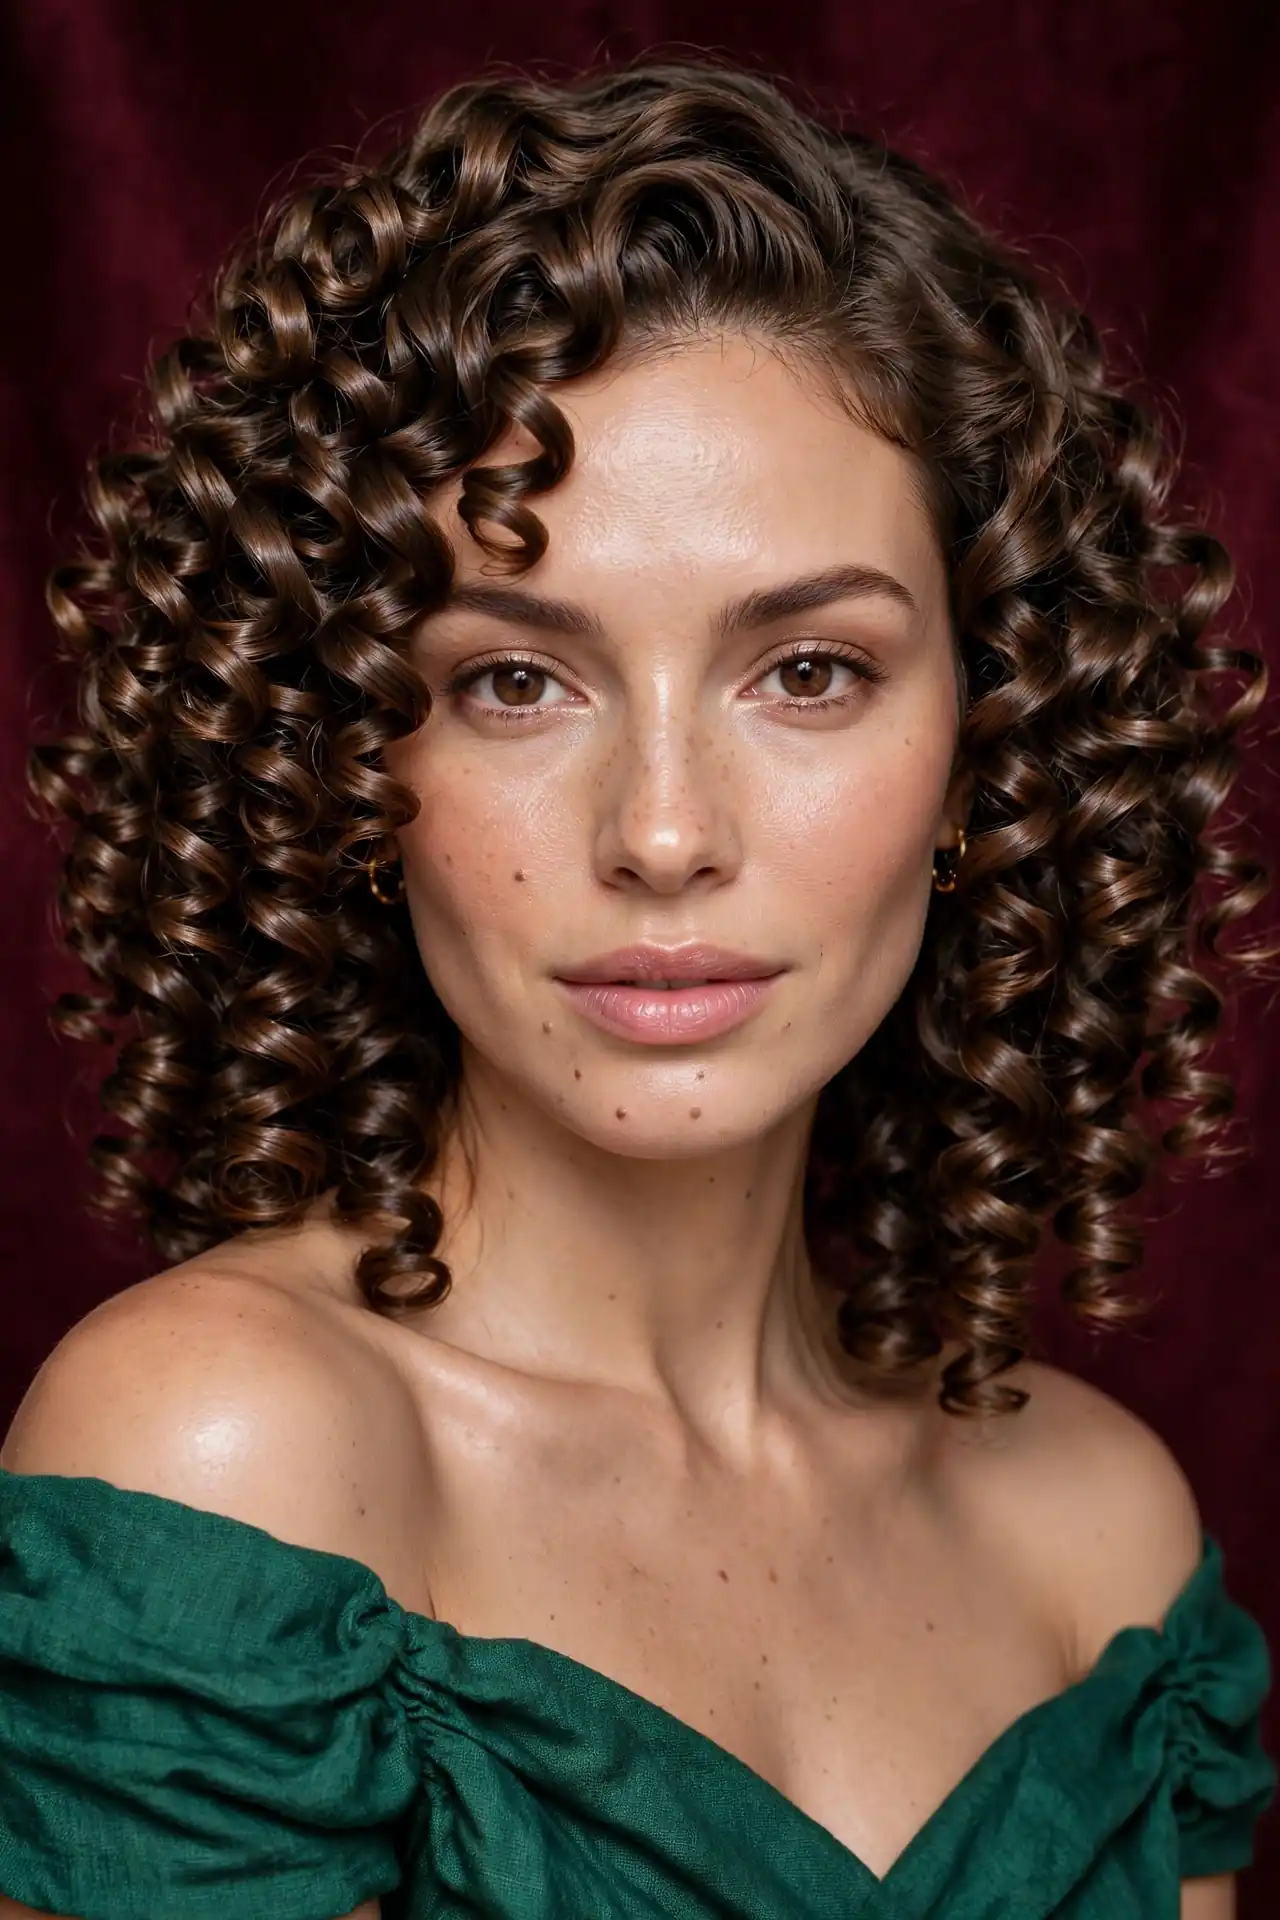
Finger Coils
Wrapping small sections around your finger creates spiral definition that lasts three to five days on clean hair. Where finger coils earn their time:
- Highly defined, uniform curl pattern
- Excellent on shorter cuts where every coil is visible
- No tools or heat required
- Lasts longer than a wash and go
- Works on hair too short for twists
Take sections roughly the width of a pencil and twirl each downward until it holds its own shape.
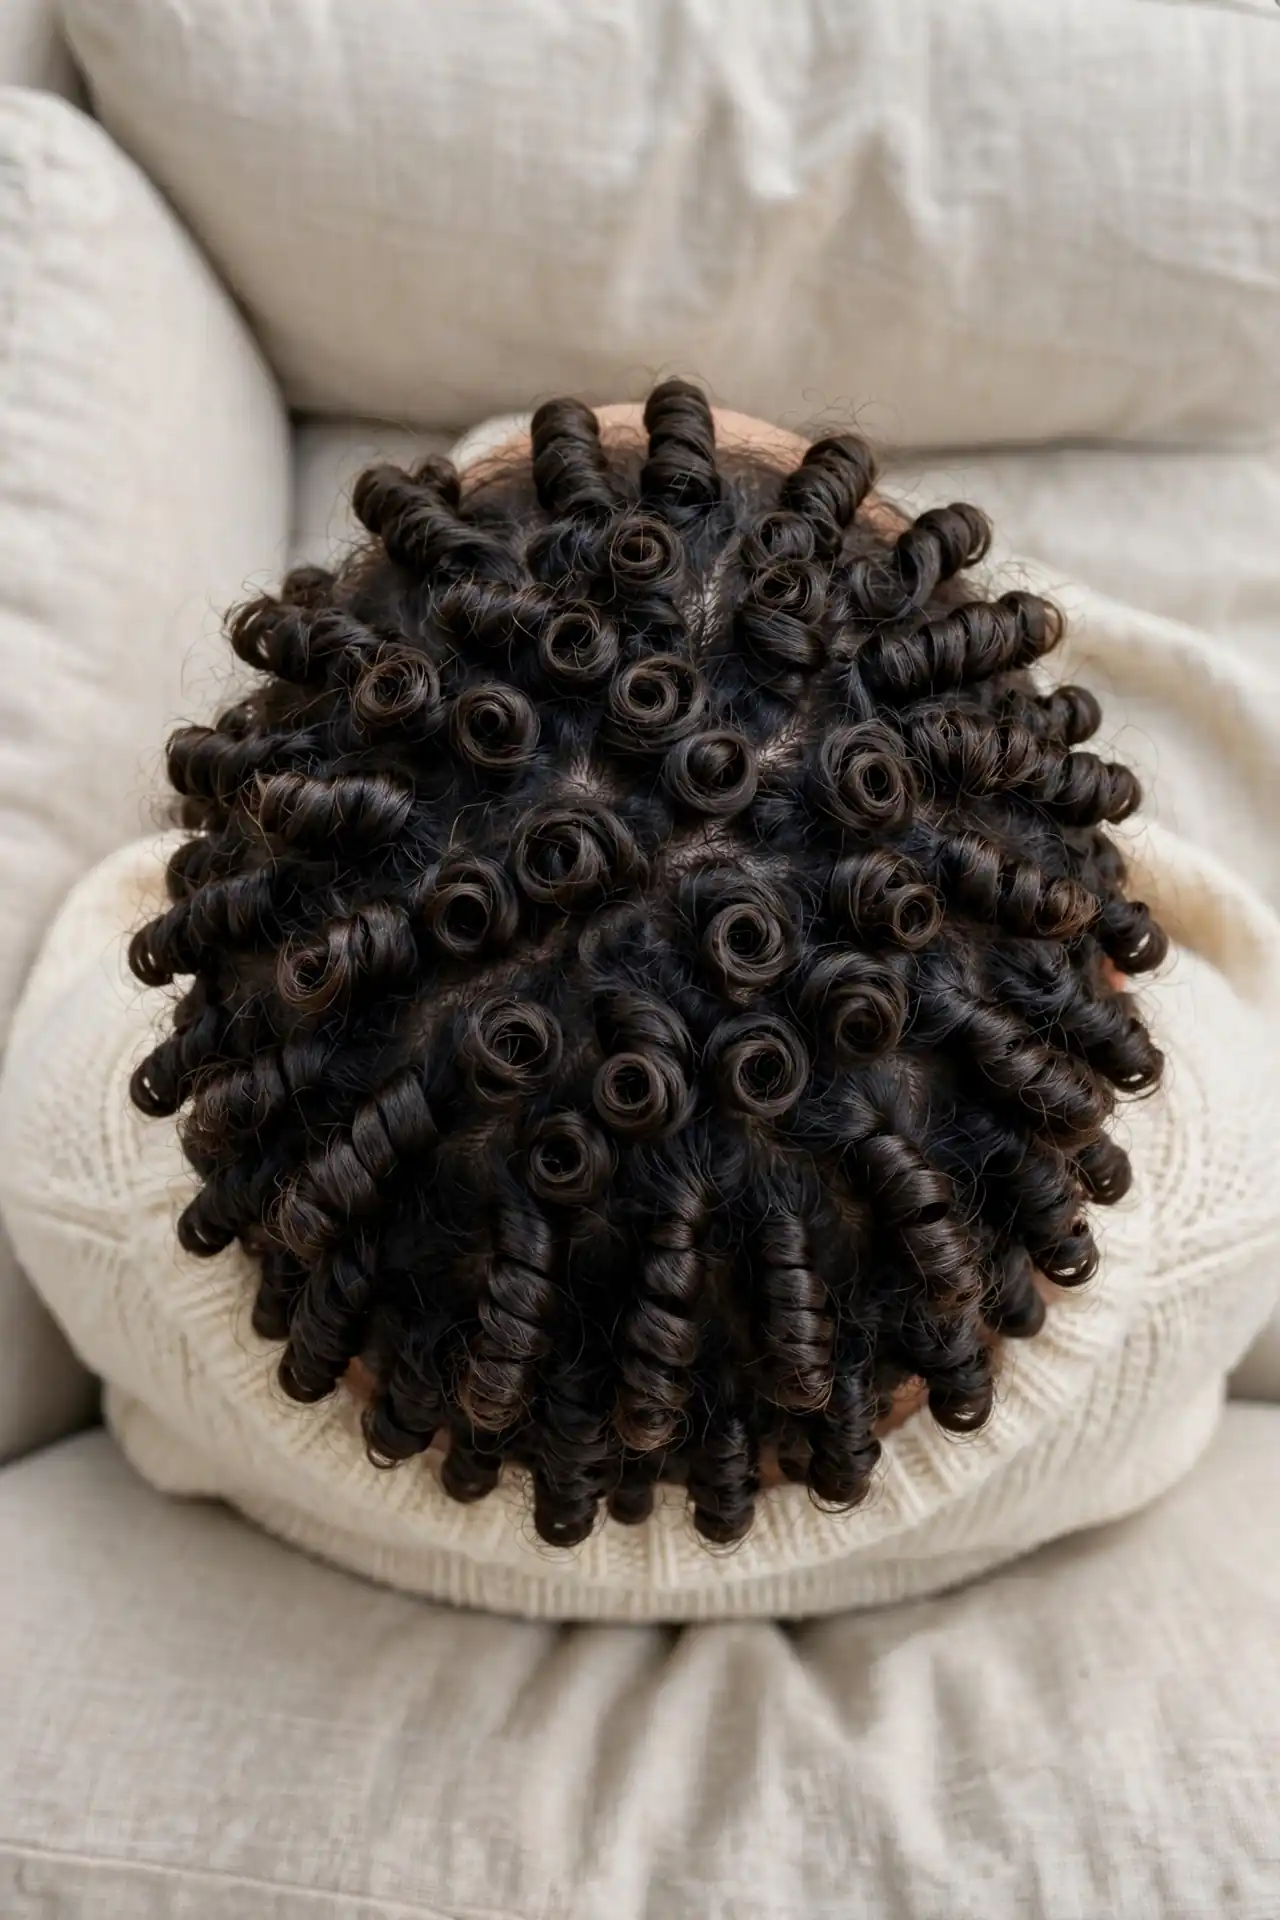
Curly Styles with Braids and Accessories
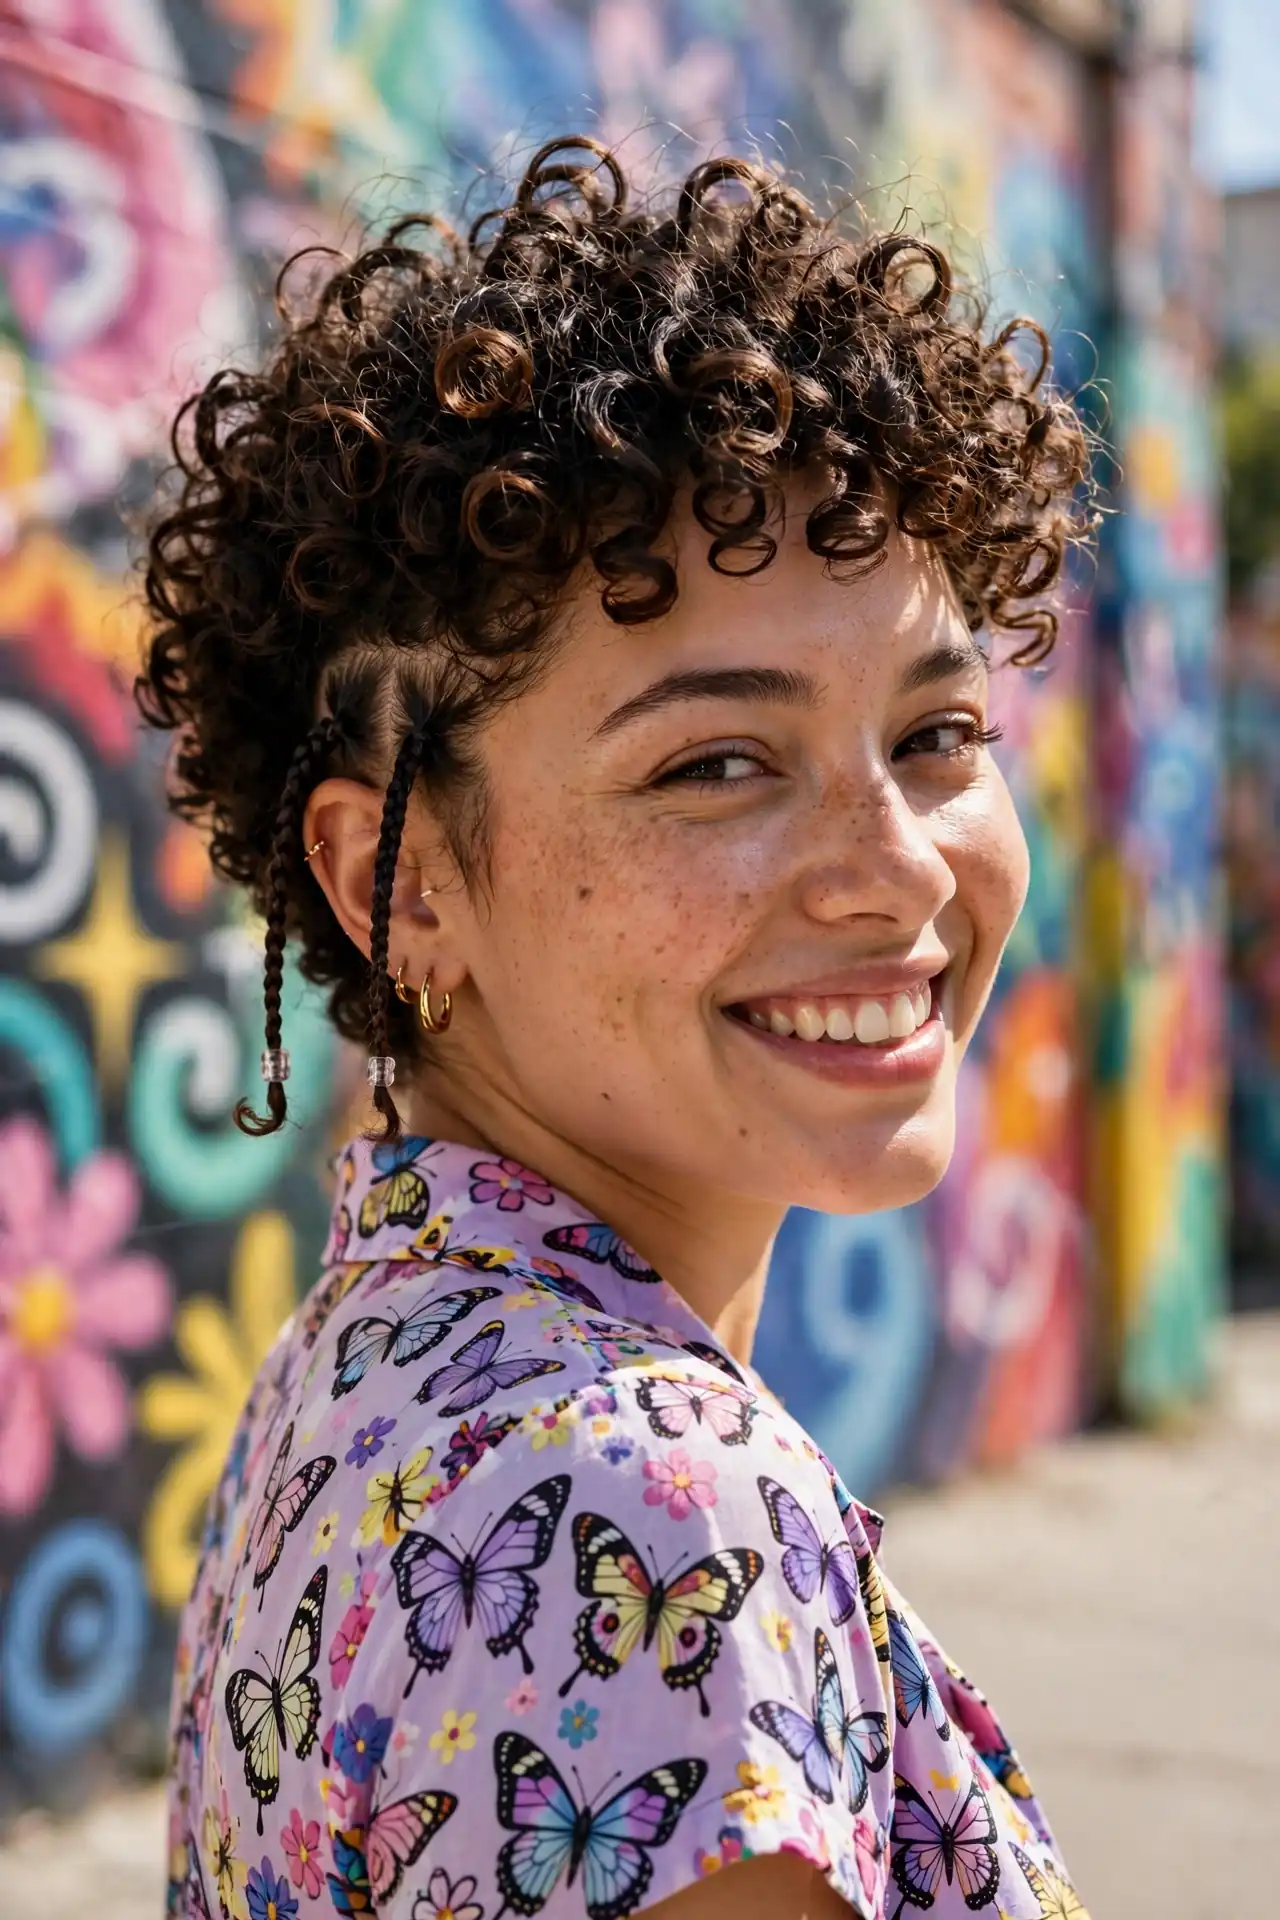
Curly Hair with Baby Braids
Rita Ora’s curly crop with a scattering of tiny braids brought this Y2K detail straight back into circulation. Two or three small braids near the temple, left loose among the curls, add interest without changing your whole style. They also solve the practical problem of the front section going flat by mid-afternoon.
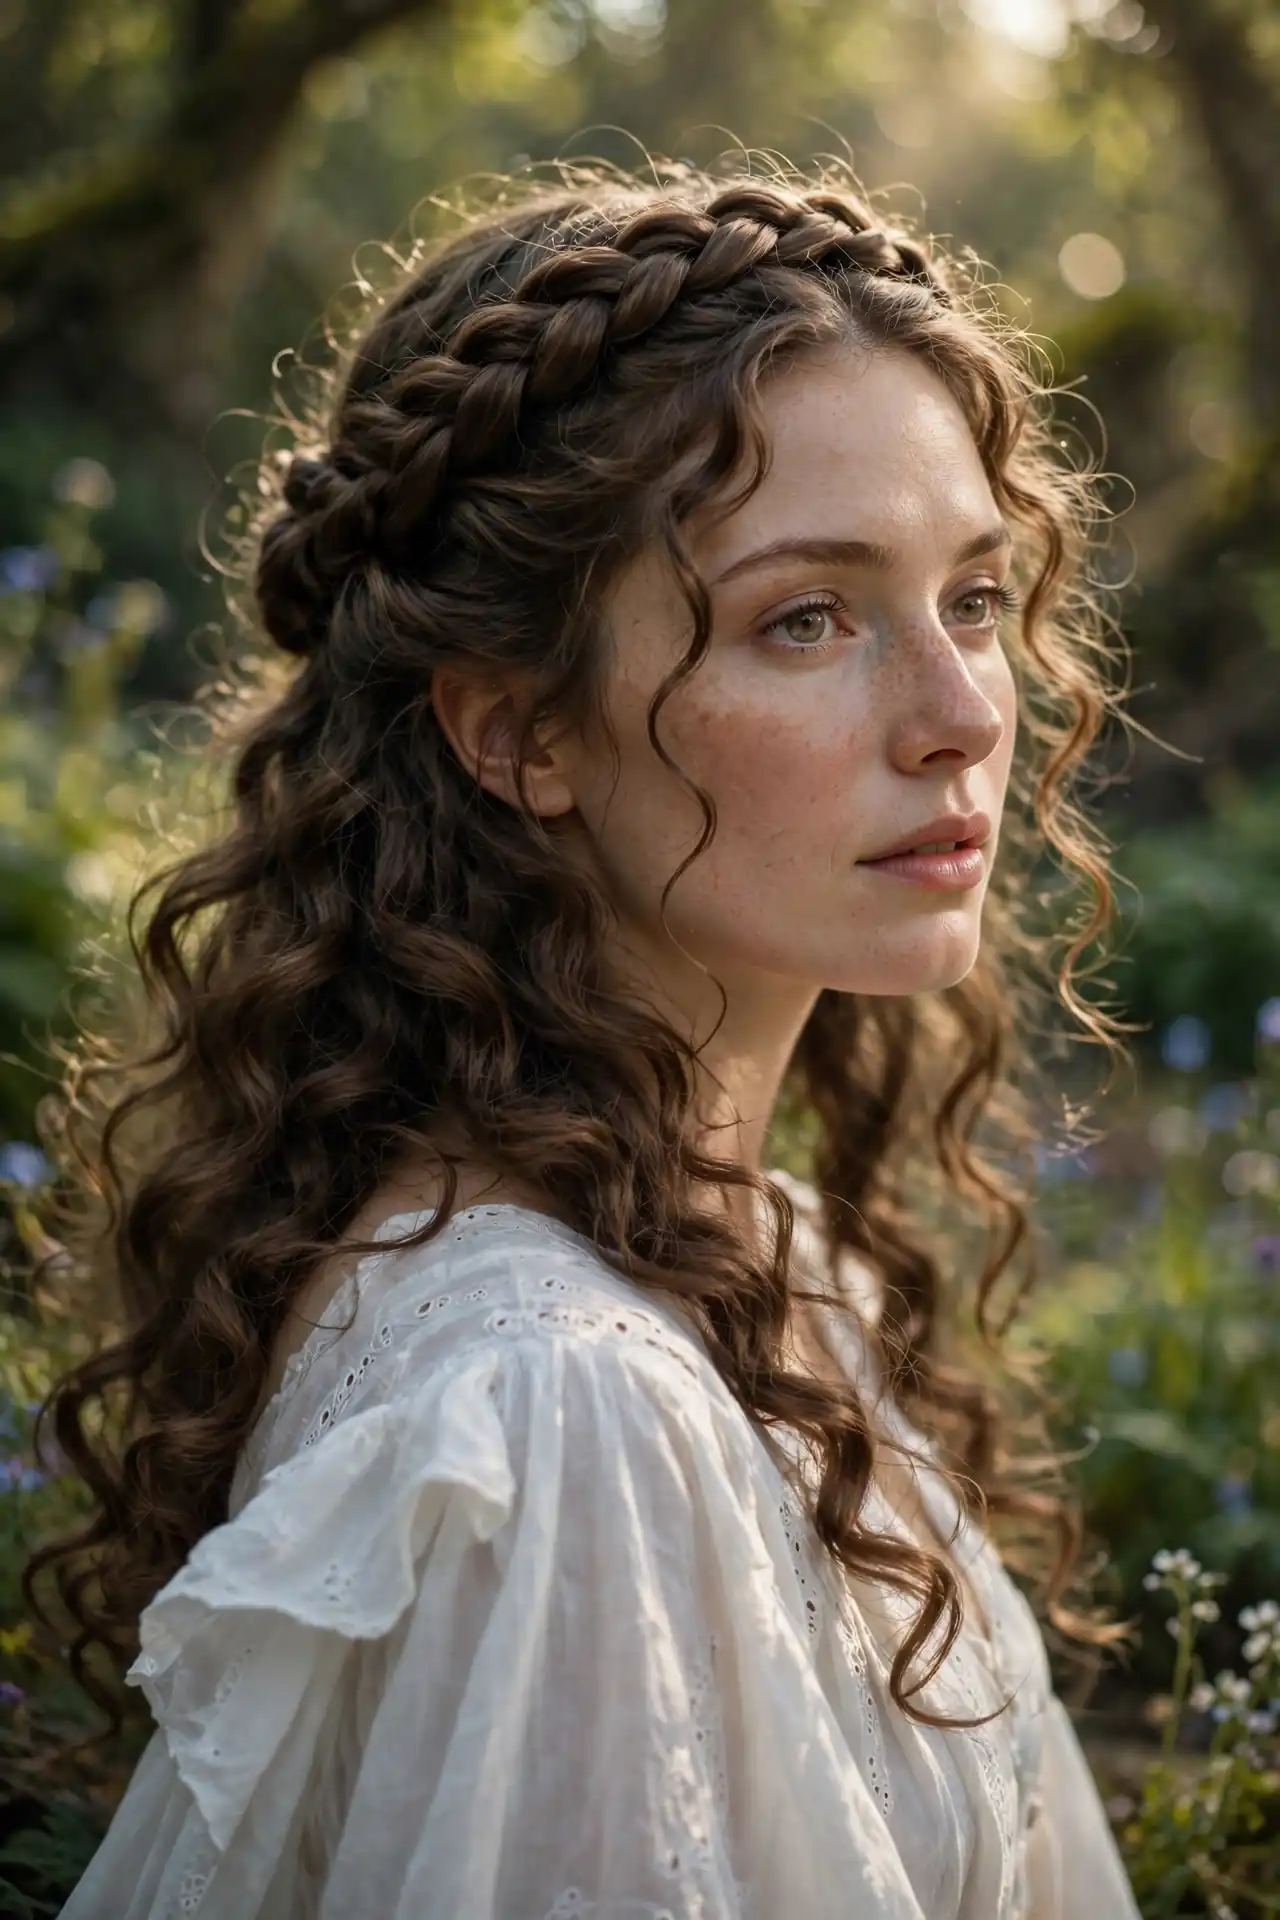
Half-Up Braided Crown with Curls
Braiding two sections back and joining them at the crown creates a soft halo above flowing curls. It suits outdoor events particularly well, and the braid only needs to look neat where it faces forward. Curly texture actually hides a slightly untidy braid better than straight hair does.
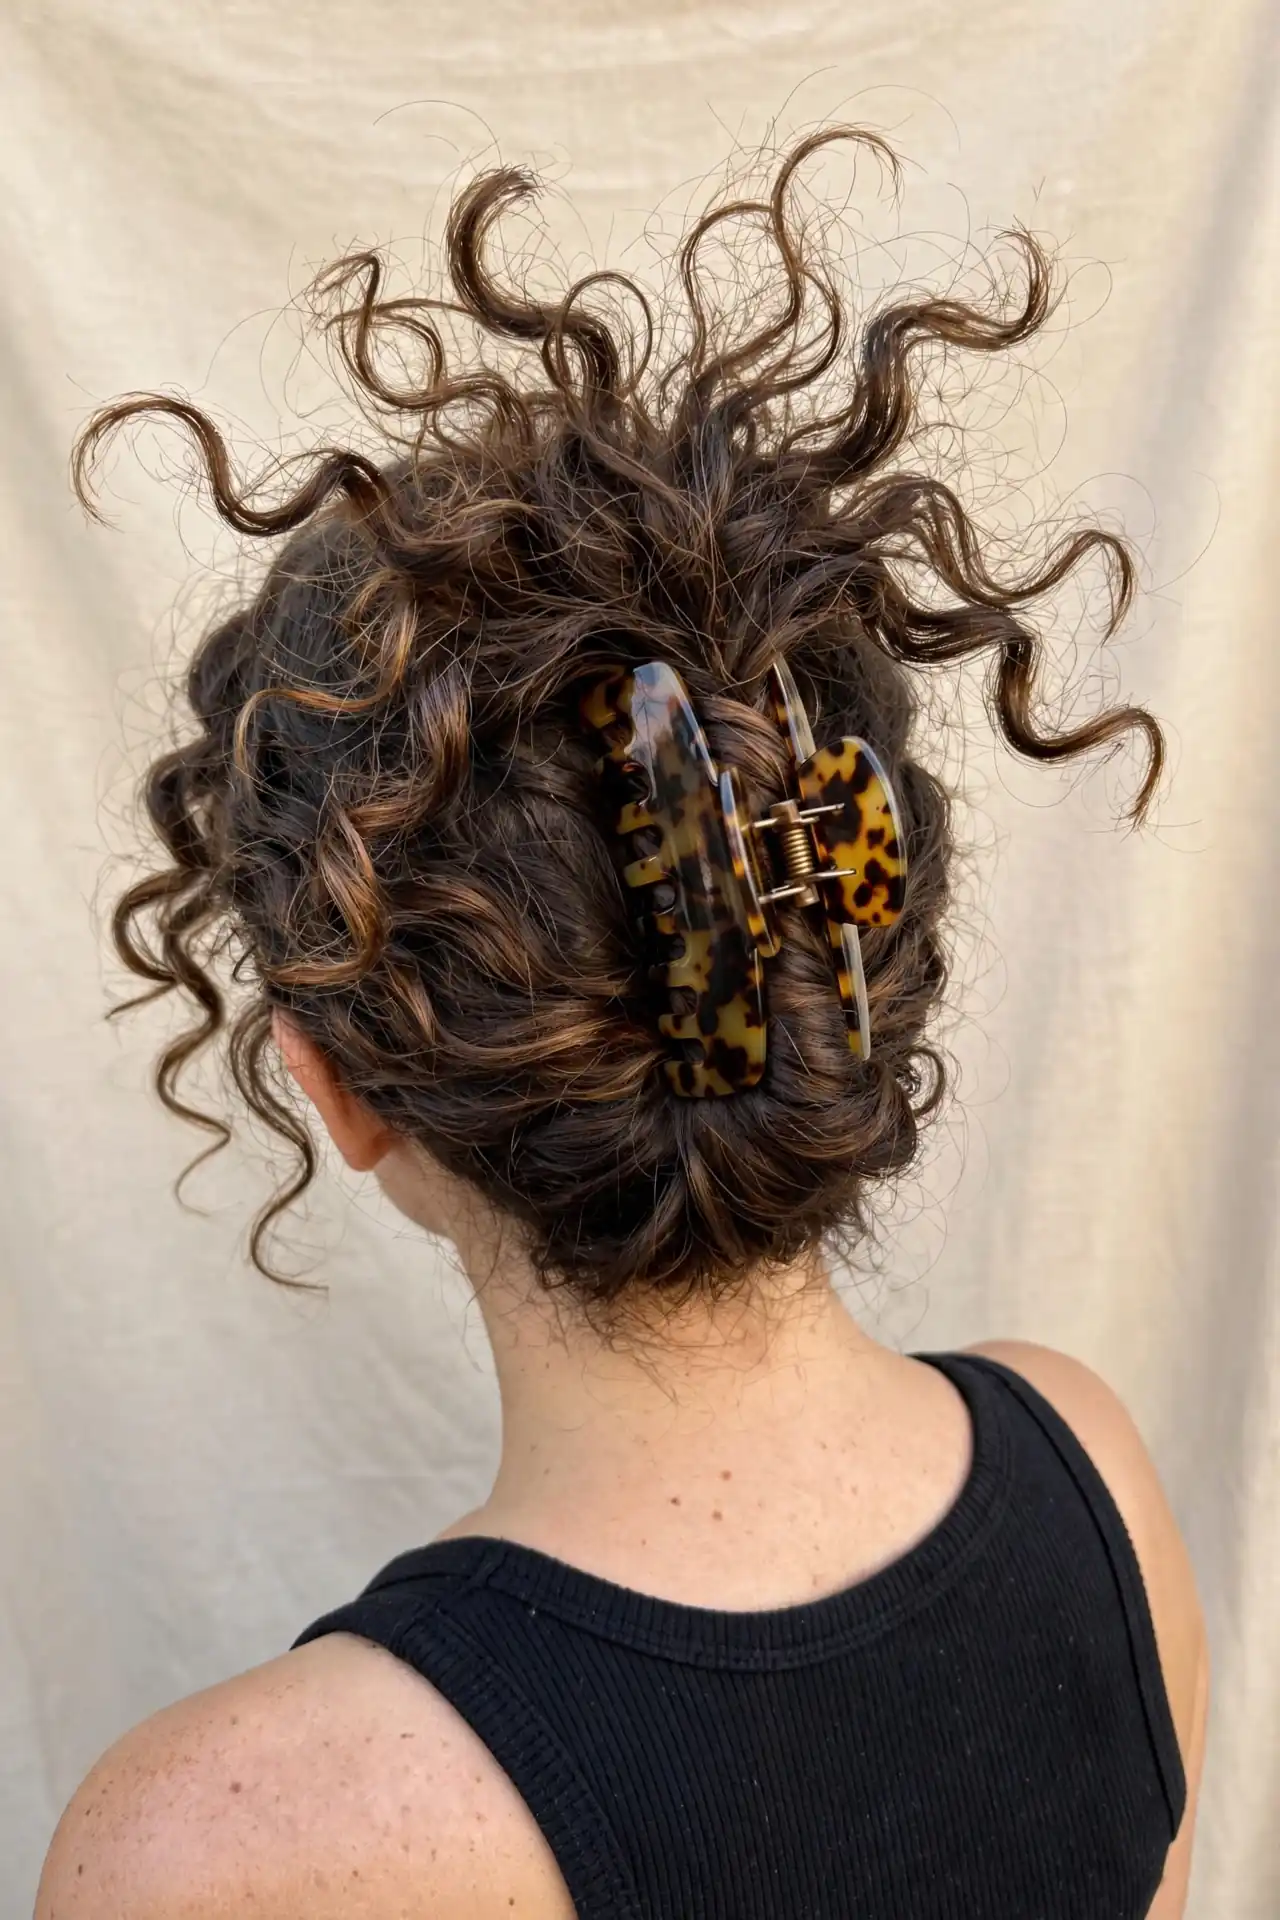
The Claw Clip Curly Updo
Twisting the length and clamping it with an oversized claw clip takes about four seconds and creates zero tension. Larger clips grip curly hair better than small ones, which slip out under the weight and volume. Let the ends fan out above the clip rather than tucking them in, since that spray of curls is the whole look.
Curls with a Headband or Silk Scarf
Ten seconds, and it rescues a bad hair day completely. A silk or satin band pushes the front section back while adding polish. Cotton headbands pull moisture from your hairline, so material genuinely matters here. Position it slightly back from the hairline rather than right at the edge, which prevents flattening the curls at the front.

Statement and Occasion Curly Looks
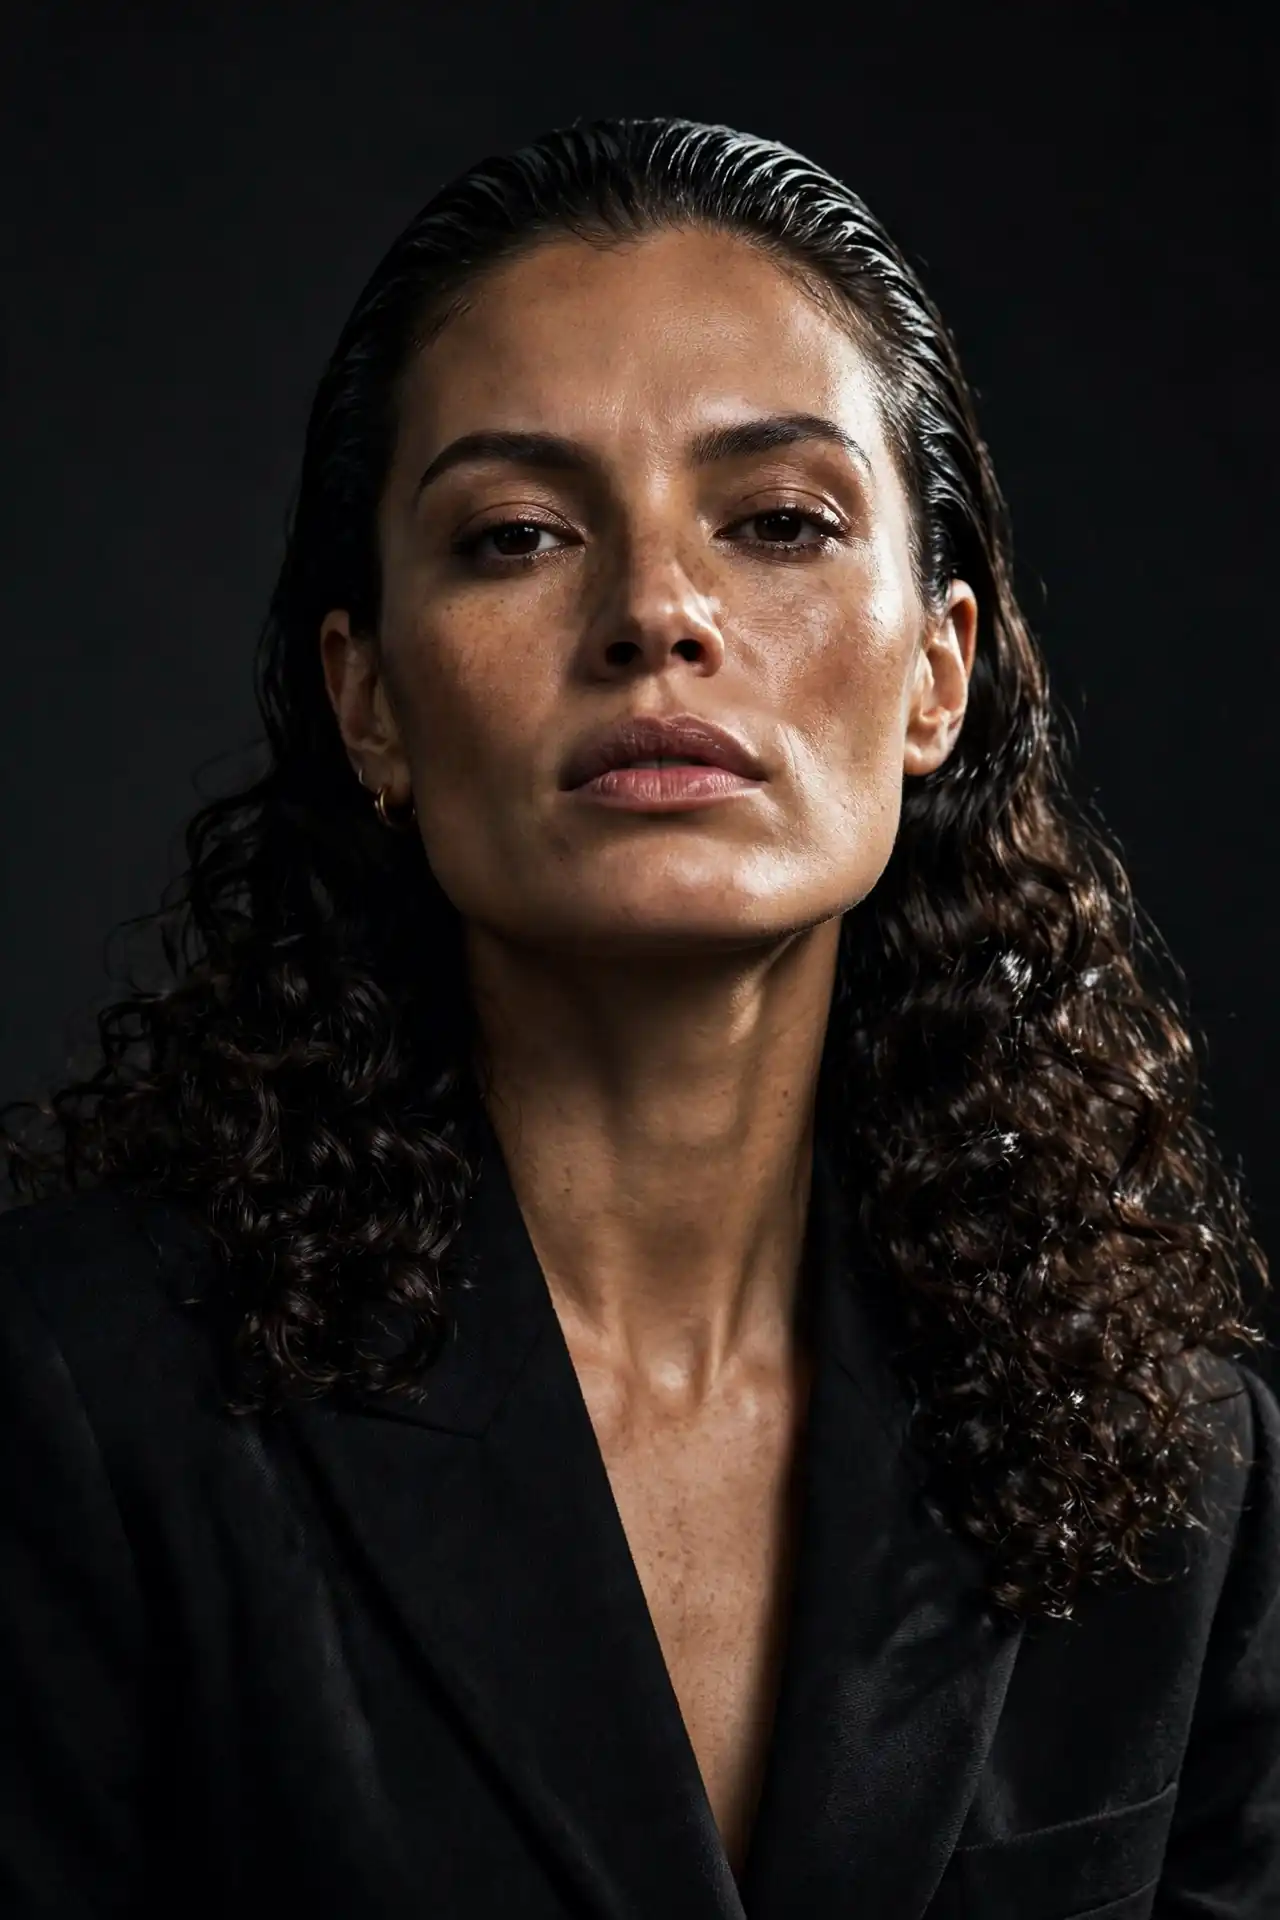
Slicked-Back Curls
Wondering how to make curly hair look formal without straightening it? This is the answer. Smoothing the front and sides with gel while leaving the length curly creates sharp contrast that reads polished and modern. Tessa Thompson’s sleek slicked-back waves are the reference most people bring in. Use a non-flaking gel and a soft brush, and tie a silk scarf around the hairline for ten minutes while it sets.
Boho Curls
Loose, romantic and deliberately imperfect, boho curls sit somewhere between styled and natural. Margot Robbie’s version during her recent press tour showed how well the look translates to formal settings. Build it by diffusing until 80 percent dry, then breaking up a few sections with your fingers so it doesn’t read too uniform.

High-Definition Ringlets
Uniform, glossy spirals with real separation between each curl, and a genuine statement when done properly. Getting there:
- Apply gel in small sections to soaking wet hair
- Shingle each section between two fingers for definition
- Diffuse or air-dry without touching
- Scrunch out the cast only once completely dry
- Finish with a drop of oil for shine
Emma Laird’s ringlets paired with a strawberry blonde tone are a good visual reference.
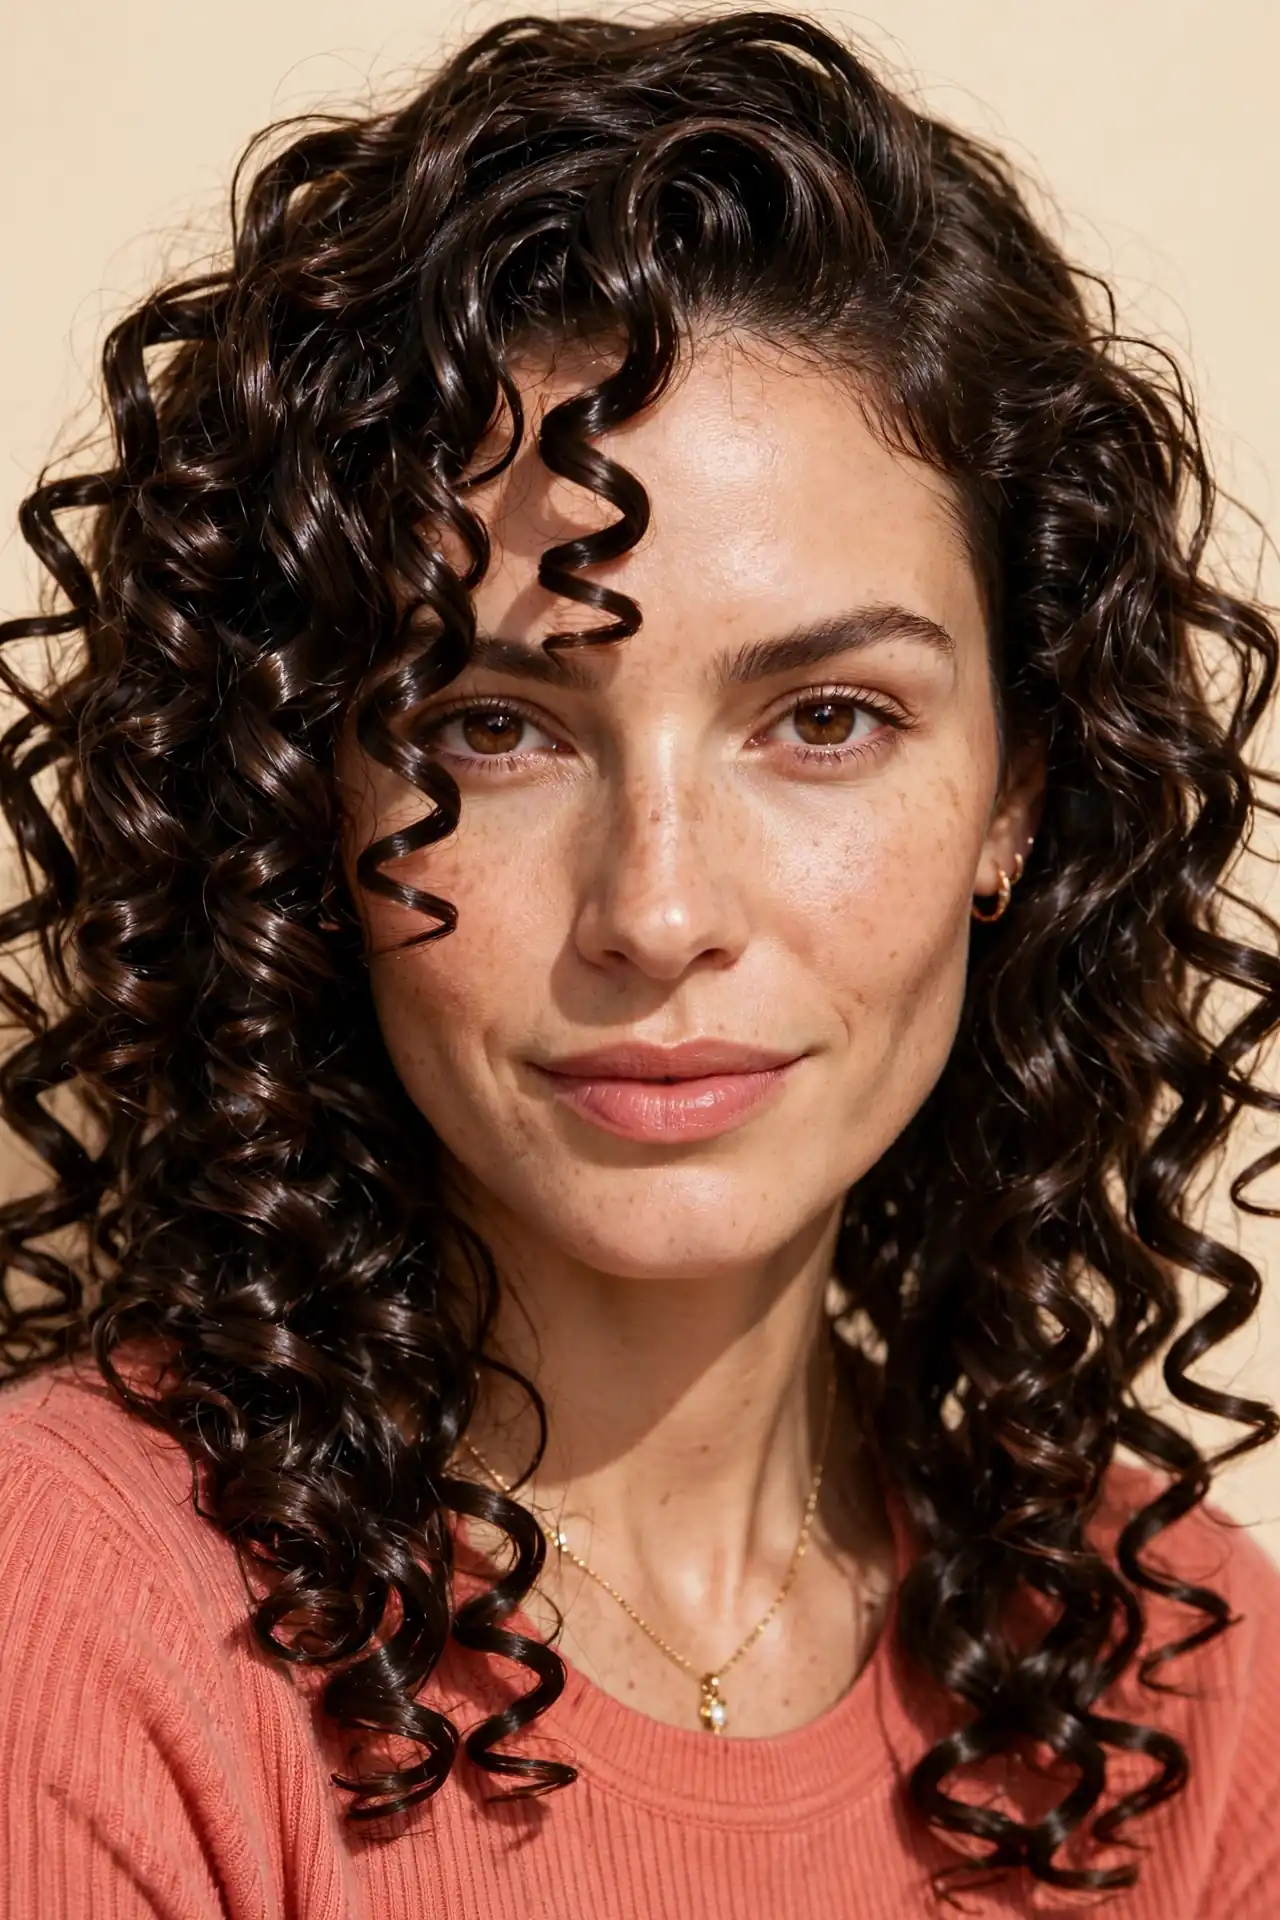
Curly Hair with Curtain Bangs
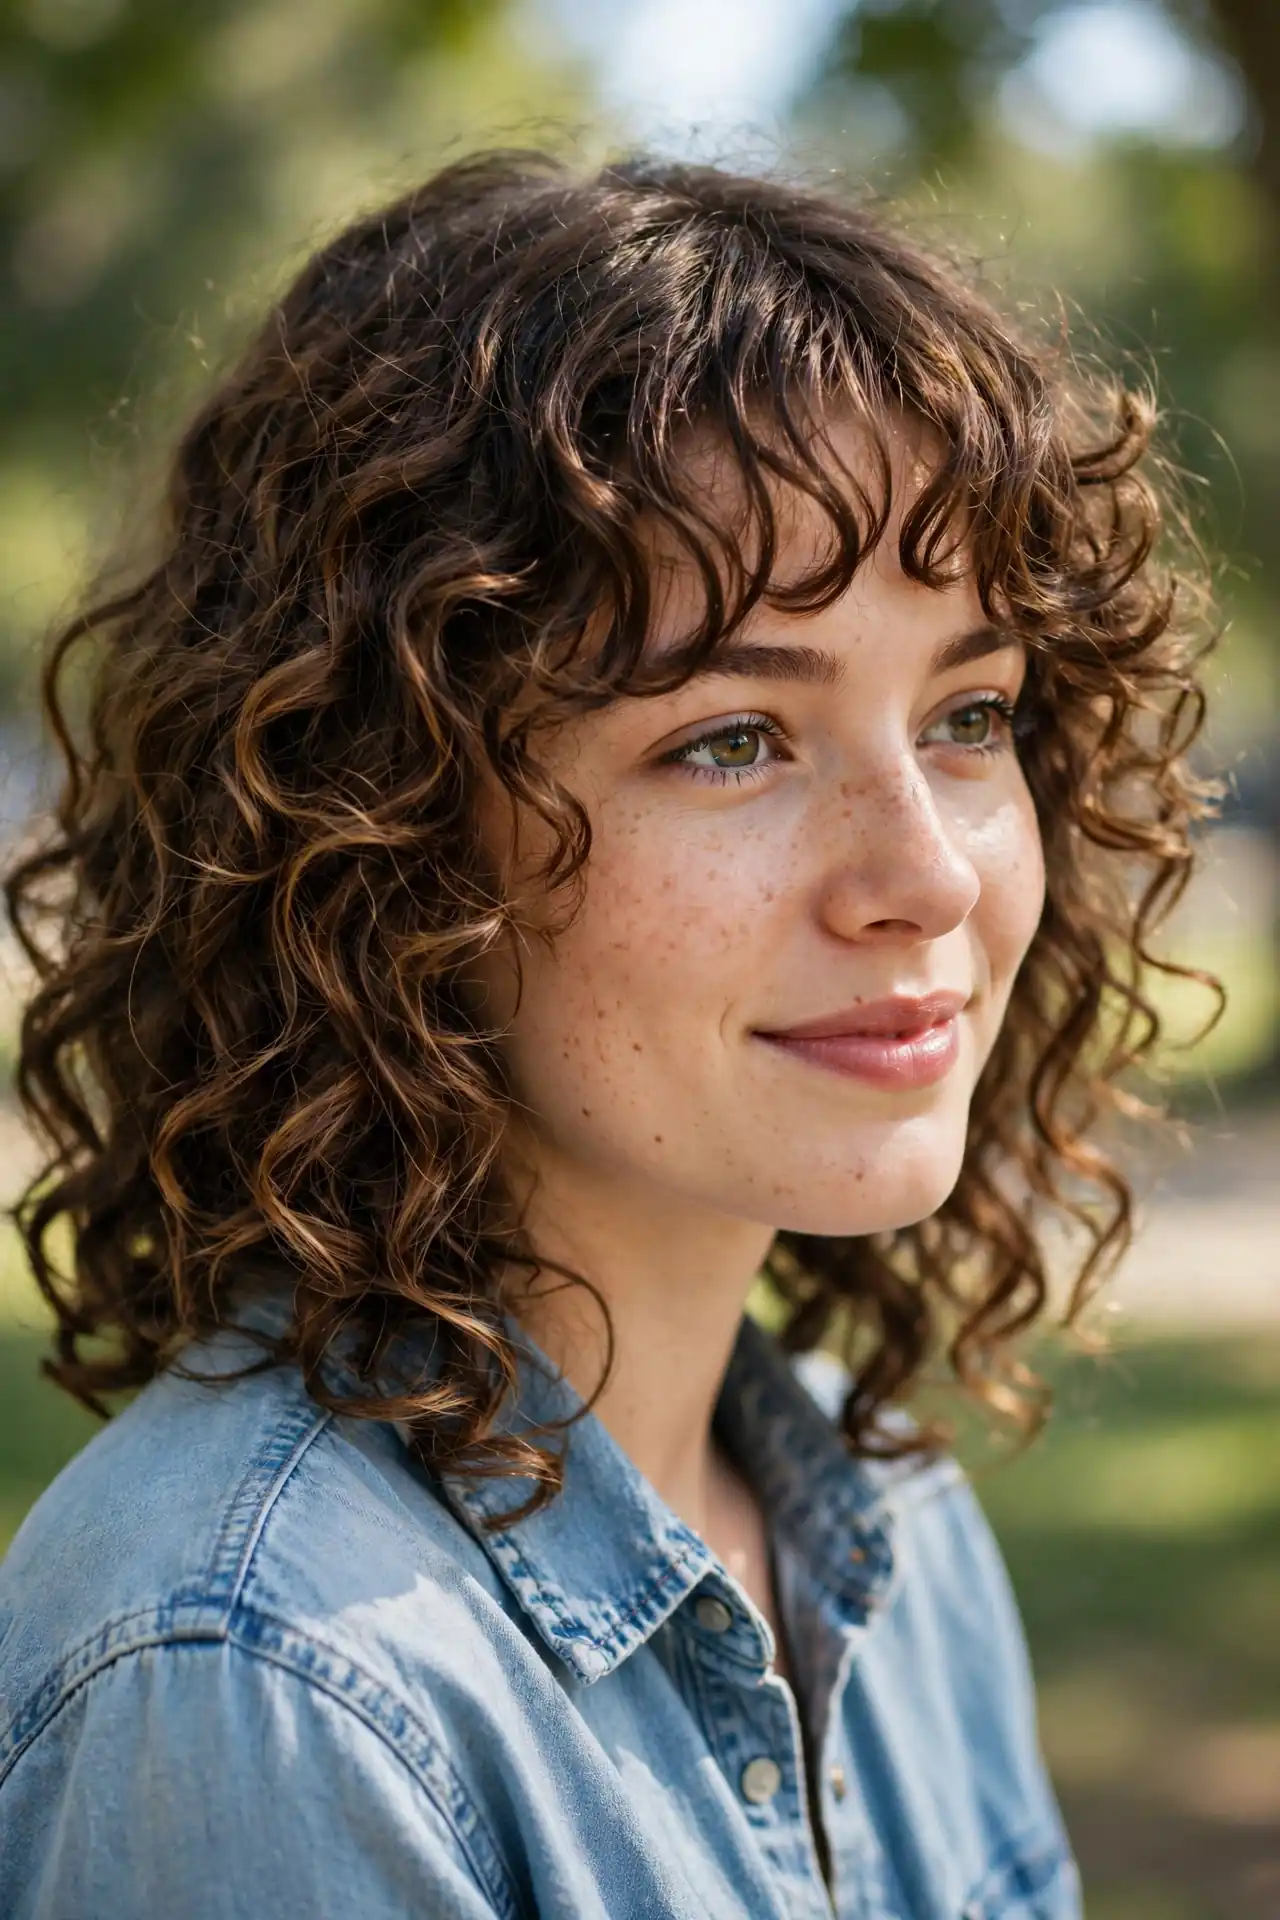
Curly curtain bangs must be cut on dry hair, because shrinkage will otherwise leave you with something two inches shorter than you asked for. The fringe should connect into your shortest layer rather than sitting as a separate block, which is what makes the whole thing look intentional. Round and longer faces both benefit. Reshape every three to four weeks even if the rest of the cut can wait longer.
What Actually Determines How Your Curls Behave
Style roundups show finished photos. These are the mechanics behind whether you can reproduce them.
Curl Type Is Only Half the Story
Everyone knows their curl type. Far fewer people know their porosity or density, and those two often matter more.
Porosity determines how quickly your hair absorbs and loses moisture. Low porosity hair resists products sitting on the surface and needs lightweight formulas and warmth to absorb anything. High porosity hair drinks product and loses moisture just as fast, so it needs heavier creams and sealing oils. Density is how many strands you have, which determines how much product you need and whether layering will thin your shape too far.
A stylist who asks about all three during consultation is worth keeping.
Dry Cutting and the Shrinkage Problem
Curly hair can shrink by half or more as it dries. Cutting it wet, at the length you want it to finish, guarantees disappointment.
Dry cutting lets the stylist see exactly where each curl falls and shape accordingly. It’s slower and usually costs more, and it’s worth both. Curly cut services typically run higher than standard cuts, often $60 to $200 depending on whether wash, definition and diffusing are included. Ask specifically whether the stylist cuts dry before booking.
Matching Approach to Curl Pattern
| Curl Type | Best Cuts | Styling Approach |
|---|---|---|
| 2A to 2C wavy | Lob, shag, long layers | Lightweight mousse, air-dry, minimal product |
| 3A to 3B curly | Curly bob, Rezo, curtain bangs | Cream plus light gel, diffuse |
| 3C tight curly | V-layers, shag, high-definition sets | Cream and gel, shingle in sections |
| 4A to 4B coily | Tapered shapes, twist outs, flexi rods | Heavy cream, sealing oil, low manipulation |
| 4C coily | Short sculpted cuts, coils, twist outs | Maximum moisture, stretch before styling |
Troubleshooting Common Curl Problems
| Problem | Likely Cause | Fix |
|---|---|---|
| Frizz on drying | Touching hair mid-dry | Leave it completely alone until dry |
| Curls fall flat by day two | Too much product, or crushed at night | Halve the product, sleep in a pineapple |
| Stringy, limp curls | Protein overload or buildup | Clarify, then use moisture-only for two weeks |
| Triangular shape | Layers cut too high or not at all | Ask for interior layering |
| Curls feel gummy or mushy | Moisture overload, needs protein | Add a protein treatment monthly |
| Ends look thin | Overlayering on fine density | Fewer layers, more weight at the perimeter |
Product Layering, in the Right Order
Liquid first, then cream, then gel. Applying them in any other sequence wastes at least one of them.
Water or a leave-in provides the hydration. Cream provides softness and clump formation. Gel forms the cast that locks the shape while it dries. That hard, crunchy feeling once dry is not a mistake, it’s the cast doing its job, and scrunching it out with dry hands once the hair is completely dry leaves soft, defined curls underneath. Skipping that final scrunch is why so many people think gel makes hair crispy.
Start with less product than you think. Buildup shows up as dullness, limpness and curls that suddenly refuse to clump.
Protecting Curls Overnight
A satin bonnet or pillowcase is not optional if you want your definition to survive until morning.
The pineapple, meaning a loose high gathering at the very top of the head, preserves the curl pattern for hair long enough to hold it. Shorter hair does better with a bonnet or a few loose flat twists. Cotton pillowcases will destroy a good wash and go by morning, and that isn’t an exaggeration.
Trim Frequency
Every six to eight weeks keeps the shape defined and prevents split ends from travelling up the strand.
Curly hair hides damage well, which is exactly the problem. Split ends on curls cause tangling and breakage further up before you ever notice them visually. Stretching to twelve weeks is fine on longer, low-manipulation styles, but a curly pixie or bob will lose its shape long before then.
Final Thoughts
The best thing about where curly hair is right now is how little it asks of you. The dominant look is air-dried, lived-in and slightly imperfect, which means the styling routine that produces it is shorter and gentler than what the sculpted ringlet era demanded. The cuts have caught up too, with dry cutting and interior layering becoming standard rather than specialist.
Find a stylist who cuts curly hair dry and asks about your porosity, not just your curl type. Learn your product order and use less than you think. Protect your hair at night, because that single habit does more than any product on your shelf. Stop touching your hair while it dries.
Save the looks that made you pause and take three or four to your next appointment. Curly hair rewards a good cut more than any other texture, and it punishes a bad one for months.
Frequently Asked Questions
Should curly hair be cut wet or dry?
Dry, in almost every case. Curls can shrink by half as they dry, so cutting wet at your target length leaves the finished cut far shorter than expected. Dry cutting lets the stylist see exactly where each curl sits and shape the silhouette accordingly.
Why do my curls go frizzy while drying?
Touching them. Every time you disturb hair mid-dry you break the clumps the product formed and lift the cuticle. Apply product to soaking wet hair, scrunch upward once, then leave it completely alone until it’s fully dry before scrunching out the cast.
How often should curly hair be trimmed?
Every six to eight weeks for most cuts. Curly hair conceals split ends visually while they travel up the strand and cause tangling, so waiting for visible damage means waiting too long. Longer, low-manipulation styles can stretch to twelve weeks.
What order should curly hair products go on?
Liquid, then cream, then gel. Water or leave-in hydrates, cream softens and encourages clumping, gel forms the cast that holds the shape while drying. Once the hair is completely dry, scrunch the cast out with dry hands for soft, defined curls.