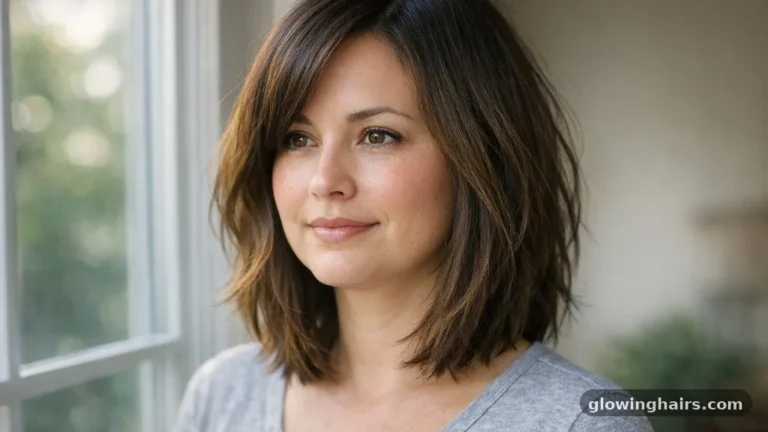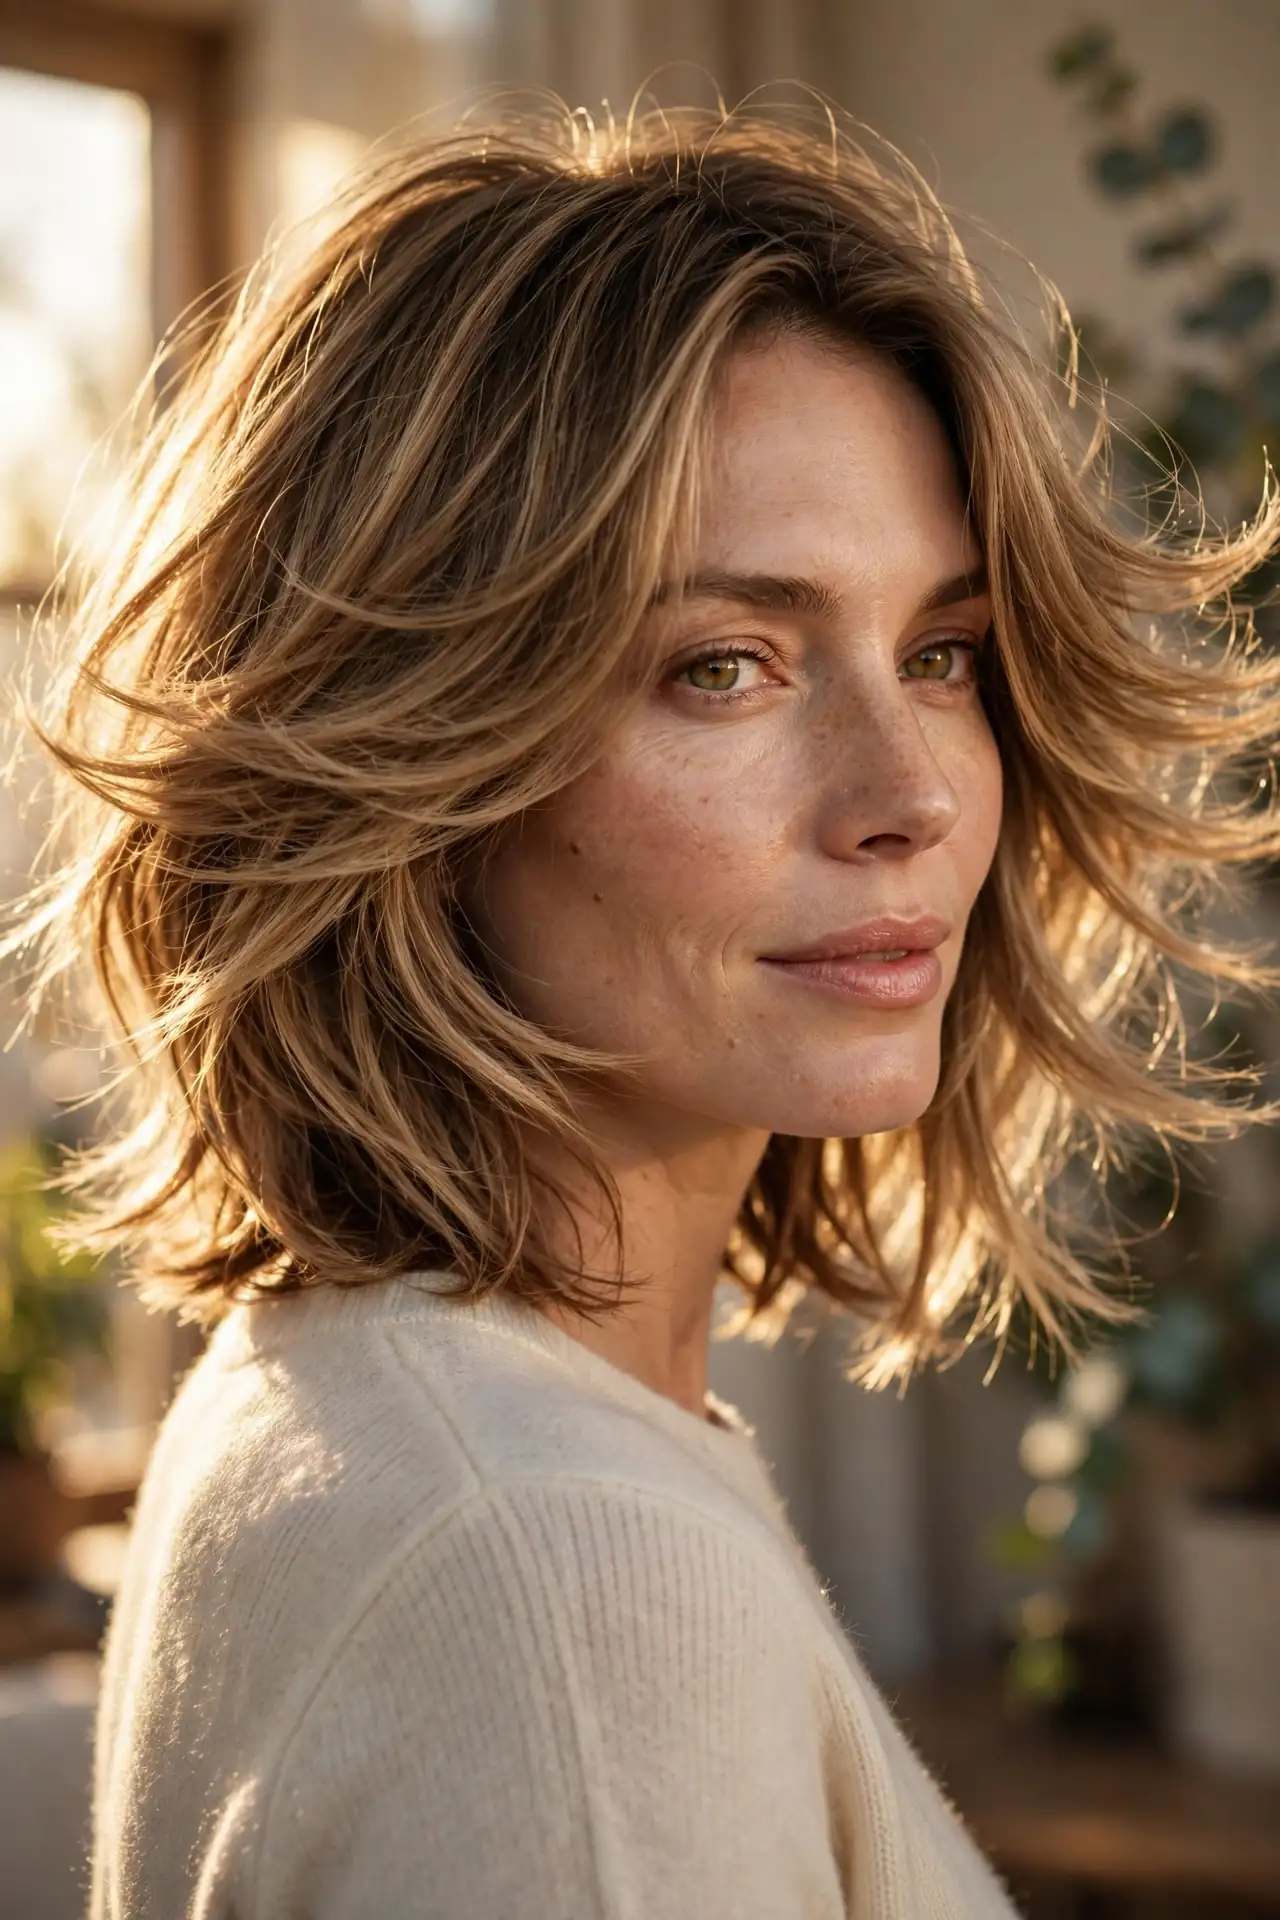
25 Medium Butterfly Haircut Ideas That Get the Layers Right
Medium length is where this cut actually works. The medium butterfly haircut relies on a two-tier layering system, short pieces framing the face and longer ones preserving the perimeter, and that contrast needs a specific amount of hair to read properly. Too short and the two tiers collapse into each other. Too long and the shorter layers disappear into the mass below them. Shoulder to collarbone is the range where the wings actually flutter.
Celebrity hairstylist Nick Stenson, founder of Nick Stenson Beauty, describes the cut as face-framing layers at the front with longer layers underneath creating a winged effect, and calls it the ultimate option for anyone wanting to change their hair without losing length. His second point matters just as much: it’s ideal for thick hair that needs weight reduced.
L’Oréal Paris styling guidance is more specific about length. Medium-length hair fares best with a genuine combination of short and longer layers, whereas long hair should start its layers further down, around the chin, to keep the shape flowing rather than choppy. That distinction is the whole reason this article exists separately from a general butterfly cut guide.
Twenty-five versions follow, organised by shape, layer placement, fringe, texture and finish.
Core Medium Butterfly Shapes
Length within the medium range changes the character of the cut more than most people expect. These five cover the spectrum.
The Classic Shoulder-Grazing Butterfly
The perimeter sits right at the shoulders while the shortest face-framing layers land somewhere between the cheekbone and jaw, creating the maximum contrast the cut is capable of at this length. Volume concentrates at the crown while the length stays at the shoulders, which draws the eye upward and downward rather than outward. That directional pull is genuinely useful, because it stops the layers adding bulk at the cheeks the way a badly placed medium cut can.
This is the most photographed version and the one most people mean when they search for the cut. Blow-dry the top layers forward and the lengths back to get the wings to separate properly, then finish the front pieces with a round brush turning away from the face.
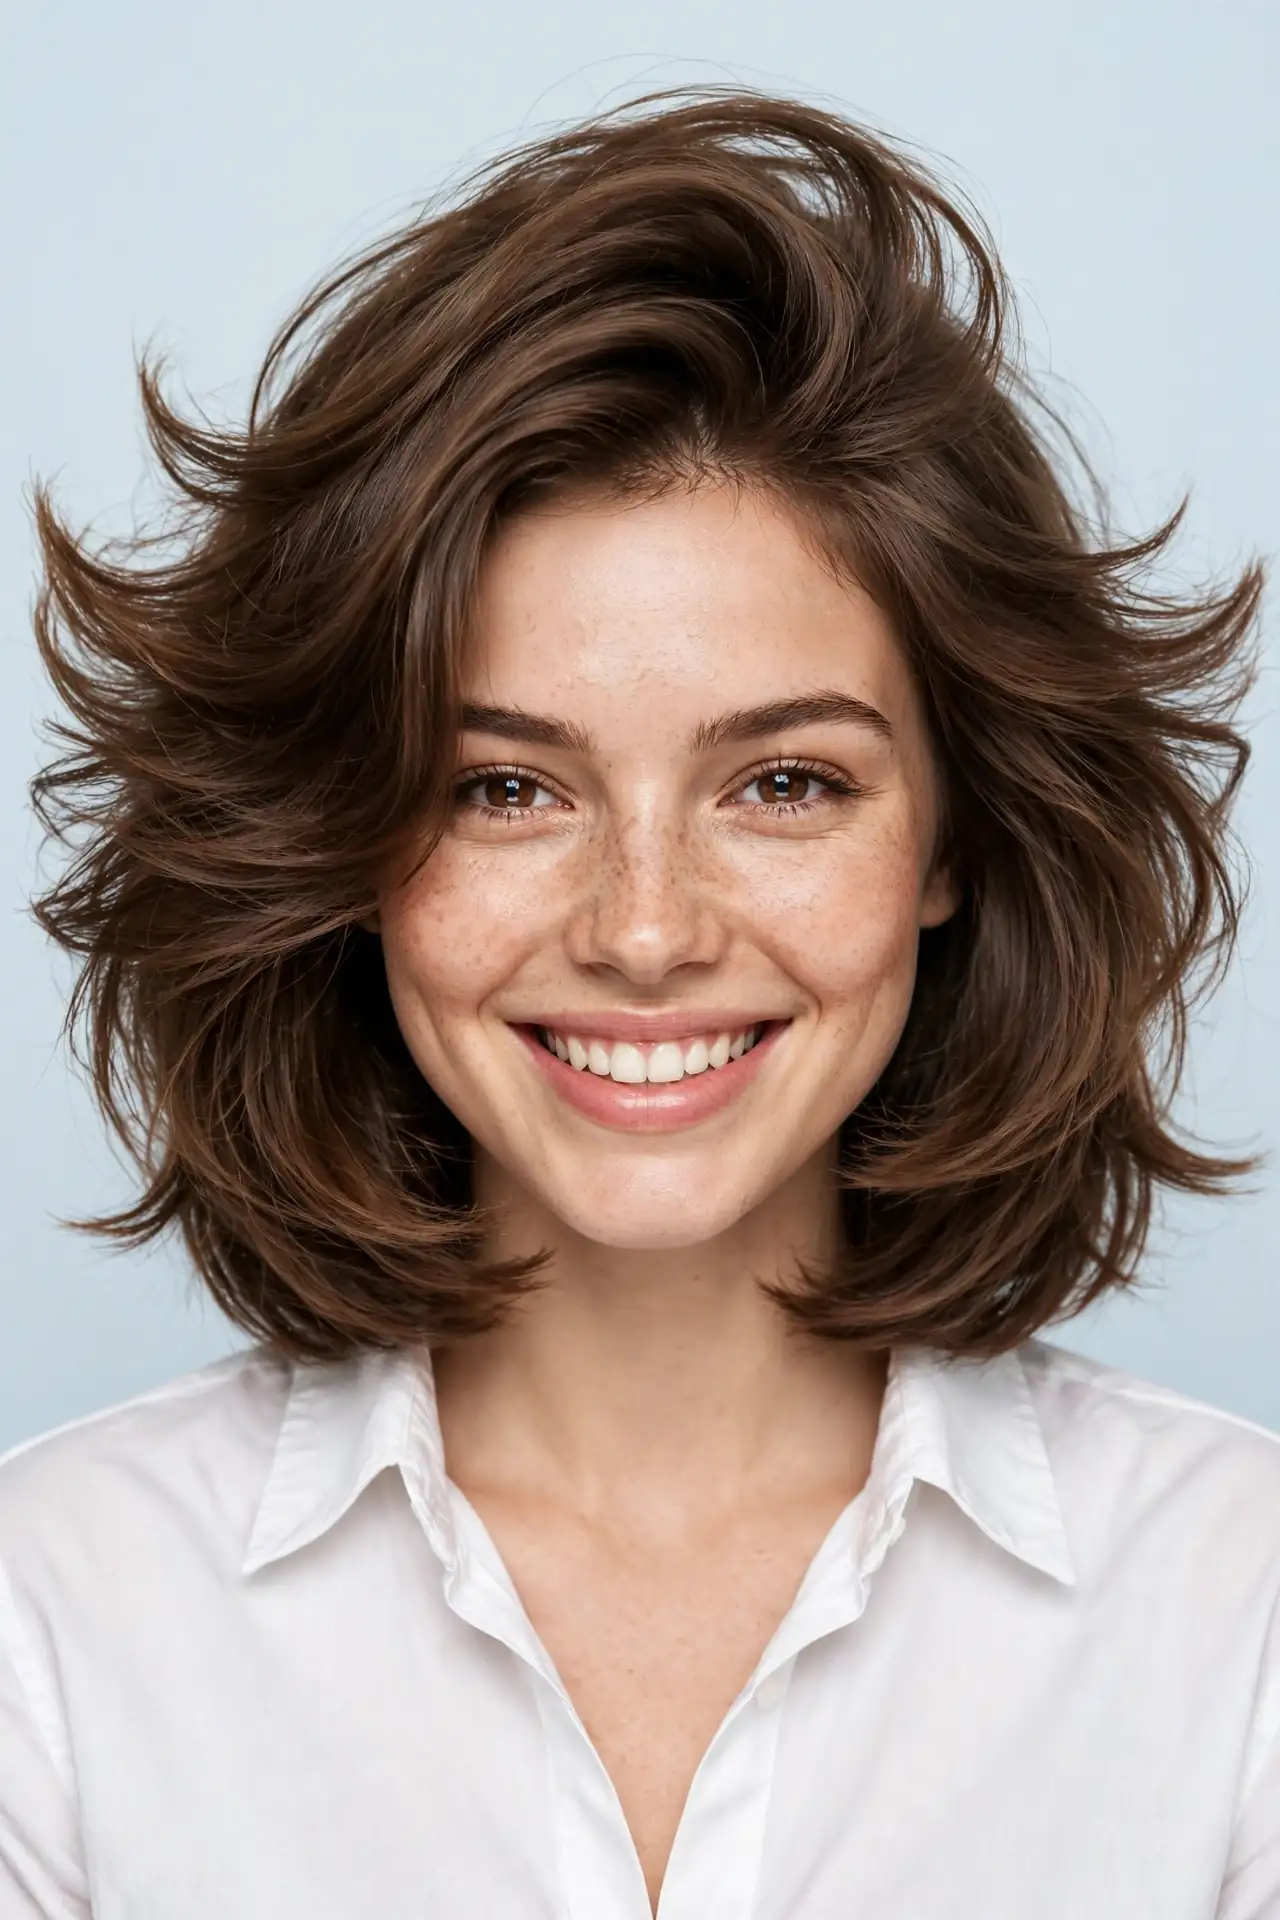
The Above-the-Shoulder Butterfly
Cutting the perimeter just above the shoulders produces a lighter, more playful version of the same idea. The shorter layers bring genuine bounce and body while removing excess weight, which makes it the practical choice for thick hair that feels heavy and unmanageable day to day. It’s also lower maintenance than the shoulder-grazing version, because there’s no perimeter sitting exactly at shoulder level to flip and misbehave.
Fine hair benefits here too, since the reduced length means the ends don’t thin out as the layers taper. Anyone nervous about the full commitment should start at this length and grow into the classic version.
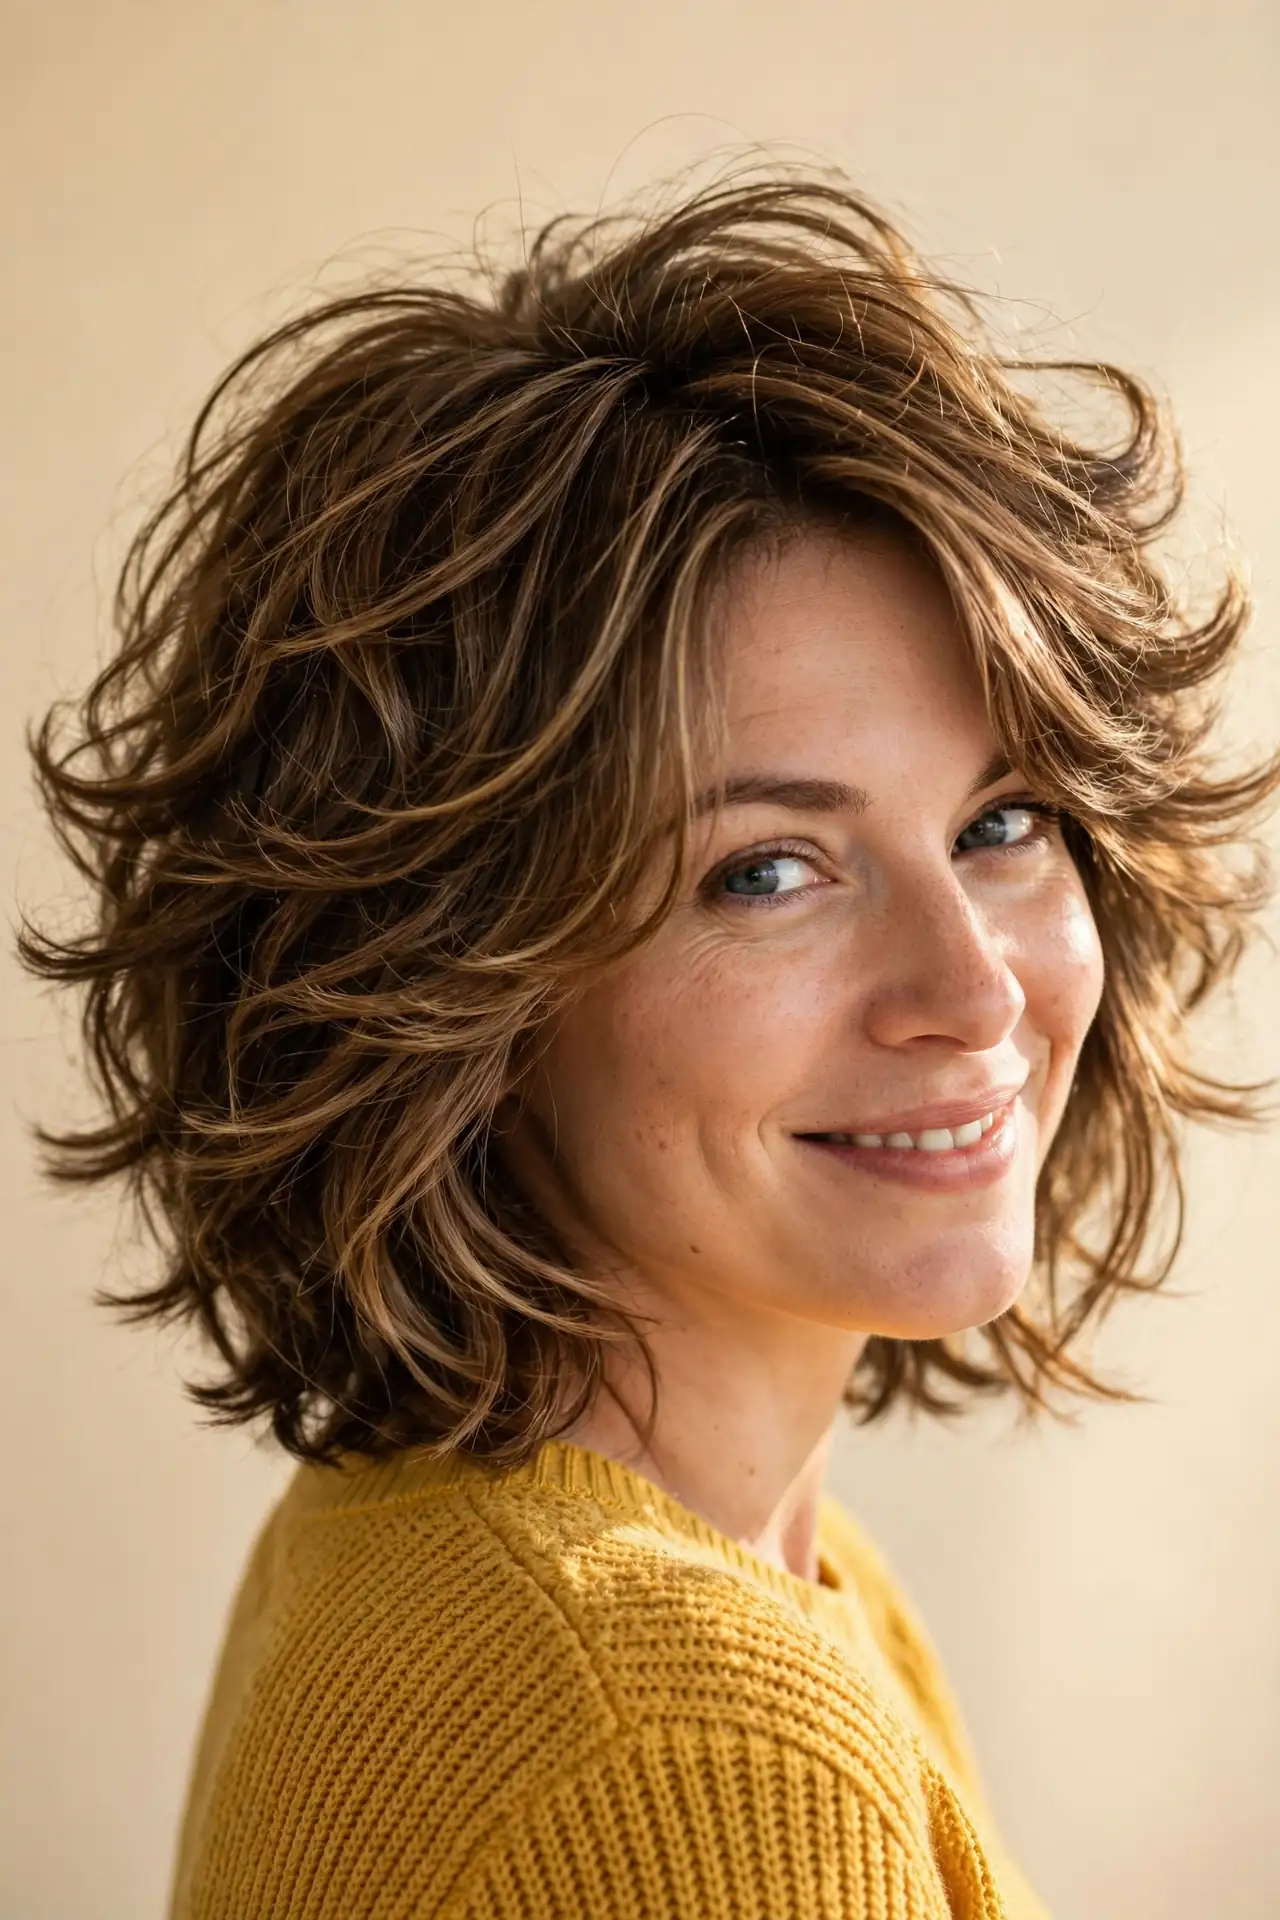
The Collarbone Butterfly
Why does this length feel more grown-up than the shoulder version? Because the extra two inches soften the contrast between the two layer tiers. The wings still read clearly, but the transition is gentler and the overall silhouette is longer and more fluid. It suits professional settings where a very obvious layered shape might feel too trend-driven, and it grows out beautifully into plain long layers.
Trims stretch to ten weeks at this length, which is longer than any shorter version manages. If maintenance frequency is your deciding factor, this is the version to choose.
The Two-Tier Butterfly
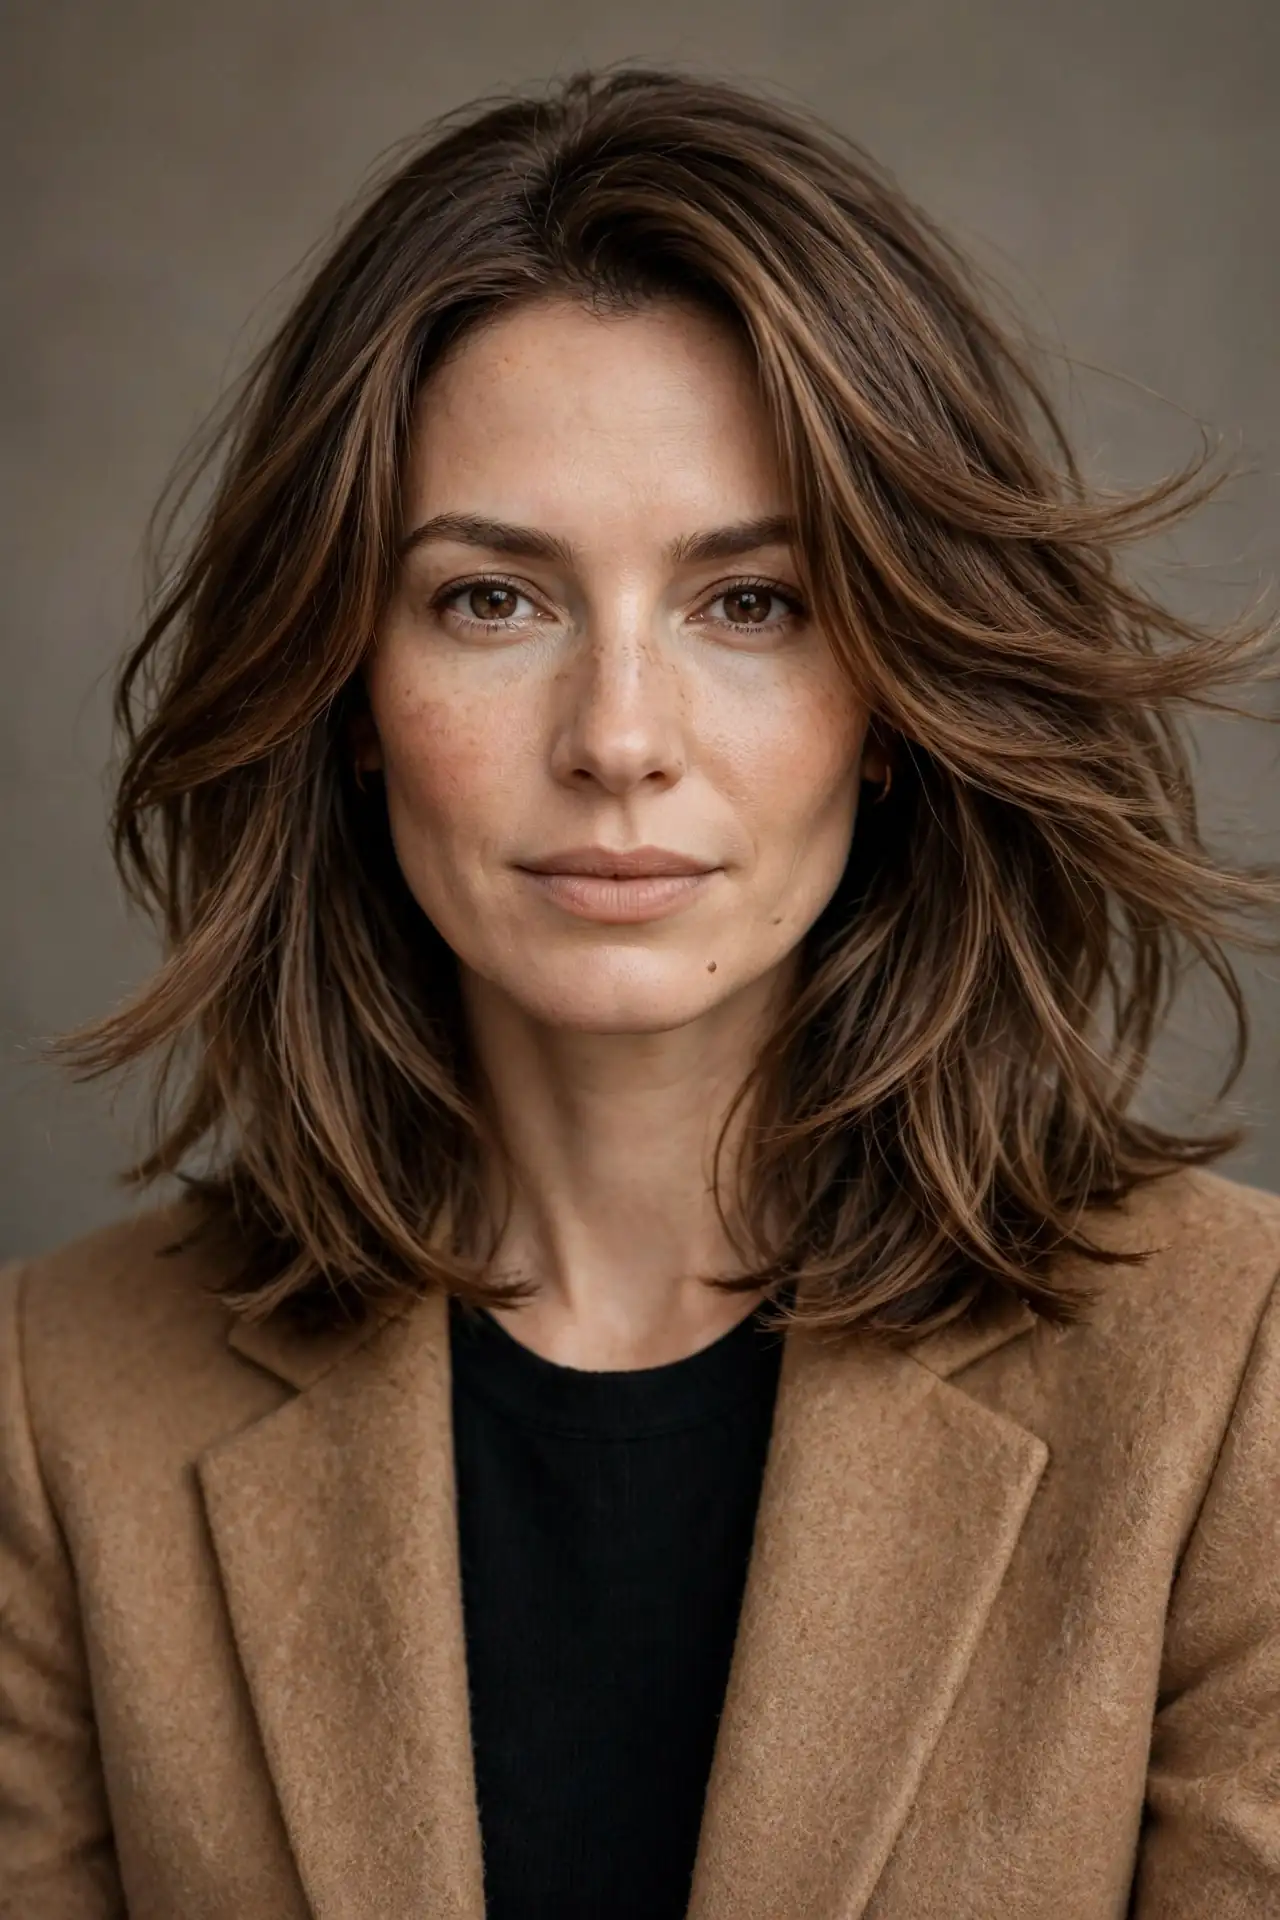
One cut, two apparent haircuts. That’s the technical illusion this version pushes furthest. The front sections are cut short enough to read as a bouncy bob when styled forward, while the back perimeter stays firmly at shoulder length. From the front you appear to have a much shorter cut. From behind, you clearly don’t. Turning your head reveals both at once, which is exactly the effect the name describes.
Executing it requires a stylist comfortable with significant disconnection between the tiers. The transition still needs to be blended, otherwise you get a visible shelf rather than a wing. Ask to see examples of their layering work specifically, not just their general portfolio.
The Butterfly Lob with a Soft Perimeter
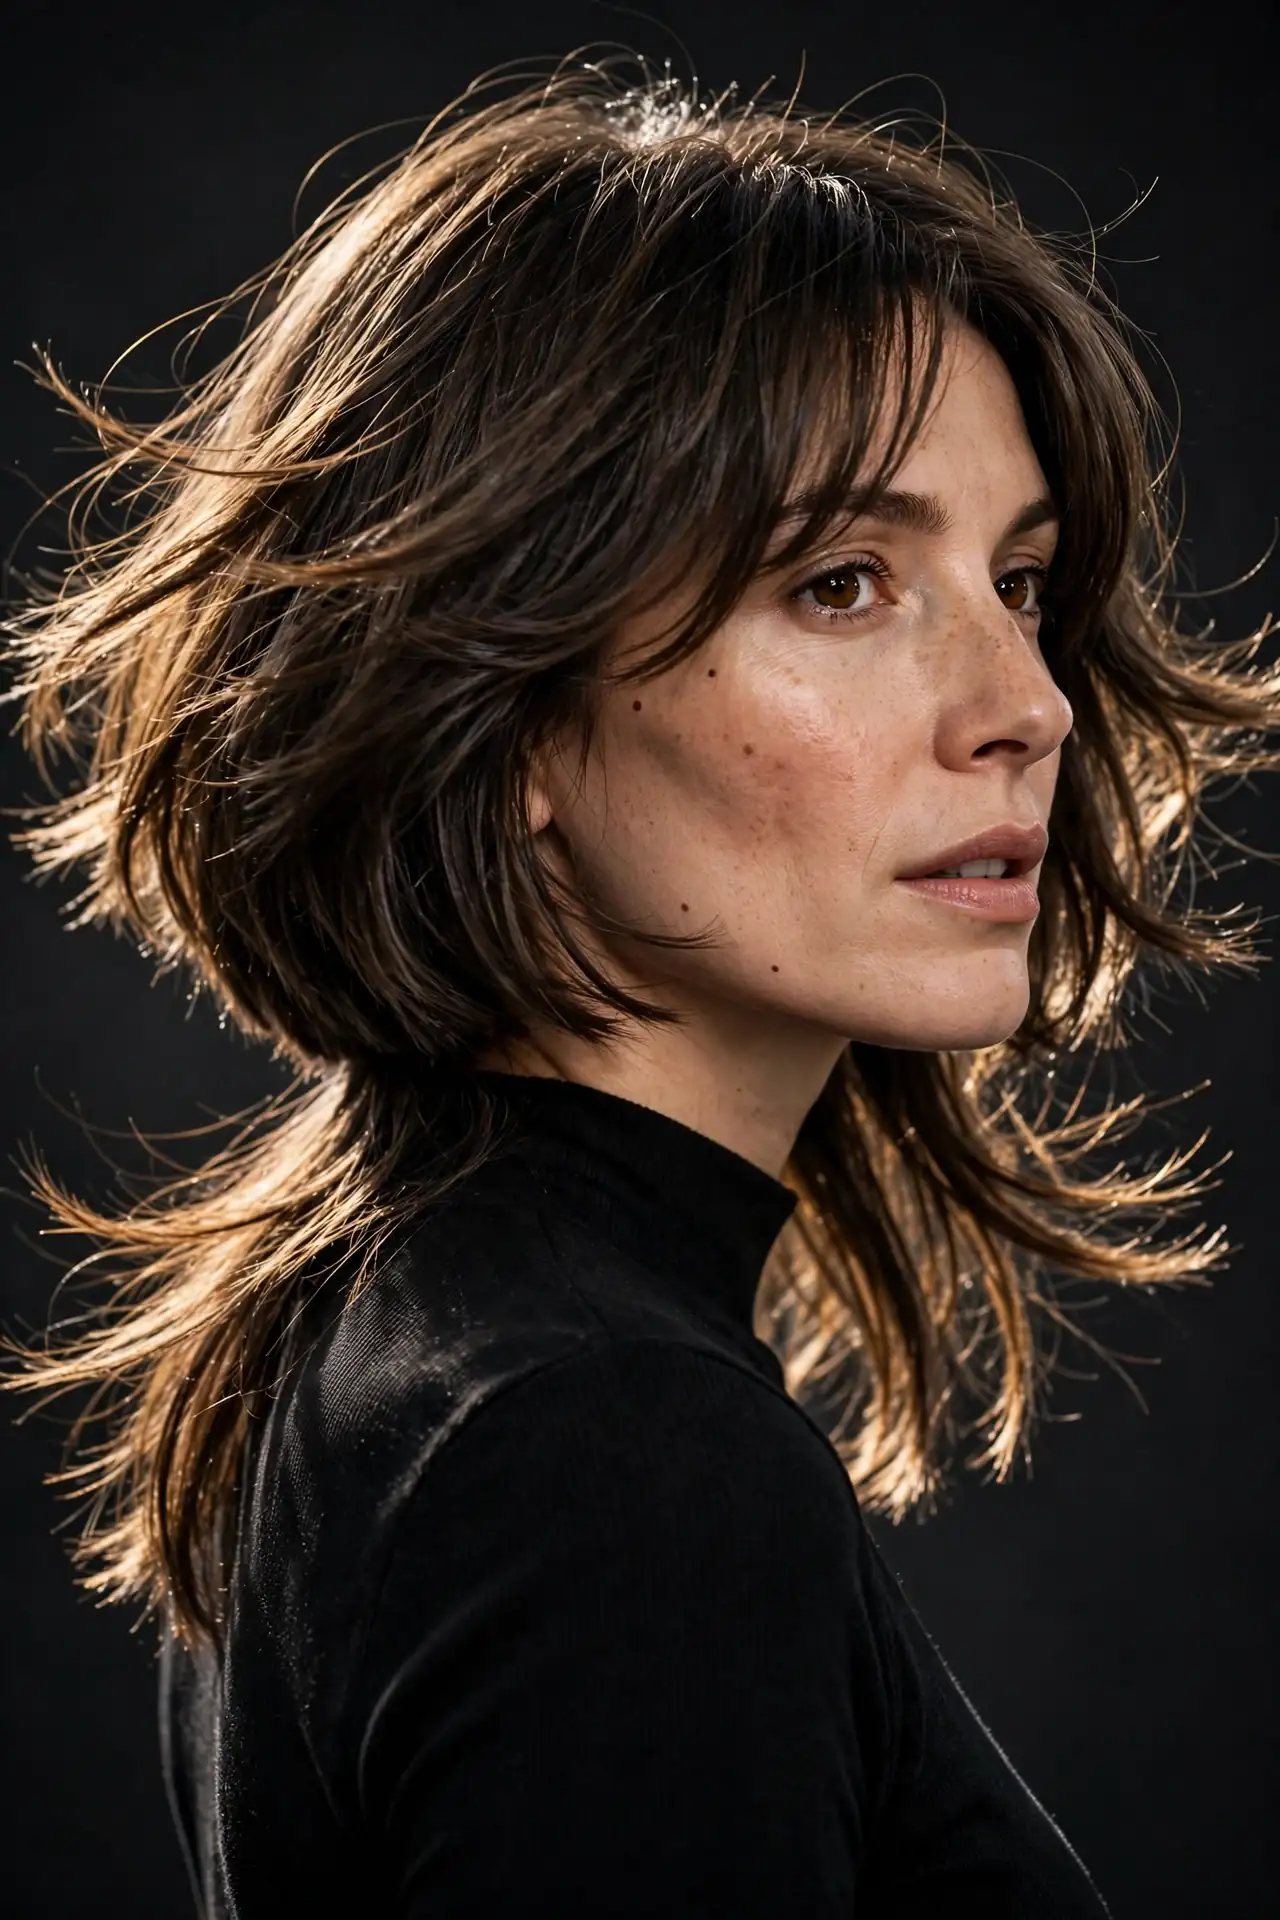
Keeping the outline relatively solid while placing all the layering internally gives you movement without the wispy ends that put some people off this cut. The perimeter stays blunt or near-blunt at collarbone level, and the wings are created entirely by shorter face-framing sections that sit on top. Weight is preserved where you want it and removed where you don’t.
This is the version to request if you’ve had a layered cut before that left your ends looking thin. The internal approach delivers the same movement with considerably more substance at the bottom.
Layer Placement Variations
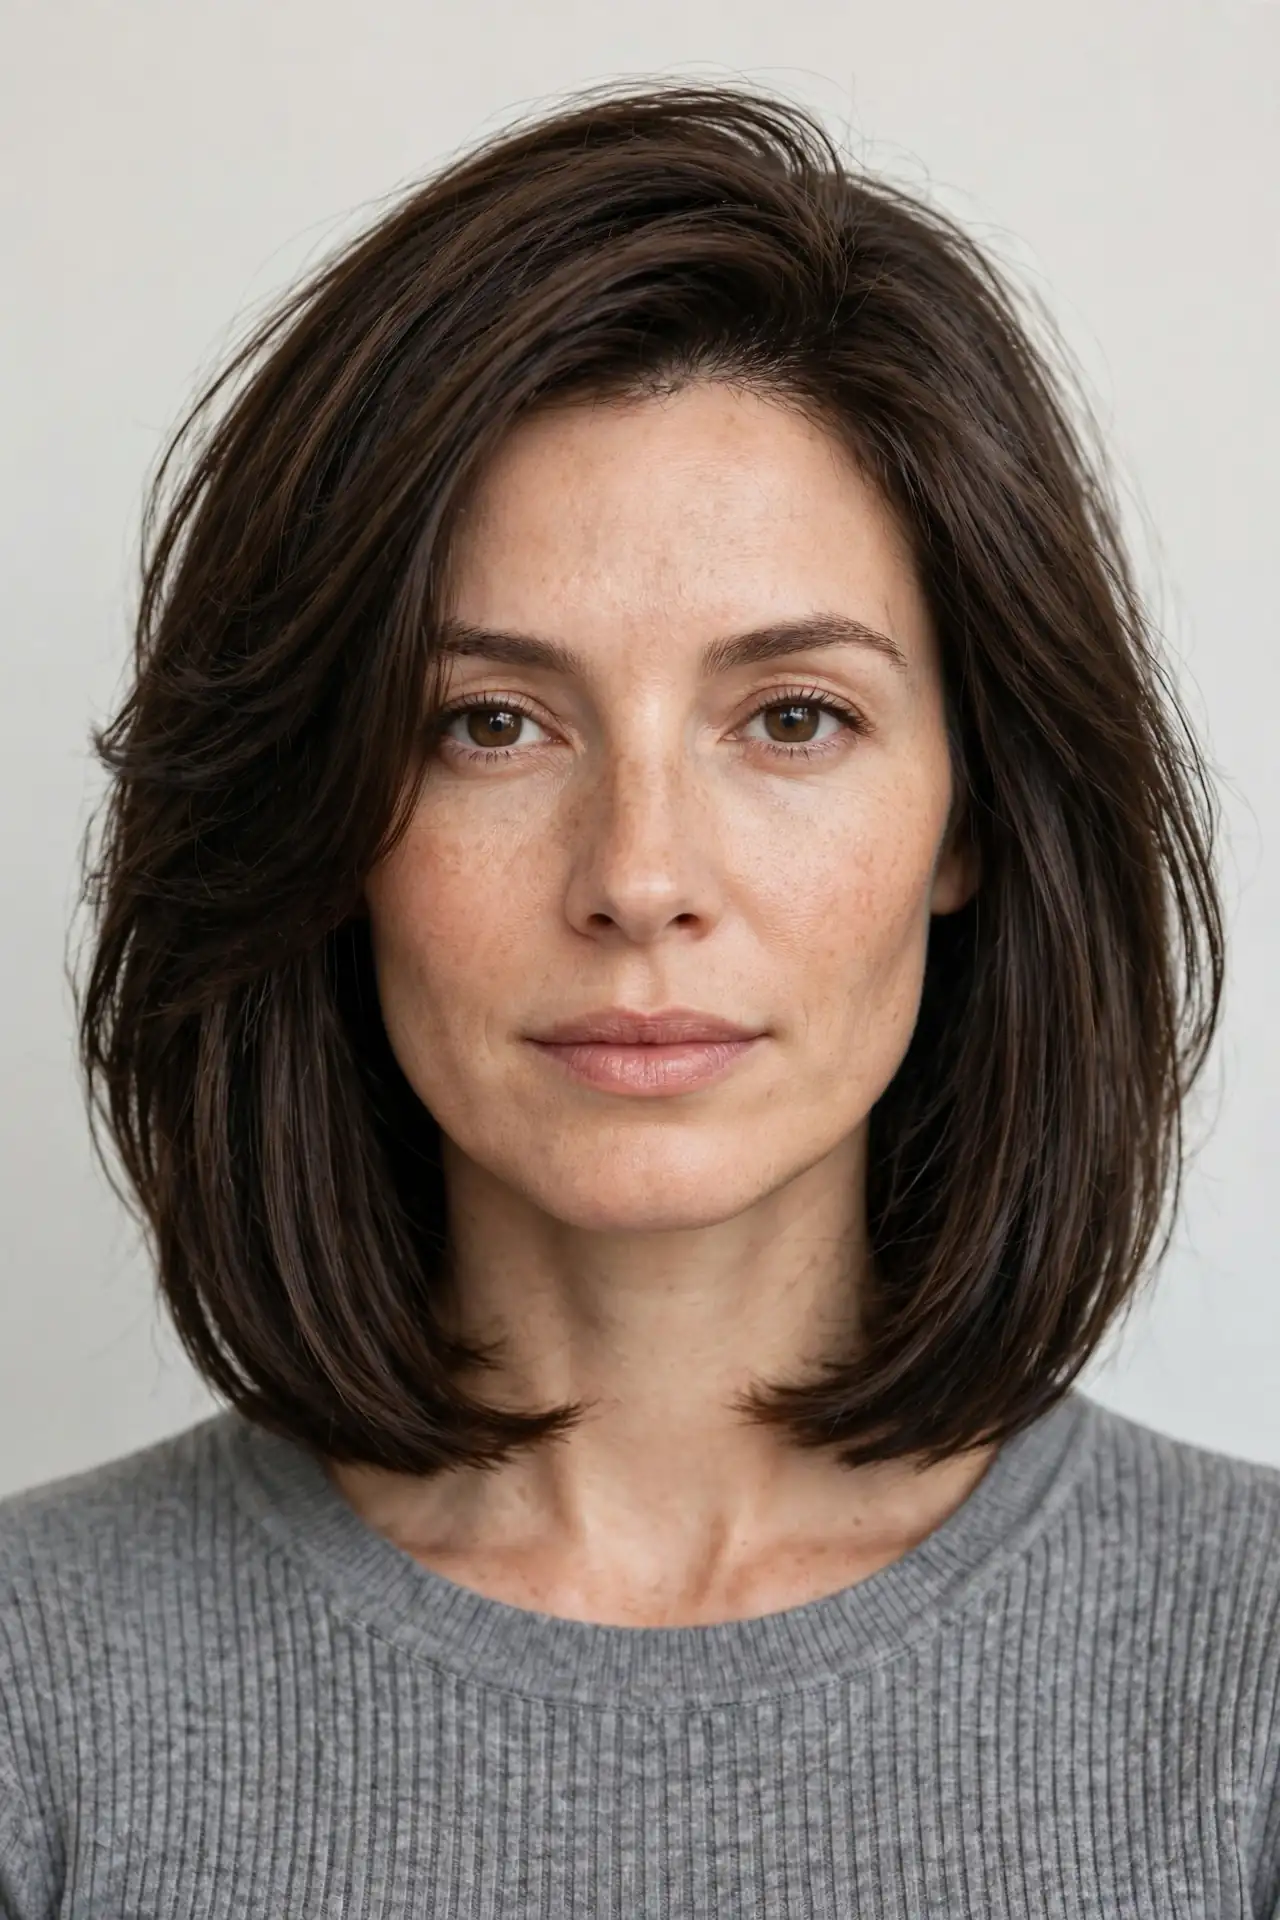
Where the shortest layer begins is the single most consequential decision in this haircut, and it should be chosen for your face rather than copied from a photo.
Cheekbone-Start Layers
Most people copy a reference photo without asking where the layers began on that person’s face. That’s how identical requests produce wildly different results. Starting the shortest layer at the cheekbone draws the eye upward and visually elongates the features, which is specifically what rounder faces benefit from. It’s the placement L’Oréal Paris recommends for softer, wider features, and it’s also the most dramatic option here because the contrast between tiers is at its maximum.
Say the word cheekbone at your consultation. It’s more precise than “short layers at the front” and it removes the guesswork entirely.
Chin-Start Layers
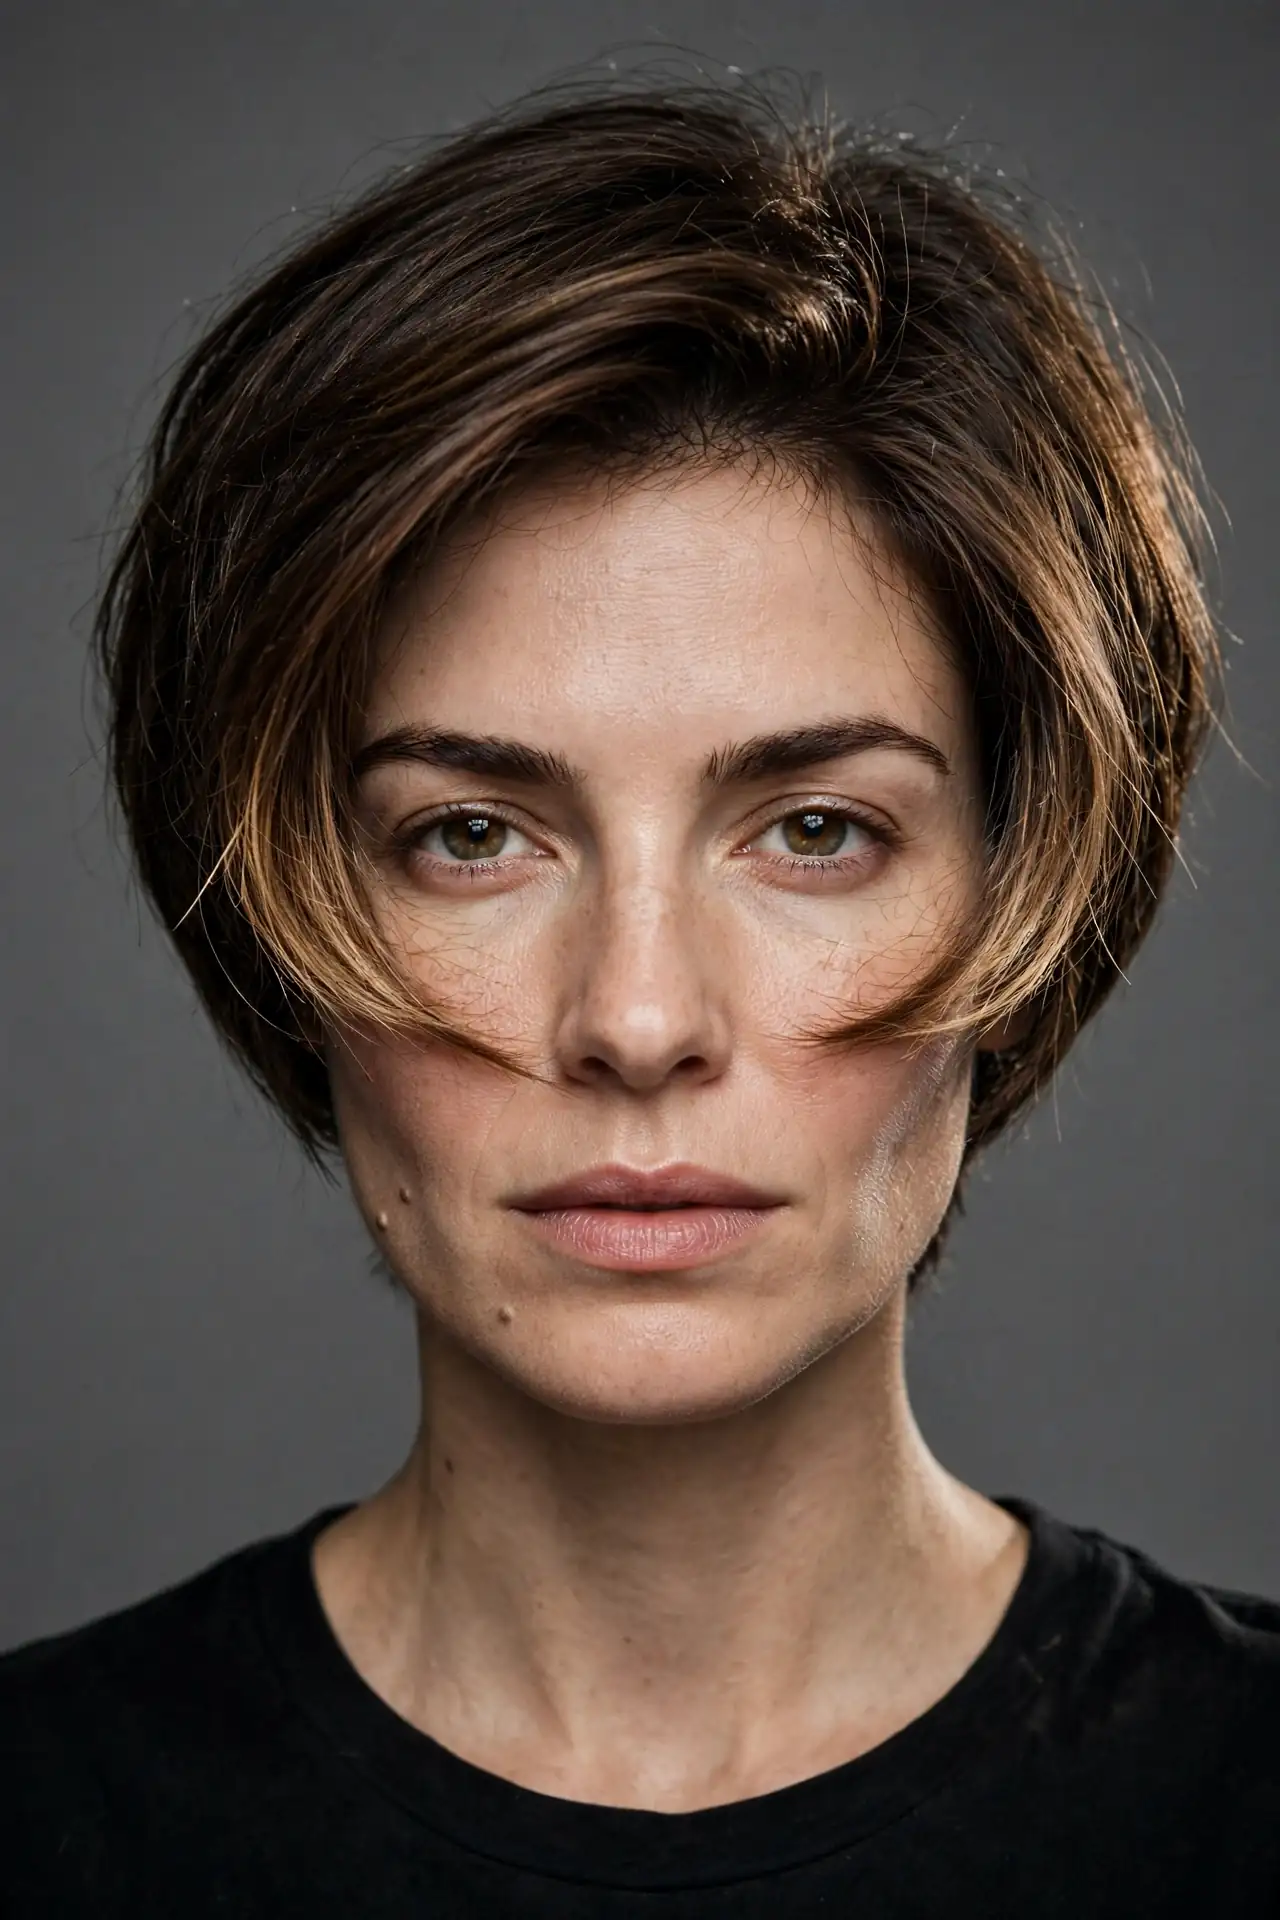
Beginning the layering at chin level produces a softer, more fluid version that reads less obviously styled. The wing effect is still present but gentler, which suits anyone who wants movement without announcing that they’ve had a trendy haircut. It also works better on straighter hair, where very short face-framing pieces can stick out awkwardly rather than curving.
Longer faces do well here, since the layers add width at the right point without lifting the eye too high.

Jaw-Length Face Framing
Face-framing pieces landing at the jaw taper gently into the rest of the cut, softening the shape without pulling too much volume away from the length. What this placement does well:
- Frames the face without shortening it visually
- Keeps enough weight in the front sections to hold a curve
- Flips back easily with a round brush for lift
- Grows out invisibly into ordinary long layers
- Suits square jaws by softening the corner
Ask your stylist to angle the front pieces softly with a razor for the most natural transition, unless your hair is fine.

Invisible Blended Layers
Chunky, obviously stepped layering is what makes some butterfly cuts look dated rather than current. Invisible layering solves it. The weight is removed and the movement created, but no hard step is visible anywhere in the cut. The wings appear when you move and disappear when you’re still, which reads considerably more expensive than permanent visible separation.
This is the most useful phrase to bring to a salon. Ask for soft, airy movement with layers blended so no hard line shows, and specify that you want the face-framing pieces customised to your features rather than cut to a standard length.

Razored Feathered Layers
Razoring creates the feathered, slightly rough ends that give the cut its lived-in quality, and on the right hair it’s transformative. Thick, coarse hair gets the most benefit, since the razor removes bulk while creating movement in a single pass. The ends look softer and less blunt, and the layers separate more visibly.
Here’s the caveat that matters more than the technique. L’Oréal Paris guidance is explicit that fine hair should steer clear of overly razored ends, because they make the layers look wispy and thin rather than full and bouncy. If your hair is fine, ask for point cutting with shears instead. The result is slightly less textured and considerably more flattering.

Medium Butterfly Cuts with Bangs
With Curtain Bangs
Is there a more natural pairing in short-to-medium hair? Probably not, and the reason is structural. Curtain bangs part in the centre and fall back into the face-framing layers, which means the fringe and the shortest tier become a single continuous shape. Rounded layers build volume up high while the curtain softens the front. Nothing about it reads as two separate decisions.
Ask for layering that starts at the cheekbone if you want the face-lifting effect, and make sure the fringe is blended into those layers rather than cut as its own block. Budget a fringe trim every four to six weeks, separate from the cut itself.

With Wispy See-Through Bangs
Sheer, airy bangs blend into the layers more easily than any other fringe type, which is exactly why stylists recommend them for this cut. The word to use is sheer. A dense fringe sits on top of a butterfly cut and fights it, while a see-through one melts into the shortest layer and disappears into the overall shape. Your eyes should stay visible through the fringe.
Fine hair benefits most, since a wispy fringe borrows very little from the hairline. Refresh the bangs with dry shampoo or texturising spray between washes rather than restyling from scratch.

With a Butterfly Fringe
Sometimes the fringe is the butterfly, and no full cut is required at all. Celebrity hairstylist Brendnetta Ashley describes a butterfly fringe as a layered fringe that is feathered, resembling butterfly wings, which is where the whole name originates. Shaping an existing grown-out fringe outward and upward with a curling iron or small round brush recreates the effect on the front sections alone.
Anyone in the awkward stage of growing out bangs should try this before committing to a full layered cut. It costs nothing and it demonstrates whether you actually like the shape around your face.

With Side-Swept Bangs
A deep side part with the fringe sweeping diagonally across the forehead introduces asymmetry to a cut that can otherwise read quite symmetrical. The diagonal breaks the horizontal line of the shoulder-length perimeter, which stops the whole silhouette feeling static. It also creates a natural landing place for the shortest face-framing layer, since the sweep and the layer travel in the same direction.
Blow-dry the heavier side away from your face first so the volume holds through the day rather than collapsing by lunchtime.

Without Bangs, Money-Piece Framing
Skipping the fringe entirely and lightening the two front sections instead gives you face framing through colour rather than through cutting. Money pieces sit exactly on the shortest layers, which are already the focal point of this cut, so the brightness amplifies what the layering is doing. It costs a fraction of full colour, grows out with no line, and reverses in a single gloss appointment.
This is the low-commitment option for anyone who wants the face-framing effect without a fortnightly fringe trim.

Medium Butterfly Cuts by Hair Texture
On Straight Hair
Straight hair holds the layer structure cleanly, but it needs help creating the separation that makes the wings visible. Precision matters more here than on any other texture. Layers cut too soft leave the hair sitting flat with no visible tiers, while layers cut too sharply produce obvious steps. The target is definition without hard lines.
A texturising spray or dry texture powder is essentially mandatory, since straight hair won’t create separation on its own. Apply it at the roots of the shorter layers rather than through the lengths, then break the pieces apart with your fingers.

On Wavy Hair
Natural wave and this cut were made for each other, since the bend in the hair separates the layers without any effort from you. Layers become visible automatically as the waves form. Air-drying produces a genuinely good result, which is rare among layered cuts. Sea salt spray or a light mousse on damp hair enhances the separation, and second-day hair often looks better than first.
If your hair is already somewhat wavy, this is the version that will feel like the haircut you should have had years ago. Total daily styling time is under five minutes, and most of that is waiting.

On Curly Hair
Curly hair needs two adjustments, and skipping either one is how curly butterfly cuts go wrong. First, cut dry. Curls shrink significantly as they dry, so layers placed on wet hair land far higher than intended, and on a cut built around precise layer placement that error is fatal.
Second, the shortest layers must be long enough that they don’t spring up into a shelf. Where a straight-haired client might have layers starting at the cheekbone, a curly client usually needs them starting closer to the jaw to finish in the same place. Ask your stylist to explain how they’re accounting for your shrinkage before they start.

On Fine Hair
Fine hair benefits enormously from this cut, and it’s frequently told the opposite. The layered structure creates the appearance of density by giving the eye multiple edges to read rather than one flat perimeter. Clients with fine hair often walk out looking like they gained a whole head of hair, which is why the cut keeps getting recommended.
The two rules are non-negotiable. No heavy razoring, since razored ends on fine hair look thin rather than textured. And keep the perimeter relatively solid, concentrating the layering at the front so the ends retain weight. A volumising mousse at the roots before blow-drying does the rest.

On Thick Hair
Thick hair is what this cut was designed to solve, and Stenson’s point about weight reduction lands squarely here. The layers remove the bulk that makes thick hair sit heavy and flat, letting it move properly for the first time. The trick is internal removal rather than surface layering, so the outline stays intact while the weight underneath disappears.
Ask for hidden layers and internal debulking through the mid-lengths, with point cutting at the ends to soften the perimeter. Done well, you keep the density that makes your hair look healthy and lose the weight that makes it unmanageable.

Styling and Colour Finishes
The Nineties Bouncy Blowout
Ten minutes with a round brush, and the version that started the whole thing. Big, brushed-out layers with maximum crown lift is where the butterfly cut originally came from, back when it was called something else entirely. The revival version is softer around the edges but the technique is identical: dry the top layers forward and upward, the lengths downward and back.
Round and heart-shaped faces suit it particularly well. Be honest about the commitment though, since this finish genuinely requires a blow-dry and a round brush every single time.

The Air-Dried Tousled Finish
Why do so many people love this cut in photos and abandon it in practice? Usually because they chose a finish that needs daily heat. The air-dried version solves that completely. Apply a lightweight mousse or cream to damp hair, scrunch upward once, and leave it alone until dry. The layers separate naturally as the hair dries, particularly on wavy textures.
Texture spray at the crown afterwards lifts the roots if the top sits flat. It’s the version that works on a Tuesday morning, which is ultimately the version that matters.

The C-Curl Flick
Curling the ends into a soft C shape partway down rather than at the very tip reads considerably more expensive than a standard curl. Celebrity stylist Dimitris Giannetos created this finish on Gigi Hadid, describing it as a soft blowout with a C-shaped bend at the ends over a feathery mid-length cut. The bend catches light differently from a full curl, which is why it photographs so well.
Ask your stylist to go slightly harder on the layers if this is the finish you want, since the C-curl needs distinct sections to sit against.

Blonde and Balayage
Lighter shades show the layer transitions better than any other colour, which is a genuine technical advantage rather than just a preference. The shadows between layers become visible on blonde hair, creating a three-dimensional effect that makes the cut look like it has more movement than it actually does. Balayage or highlights accentuate the flicking ends of each layer specifically.
Dark hair conceals those transitions almost entirely, which is why so many butterfly cut reference photos feature blondes. If you’re committed to staying dark, dimensional brunette with subtle internal highlighting achieves a version of the same effect.

Rich Brunette with Subtle Dimension
Flat single-process brunette is the fastest way to waste a good butterfly cut, because it hides every layer you paid for. Weaving subtle ribbons of mocha, caramel or soft chestnut through a medium brunette base gives the eye something to follow along each layer. The effect is quiet in person and obvious in photographs, which suits anyone who wants dimension without an obvious highlight job.
Concentrate the brightness through the shorter face-framing sections and the ends where the layers flick, since those are the areas catching the most light.

What Medium Length Changes About This Cut
Most butterfly cut guides cover every length at once. These are the details that only apply between the shoulders and the collarbone.
The Shoulder-Length Flip Problem
Hair that ends exactly at shoulder level hits your shoulders and flips outward, and no product fully prevents it.
This is the single most common complaint about medium-length layered cuts, and almost nobody warns clients before the appointment. Layered shoulder-length hair generally needs blow-drying or straightening if you want to avoid flipped-out ends.
Three workable responses. Cut slightly above the shoulders so the ends swing free rather than resting on fabric. Cut slightly below so the weight pulls them down. Or accept the flick and lean into it, since the outward flick at the ends is a defining part of this cut’s aesthetic anyway. What doesn’t work is cutting exactly at shoulder level and hoping.
Layer Placement by Face Shape
| Face Shape | Where the Shortest Layer Should Start | Effect |
|---|---|---|
| Round | Cheekbone | Draws the eye up, elongates |
| Oval | Anywhere from cheekbone to chin | Almost any placement works |
| Square | Just below the jaw | Softens the jawline corner |
| Heart | Jaw level, fuller at the bottom | Balances a wider forehead |
| Long | Chin, with curtain bangs | Adds width, shortens visually |
| Diamond | Chin, softly blended | Avoids sharp contrast at temples |
The Extensions Conversation
Worth repeating because it explains a lot of disappointed appointments.
Lacy Gadegaard-West, founder of Laced and a hairstylist of twenty-four years, has said plainly that layers require both length and thickness, and that most of the layered haircuts circulating on social media involve extensions.
If your reference photo shows dense hair with dramatic wings and your own hair is fine and shoulder-length, the cut cannot reproduce that image. It can still look excellent, just different. Ask your stylist directly whether your density can carry the reference before they start, and let them adapt the shape rather than attempting a copy.
Butterfly, Shag, Wolf or Octopus?
Salons use these terms inconsistently, which causes real confusion at consultation.
Butterfly cut: two contrasting layer lengths, soft and blended, significant length preserved underneath. The most conservative of the four. Shag: heavier all-over layering with more texture and usually a fringe, rougher finish throughout. Wolf cut: shag plus mullet influence, shorter and more aggressive at the crown. Octopus cut: essentially the same shape as the butterfly, named for how the layers look from behind.
If you want movement without a dramatic silhouette change, the butterfly is the one to ask for by name.
Choosing Your Approach by Hair Type
| Hair Type | Layering Approach | Styling |
|---|---|---|
| Fine and straight | Front-only layers, solid perimeter, no razoring | Volumising mousse, round brush at the crown |
| Medium and wavy | Standard two-tier layering, point-cut ends | Salt spray, scrunch, air-dry |
| Thick and coarse | Internal debulking, razored ends | Smoothing cream, blow-dry in sections |
| Curly | Dry cutting, layers started lower for shrinkage | Curl cream, low diffuse |
| Coily | Section by section on stretched hair | Leave-in, diffuse upward at the crown |
Maintenance and Cost
Medium butterfly cuts hold their shape for six to eight weeks, stretching to ten at collarbone length and on fine hair with minimal layering.
At a mid-range salon, expect roughly $60 to $140 for a wash, cut and blow-dry, with major metros higher. Tipping eighteen to twenty-two percent is standard. Any version with a fringe needs bang trims every four to six weeks on top, though many salons include these free between appointments.
The grow-out is genuinely graceful. As the layers lengthen they soften into ordinary long layers rather than developing a hard line, which is one of the reasons this cut has stayed popular rather than spiking and vanishing.
Final Thoughts
Medium is the length this cut was built around, and the two-tier layering only produces its intended effect within a fairly narrow window between the shoulders and the collarbone. Everything else follows from getting that right: where the shortest layer starts, how the tiers blend, and whether your texture and density can carry the reference photo you brought in.
Say the word cheekbone or chin at your consultation rather than “short layers at the front.” Ask for invisible layering if you want it to look current rather than dated. Mention fine hair before anyone reaches for a razor. Decide honestly whether you’ll blow-dry, because the bouncy version and the air-dried version are two different commitments wearing the same haircut.
Save three or four references at the exact length you want and take them in together. On this cut, the difference between what you pictured and what you get comes down almost entirely to a conversation about inches.
Frequently Asked Questions
What length is best for a butterfly haircut?
Shoulder to collarbone. The cut relies on contrast between short face-framing layers and longer ones underneath, and that contrast needs enough length to read without the shorter tier disappearing. Shorter versions rely more heavily on face-framing pieces or a fringe to create the same body.
Where should the layers start on a medium butterfly cut?
Depends on your face shape. Round faces benefit from layers starting at the cheekbone, which draws the eye upward. Square and heart shapes suit a jaw-level start, and longer faces do better beginning at the chin, ideally paired with curtain bangs.
Does a butterfly haircut work on fine hair?
Yes, and it often improves it, since the layered structure creates the appearance of density. Two rules apply: avoid heavily razored ends, which look thin rather than textured, and keep the perimeter relatively solid with the layering concentrated at the front.
Why do my layers flip out at shoulder length?
Because hair ending exactly at shoulder level rests against your shoulders and pushes outward. Cut slightly above so the ends swing free, or slightly below so the weight pulls them down. Alternatively, lean into it, since the outward flick is part of this cut’s signature.